
Are you frustrated because your Goal Zero Nomad 7 solar panel isn’t charging your devices? It’s incredibly disheartening to rely on solar power for off-grid adventures or emergency preparedness, only to find your panel isn’t delivering. A quick fix often involves checking your connections and sunlight exposure, but there’s usually more to the story.
This comprehensive guide will take you beyond the basics, exploring the common causes of a non-charging Nomad 7, providing multiple troubleshooting steps from simple checks to more advanced diagnostics, and offering preventative measures to ensure reliable performance for years to come. By the end of this article, you’ll be equipped to confidently diagnose and solve the problem, getting your Nomad 7 back to powering your adventures.
Common Causes of Goal Zero Nomad 7 Not Charging
Several factors can prevent your Nomad 7 from charging. Here’s a breakdown of the most frequent culprits:
Insufficient Sunlight
The most common reason. Solar panels require direct sunlight to operate efficiently. Cloudy days, shade, or even the angle of the sun can significantly reduce output.
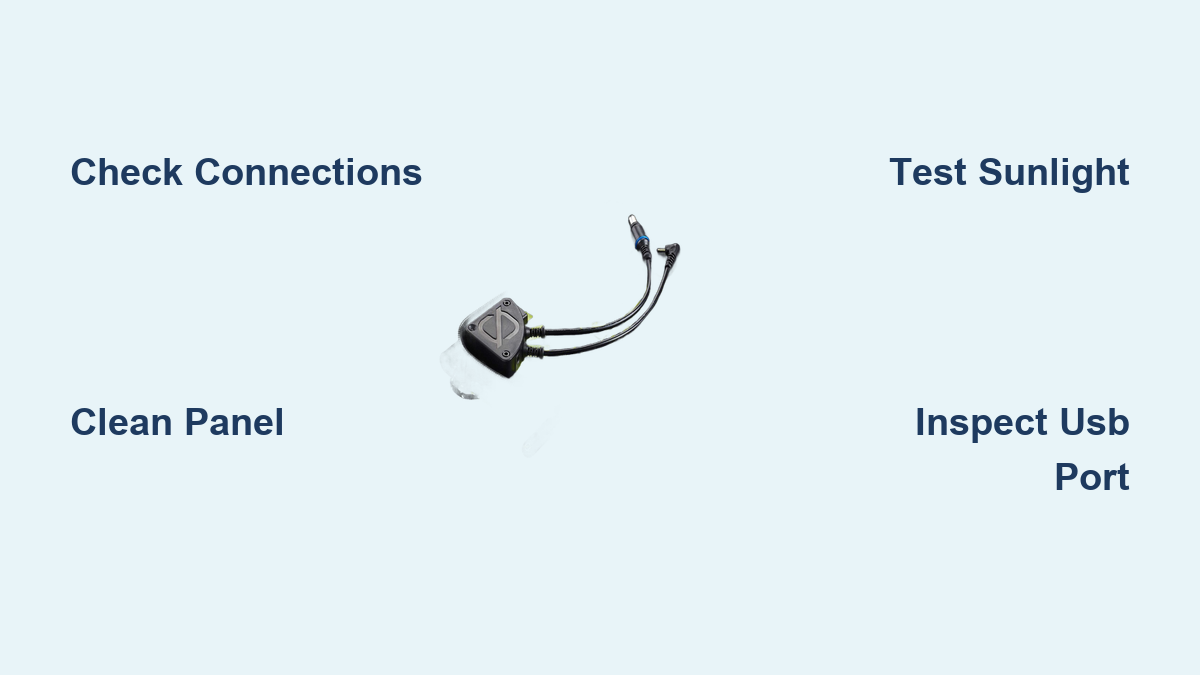
Incorrect Connection
Loose or incorrect connections between the Nomad 7, your power bank, or device can interrupt the charging process. This includes issues with the USB port or DC connectors.
Damaged Cables or Adapters
Faulty USB cables or adapters can prevent power transfer. A worn or frayed cable can internally break connections.
Dirty Solar Panel Surface
Dirt, dust, bird droppings, or other debris can obstruct sunlight, reducing the panel’s ability to generate power.
Internal Panel Damage
Less common, but potential damage to the solar cells within the Nomad 7 can render it incapable of producing enough voltage or current.
How to Fix Goal Zero Nomad 7 Not Charging
Let’s dive into several methods to get your Nomad 7 working again, starting with the simplest and moving to more complex solutions.
Method 1: Basic Connection & Sunlight Check
This is the fastest and easiest first step.
Diagnosing the Issue
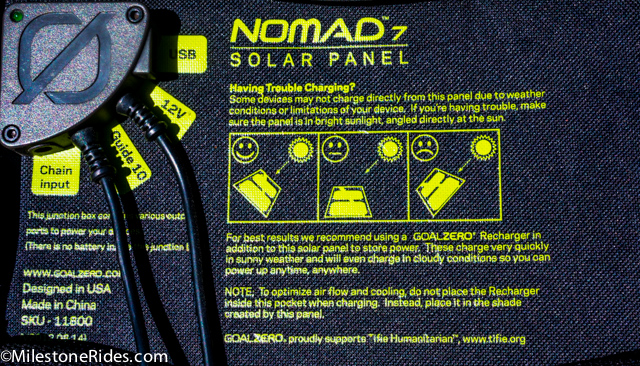
Ensure the panel is in direct sunlight, angled towards the sun. Verify all cable connections are secure and properly seated.
Fix Steps
- Sunlight Exposure: Move the panel to a location with unobstructed sunlight. Adjust the angle to maximize exposure.
- Cable Check: Disconnect and reconnect the USB cable or DC adapter, ensuring a snug fit on both ends.
- Test with Different Cable: Try a different USB cable or DC adapter known to be working.
- Test with Different Device: Connect the Nomad 7 to a different power bank or device to rule out issues with the original receiving device.
Testing
Monitor the charging indicator on your power bank or device. If it begins charging, the issue was likely a connection or sunlight problem.
Method 2: Cleaning the Solar Panel
A dirty panel significantly reduces output.
Diagnosing the Issue
Visually inspect the panel surface for dirt, dust, or debris.
Fix Steps
- Gentle Cleaning: Use a soft, damp cloth to gently wipe the panel surface. Avoid abrasive cleaners or harsh chemicals.
- Stubborn Debris: For stubborn dirt, use a mild soap solution (dish soap and water) and a soft cloth. Rinse thoroughly with clean water.
- Dry Thoroughly: Dry the panel with a clean, lint-free cloth.
Testing
Test the panel’s output in direct sunlight after cleaning. You should notice an improvement in charging performance.
Method 3: Inspecting the USB Port
The USB port itself might be the culprit.
Diagnosing the Issue
Visually inspect the USB port for damage, bent pins, or debris.
Fix Steps
- Visual Inspection: Carefully examine the port with a flashlight.
- Gentle Cleaning: Use compressed air to blow out any dust or debris from the port. Do not insert anything into the port that could damage the pins.
- Test with Multiple Devices: If possible, test the port with multiple devices to see if the issue is device-specific.
Testing
If the port appears damaged, or continues to fail with multiple devices, professional repair may be necessary (see the Professional Help section).
Method 4: Advanced Troubleshooting – Voltage & Current Check (Requires Multimeter)
This method requires a multimeter and some understanding of electrical measurements. Proceed with caution if you are not comfortable working with electrical devices.
Diagnosing the Issue
Use a multimeter to measure the voltage and current output of the Nomad 7 in direct sunlight. Compare these values to the panel’s specifications (typically printed on the back).
Fix Steps
- Set Multimeter: Set your multimeter to DC Voltage (VDC) and then to DC Current (mA or A).
- Voltage Measurement: Connect the multimeter probes to the USB port (positive to positive, negative to negative). Measure the voltage. It should be around 5V.
- Current Measurement: Disconnect the device, and set the multimeter to measure current. Connect the Nomad 7 to a load (like a resistor) and measure the current. It should be close to the panel’s rated current.
- Analyze Results: If the voltage or current is significantly lower than expected, it indicates an internal problem with the panel.
Testing
If the multimeter readings are abnormal, it confirms an internal issue requiring professional repair.
Pro Tips for Goal Zero Nomad 7 Performance

- Angle is Key: Adjust the panel’s angle every hour or two to track the sun for optimal charging.
- Avoid Partial Shade: Even a small amount of shade can drastically reduce output.
- Protect from Damage: Store the Nomad 7 in a protective case when not in use to prevent physical damage.
- Clean Regularly: Regularly cleaning the panel surface prevents build-up of dirt and debris.
- Use High-Quality Cables: Invest in durable, high-quality USB cables to minimize connection issues.
- Don’t Overload: Be mindful of the power requirements of the device you’re charging. Don’t attempt to charge devices that exceed the Nomad 7’s output capacity.
- Avoid Extreme Temperatures: While durable, prolonged exposure to extreme heat or cold can impact performance.
Professional Help
If you’ve tried all the troubleshooting steps and your Nomad 7 still isn’t charging, it’s time to seek professional help.
Signs You Need Professional Repair:
- Visible damage to the solar cells.
- Abnormal voltage or current readings from a multimeter.
- A completely unresponsive panel.
What to Look For in a Service Provider:
- Experience with Goal Zero products.
- Positive customer reviews.
- A clear repair process and warranty.
Typical Cost Ranges:
Repair costs vary depending on the extent of the damage. Expect to pay anywhere from $50 to $150 for a repair. Consider whether the cost of repair is worth it compared to the price of a new panel.
Warranty Considerations:
Check your Nomad 7’s warranty information. Goal Zero offers warranties on their products, which may cover repairs or replacements.
FAQ
Q: Why isn’t my Nomad 7 charging my power bank, but it’s charging a smaller device like my phone?
A: Your power bank may have a higher power demand than the Nomad 7 can consistently deliver, especially in less-than-ideal sunlight. Smaller devices require less power and can charge more readily.
Q: Can I use a different USB cable with my Nomad 7?
A: Yes, any standard USB cable should work, but ensure it’s a quality cable to avoid power loss.
Q: How can I tell if my Nomad 7 is damaged?
A: Look for cracks, broken cells, or discoloration on the panel surface. Also, check for loose connections or frayed wires.
Q: Will charging my Nomad 7 in cloudy weather damage it?
A: No, charging in cloudy weather won’t damage the panel, but the output will be significantly reduced.
Get Your Goal Zero Nomad 7 Working Again
You’ve now explored a range of solutions to troubleshoot your non-charging Goal Zero Nomad 7. From simple connection checks and cleaning to advanced voltage measurements, you’re well-equipped to diagnose and resolve the issue. Remember to prioritize safety and seek professional help when needed.
Have you successfully revived your Nomad 7? Share your experience in the comments below to help other adventurers! What troubleshooting steps worked best for you? Let us know!