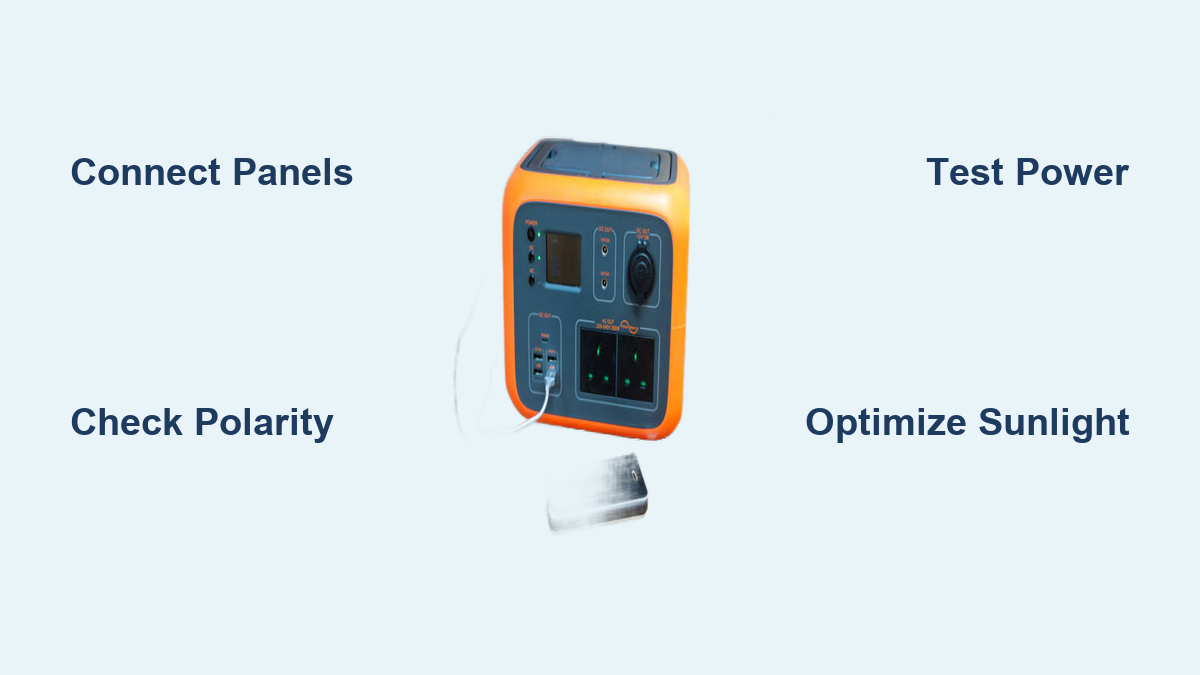
Are you frustrated with power outages, looking to reduce your carbon footprint, or planning off-grid adventures? A solar generator offers a clean, quiet, and reliable power source. The initial setup can seem daunting, but with the right guidance, you can have your system up and running quickly. This guide will walk you through the entire process, from unboxing to powering your devices.
This comprehensive guide will go beyond just plugging things in. We’ll cover everything you need to know about choosing the right location, connecting your solar panels, understanding the different components, and maximizing your solar generator’s efficiency. By the end of this article, you’ll be confidently harnessing the sun’s energy to power your life.
What You’ll Need for Solar Generator Setup
| Item | Quantity | Specifications |
|---|---|---|
| Solar Generator (Power Station) | 1 | Capacity (Wh), Output (Watts), Port Types |
| Solar Panels | 1-4+ | Wattage, Voltage, Connector Type (MC4) |
| Solar Panel Cables | 1-4+ | MC4 to Anderson/XT60/DC connector, Length based on distance |
| Anderson/XT60/DC Connector (if needed) | 1-4+ | Matching connector for generator input |
| Fuse/Circuit Breaker | 1 | Amperage rating matching solar panel output |
| Mounting Bracket (for panels) | Optional | Adjustable angle, Portable/Fixed |
| Extension Cords | As needed | Gauge appropriate for load |
| Multi-tool | 1 | For tightening connections |
| Voltage Meter | 1 | For checking voltage output |
Preparing Your Location and System

Before you start connecting wires, careful preparation is crucial for safe and efficient operation.
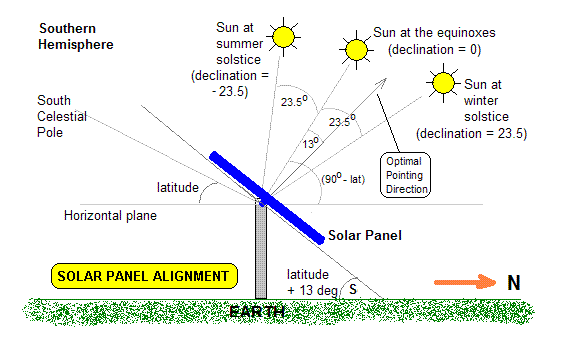
- Location, Location, Location: Choose a spot that receives maximum sunlight throughout the day, ideally facing south (in the Northern Hemisphere). Avoid shaded areas caused by trees, buildings, or other obstructions.
- Safety First: Ensure the area is dry and protected from the elements. Avoid setting up the generator in direct rain or extreme heat.
- Panel Positioning: Determine how you’ll mount your solar panels. Portable options are great for travel, while fixed mounts offer stability and optimized sun tracking. Consider an adjustable angle bracket to maximize sunlight capture based on the season.
- Cable Management: Plan how you’ll route cables to avoid tripping hazards and potential damage. Secure cables to prevent accidental disconnection.
- Ventilation: Ensure the solar generator has adequate ventilation to prevent overheating, especially during extended use.
Step-by-Step Solar Generator Setup Process
Phase 1: Connecting Solar Panels to Cables
- Inspect Cables & Connectors: Check your solar panel cables for any damage. Ensure the MC4 connectors are clean and secure.
- Connect to Solar Panels: Plug the MC4 connectors into the positive (+) and negative (-) ports on the back of each solar panel. Ensure a firm click to confirm a secure connection.
- Parallel or Series Connection (Important):
- Parallel: Connect positive to positive and negative to negative. This maintains voltage while increasing amperage. Most common setup for solar generators.
- Series: Connect positive to negative. This increases voltage while maintaining amperage. Check your generator’s voltage input limitations before using this method.
- Fuse Installation: Install a fuse or circuit breaker in-line with the positive cable to protect the generator from overcurrent.
Phase 2: Connecting Cables to the Solar Generator
- Identify Input Port: Locate the solar input port on your solar generator. It’s usually labeled “Solar,” “PV Input,” or similar.
- Connector Compatibility: Most generators require an Anderson, XT60, or DC connector. If your solar panel cables have MC4 connectors, you’ll need an adapter.
- Secure Connection: Plug the solar panel cable connector into the generator’s input port. Ensure a snug fit.
- Polarity Check: Double-check the polarity (+/-) to avoid damage. Incorrect polarity can fry the controller inside the generator.
Phase 3: Powering On and Initial Testing
- Turn On the Generator: Power on the solar generator.
- Check Input Readings: Most generators display the solar input wattage and voltage. Verify that the readings are within the expected range based on your solar panel specifications and sunlight conditions.
- Observe Charging: The generator’s display should indicate that it’s charging.
- Load Testing: Connect a small appliance (e.g., phone charger, LED lamp) to the generator’s AC outlet to verify it’s providing power.
- Monitor Performance: Regularly monitor the generator’s display to track charging rate, battery level, and output wattage.
Pro Tips for Optimal Solar Generator Performance
- Maximize Sunlight: Adjust the angle of your solar panels throughout the day and year to track the sun’s path.
- Cable Length: Use the shortest possible cable length to minimize voltage drop.
- Panel Cleaning: Keep your solar panels clean. Dust, dirt, and debris can significantly reduce their efficiency. Clean them regularly with a soft cloth and water.
- Battery Health: Avoid fully discharging your solar generator’s battery regularly. This can shorten its lifespan.
- Optimize Load: Prioritize powering essential devices and avoid overloading the generator.
- Temperature Management: Avoid exposing the generator to extreme temperatures, as this can affect battery performance.
Common Mistakes to Avoid
- Incorrect Polarity: Always double-check the polarity before connecting cables.
- Overloading the Generator: Exceeding the generator’s wattage capacity can damage it and your devices.
- Using Damaged Cables: Inspect cables for damage before each use.
- Ignoring Safety Warnings: Read and follow all safety instructions provided by the manufacturer.
Professional Help
When to Call a Professional
- Complex Installations: If you’re installing a larger system with multiple panels or integrating it into your home’s electrical system.
- Electrical Issues: If you suspect a problem with the generator’s electrical components.
- Warranty Concerns: If you’re unsure about modifying the system or voiding the warranty.
What to Look for in a Service Provider
- Certification: Look for a qualified and certified solar installer.
- Experience: Choose a provider with a proven track record of successful installations.
- Insurance: Ensure the provider has adequate liability insurance.
- References: Ask for references from previous customers.
FAQ
Q: How long will it take to charge my solar generator with solar panels?
A: Charging time depends on the solar panel wattage, sunlight intensity, and the generator’s battery capacity. A 100W panel in full sun can take 8-12 hours to fully charge a 100Wh generator.
Q: Can I use any type of solar panel with my solar generator?
A: Not necessarily. Check the generator’s voltage input range and connector type to ensure compatibility with your solar panels.
Q: What happens if it’s cloudy?
A: Solar panels produce less power on cloudy days. The generator will charge slower, or you may need to supplement with grid power (if applicable).
Q: Can I stack multiple solar generators?
A: Some generators can be linked together for increased capacity, but this depends on the specific models. Check the manufacturer’s documentation.
Enjoy Your New Solar Powered Setup
Congratulations! You’ve successfully set up your solar generator. Now you can enjoy clean, reliable power wherever you go, knowing you’re reducing your environmental impact and being prepared for any power outage.
Following these steps, you’ve successfully connected your solar panels, verified charging, and tested your system. You’re now ready to power your devices and enjoy the benefits of sustainable energy.
Share your experience in the comments below! What are you powering with your solar generator?

