
Are you looking to harness the power of the sun with your EcoFlow 400W solar panel, but feeling overwhelmed by the setup process? It’s a common frustration – wanting to enjoy clean, renewable energy but not knowing where to start. The good news is, getting your EcoFlow 400W panel up and running is achievable with the right guidance. A quick fix to verify basic functionality is simply connecting it to your EcoFlow power station in direct sunlight and checking for charging.
This comprehensive guide will take you through every step of setting up your EcoFlow 400W solar panel, from understanding the components and safety precautions to a detailed, step-by-step installation process. We’ll cover different mounting options, troubleshooting common issues, and maximizing your solar energy harvest. By the end of this article, you’ll have the knowledge and confidence to power your adventures – or even your home – with sustainable solar energy.
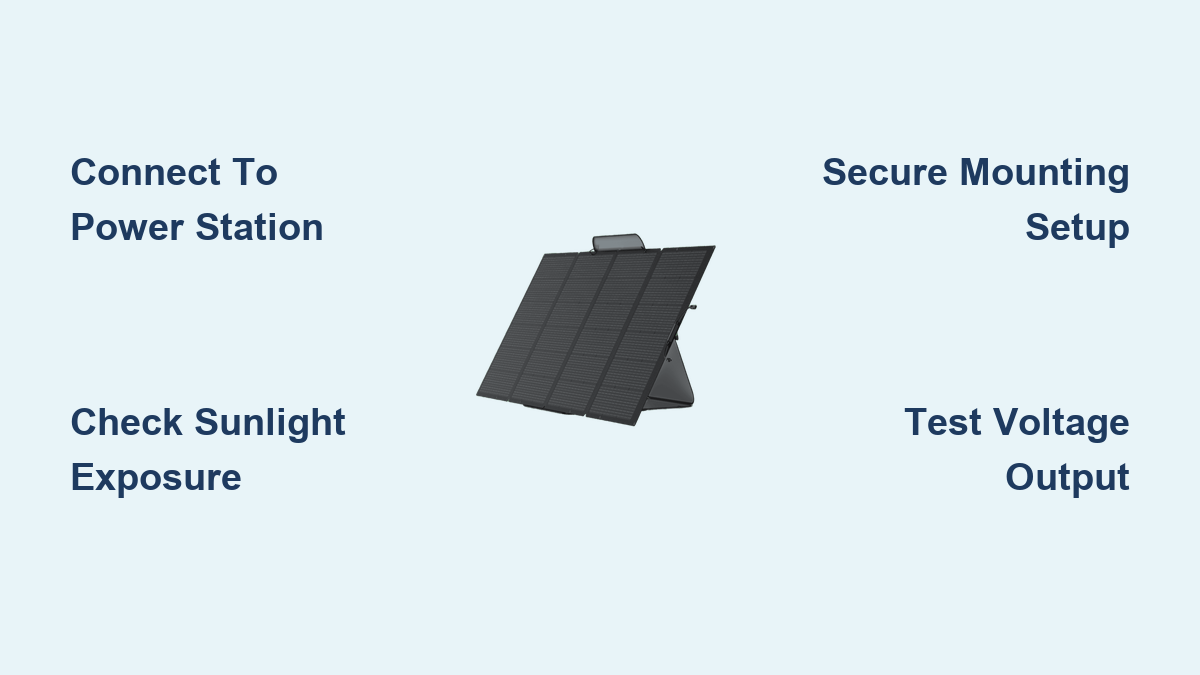
What You’ll Need for EcoFlow 400W Solar Panel Setup
| Item | Quantity | Specifications |
|---|---|---|
| EcoFlow 400W Solar Panel | 1 | Foldable, monocrystalline silicon |
| EcoFlow Power Station | 1 | Compatible model (e.g., Delta, River) |
| Solar Panel Connector Cable (MC4) | 1 | Typically included with the panel |
| Mounting System | 1 | Options: Ground Stand, Roof Mount, Portable Tripod |
| Angle Adjustment Tool | 1 | Wrench or adjustable tool for mounting hardware |
| Multimeter | 1 | For testing voltage and current (optional, but recommended) |
| Safety Gloves | 1 Pair | For handling electrical components |
| Safety Glasses | 1 Pair | To protect your eyes |
Preparation Steps and Safety Considerations
Before you begin, safety is paramount. Solar panels generate electricity even in low light conditions.
- Read the Manual: Carefully review the EcoFlow 400W solar panel and your power station’s user manuals.
- Wear Protective Gear: Always wear safety glasses and gloves when handling the panel and cables.
- Avoid Wet Conditions: Do not set up the panel in rain or wet environments. Water and electricity are a dangerous combination.
- Proper Ventilation: Ensure adequate ventilation around the power station during charging to prevent overheating.
- Secure Mounting: If mounting on a roof, ensure the structure can support the weight of the panel, especially in windy conditions. Consider professional installation for roof mounting.
- Check Cable Connections: Inspect all cables for damage before connecting them.
Step-by-Step Solar Panel Setup Process

Phase 1: Unpacking and Inspection
- Unbox the Panel: Carefully remove the EcoFlow 400W solar panel from its packaging.
- Inspect for Damage: Thoroughly examine the panel for any visible damage, such as cracks or scratches. Do not use a damaged panel.
- Identify Components: Familiarize yourself with the panel’s components: the solar cells, the junction box, and the MC4 connectors.
Phase 2: Mounting the Solar Panel
This phase varies depending on your chosen mounting method.
- Ground Mounting (using a stand):
- Position the Stand: Place the stand on a level, sunny surface, facing south (in the Northern Hemisphere) for optimal sun exposure.
- Adjust the Angle: Adjust the stand’s angle to match your latitude for optimal energy capture. (More on angle optimization later).
- Secure the Panel: Attach the EcoFlow 400W panel to the stand, ensuring it’s securely fastened.
- Roof Mounting (Permanent Installation): This is best left to professionals.
- Locate Mounting Points: Identify suitable roof mounting points that can support the panel’s weight.
- Install Mounting Brackets: Securely attach the mounting brackets to the roof.
- Attach the Panel: Mount the panel onto the brackets, ensuring it’s angled correctly.
- Portable Tripod Mounting:
- Extend Tripod Legs: Fully extend the tripod legs and ensure it is stable.
- Mount Panel: Attach the solar panel to the tripod mount, ensuring it’s secure.
- Adjust Angle: Adjust the angle of the panel to maximize sunlight exposure.
Phase 3: Connecting to Your EcoFlow Power Station
- Extend the Panel: Fully unfold the EcoFlow 400W solar panel.
- Connect the MC4 Cable: Connect the MC4 connector cable to the panel’s output port. Ensure a secure connection.
- Connect to Power Station: Connect the other end of the MC4 cable to the solar input port on your EcoFlow power station. The port is usually labeled “Solar.”
- Observe Charging Indicator: Once connected, your EcoFlow power station should display a charging indicator, confirming that the panel is generating power.
Post-Completion Testing and Troubleshooting
- Voltage and Current Check (Optional): Use a multimeter to measure the voltage and current output of the panel in direct sunlight. Compare the readings to the panel’s specifications (typically around 40-45V open circuit voltage and 8-10A short circuit current).
- Charging Rate: Monitor the charging rate on your EcoFlow power station’s display. The charging rate will vary depending on sunlight intensity and panel angle.
- Troubleshooting:
- No Charging:
- Check Connections: Ensure all cables are securely connected.
- Sunlight: Verify the panel is in direct sunlight.
- Cable Damage: Inspect the MC4 cable for damage.
- Power Station Compatibility: Confirm your EcoFlow power station is compatible with the 400W panel.
- Low Charging Rate:
- Panel Angle: Adjust the panel angle to maximize sun exposure.
- Shading: Remove any obstructions that may be shading the panel.
- Cloud Cover: Charging rate will be reduced on cloudy days.
- No Charging:
Pro Tips for EcoFlow 400W Solar Panel Optimization

- Angle Optimization: Adjust the panel angle seasonally. In summer, a lower angle is optimal; in winter, a higher angle. A good rule of thumb is to set the angle equal to your latitude.
- Panel Cleaning: Regularly clean the panel surface with a soft cloth and water to remove dust and debris. This can significantly improve energy capture.
- Cable Management: Secure the MC4 cables to prevent tripping hazards and protect them from damage.
- Maximize Sunlight Exposure: Position the panel in a location that receives unobstructed sunlight throughout the day.
- Portable Power Station Placement: Keep your EcoFlow power station in a shaded and well-ventilated area to prevent overheating during charging.
- Monitor Performance: Use the EcoFlow app to monitor your solar panel’s performance and track energy generation.
Professional Help Section
- When to Call a Pro: If you are uncomfortable with electrical work, or if you are planning a roof-mounted installation, it is best to hire a qualified solar installer.
- Finding a Service Provider: Search online for “solar panel installers” in your area.
- Cost Ranges: Roof-mounted installations typically cost between $500 – $2000 depending on complexity and location.
FAQ Section
Q: Can I connect multiple EcoFlow 400W solar panels to my power station?
A: Yes, most EcoFlow power stations support daisy-chaining multiple panels. Check your power station’s specifications for the maximum input wattage.
Q: What happens on cloudy days?
A: The charging rate will be significantly reduced on cloudy days. Solar panels still generate some power even in low light conditions.
Q: Is the EcoFlow 400W panel waterproof?
A: The EcoFlow 400W panel is water-resistant but not fully waterproof. Avoid exposing it to prolonged rain or submersion.
Q: How long does it take to charge my EcoFlow power station with a 400W panel?
A: Charging time depends on the power station’s capacity, sunlight intensity, and panel angle. Typically, it takes 4-8 hours to fully charge a 500W EcoFlow power station.
Enjoy Your New Solar Setup!
Congratulations! You’ve successfully set up your EcoFlow 400W solar panel.
Following this guide, you now have a reliable source of clean, renewable energy. Remember to:
– Regularly monitor your system’s performance.
– Clean the panel to maintain optimal efficiency.
– Adjust the angle seasonally for maximum sun exposure.
Don’t let energy limitations hold you back. Unleash the power of the sun with your EcoFlow 400W solar panel!
Have you successfully set up your EcoFlow 400W panel? Share your experience and any tips you’ve learned in the comments below!