
Are you excited about harnessing the power of the sun with your Ecoflow solar panels, but feeling overwhelmed by the setup process? It’s common to feel frustrated when trying to get everything connected and working smoothly. The good news is, getting your Ecoflow system up and running is achievable with a bit of guidance. A quick fix for many issues is simply ensuring all cables are securely connected and the Ecoflow app is updated.
This comprehensive guide will walk you through everything you need to know about setting up your Ecoflow solar panels, from understanding the components to troubleshooting common issues. We’ll cover the necessary materials, a step-by-step installation process, safety considerations, and even pro tips to optimize your solar energy harvest. By the end of this article, you’ll have the confidence to enjoy clean, reliable power from the sun.
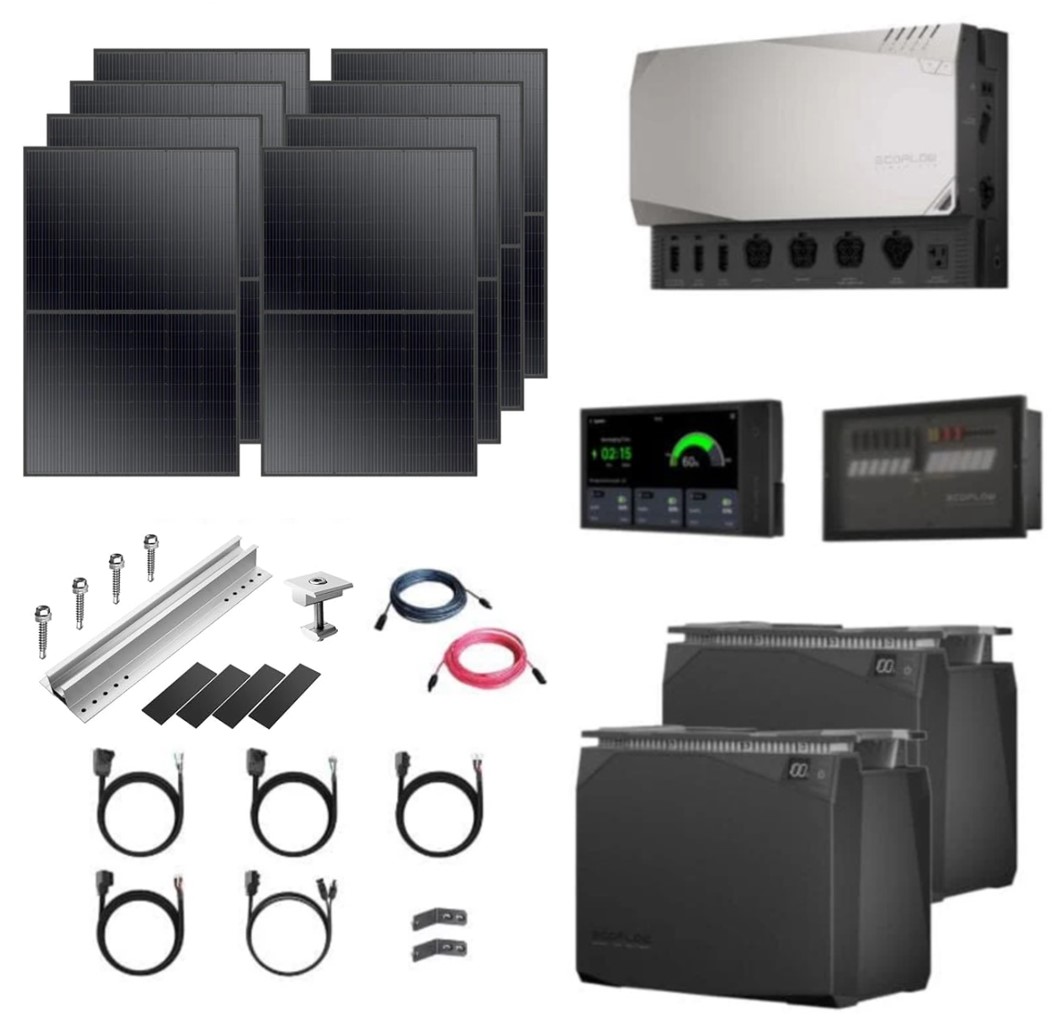
What You’ll Need for Ecoflow Solar Panel Setup
| Item | Quantity | Specifications |
|---|---|---|
| Ecoflow Portable Power Station | 1 | Delta, River series recommended |
| Ecoflow Solar Panels | As needed | 100W, 160W, 220W, or 400W |
| Ecoflow Solar Panel Connector (MC4) | 1 per panel | For connecting panels in parallel |
| Parallel Connection Kit (Optional) | 1 | For connecting multiple panels |
| Mounting Brackets (Optional) | As needed | For roof or ground mounting |
| Extension Cables (Optional) | As needed | For longer distances between panels and station |
| Wrench/Adjustable Spanner | 1 | For tightening connections |
| Multimeter (Optional) | 1 | For testing voltage and current |
| Safety Gloves | 1 Pair | For handling cables and connections |
Preparing Your Location for Installation
Before you begin, careful preparation is crucial for a safe and efficient setup.
- Assess Sunlight: Choose a location that receives maximum direct sunlight throughout the day, minimizing shading from trees, buildings, or other obstructions.
- Surface Considerations: Determine whether you’ll be mounting the panels on a roof, ground, or portable stand. Ensure the surface is stable and can support the weight of the panels.
- Safety First: Always disconnect the power station from the mains before connecting any solar panels. Wear safety gloves to protect your hands.
- Cable Management: Plan how you’ll route the cables from the panels to the power station, minimizing tripping hazards and ensuring they are protected from damage.
- Weather Protection: Ensure all connections are protected from the elements. Consider using weatherproof connectors and enclosures.
Step-by-Step Ecoflow Solar Panel Installation Process
Phase 1: Panel Connection
- Unpack and Inspect: Carefully unpack the solar panels and inspect them for any damage.
- Connect MC4 Connectors: Attach the MC4 connectors to the positive (+) and negative (-) terminals on the back of each solar panel. Ensure a secure connection.
- Parallel Connection (If using multiple panels): If you’re using multiple panels, connect them in parallel using the Ecoflow Parallel Connection Kit. This involves connecting all positive terminals together and all negative terminals together. Important: Do not exceed the maximum input voltage of your Ecoflow power station.
- Extension Cables (If Needed): If the distance between the panels and power station requires it, connect extension cables to the MC4 connectors.
Phase 2: Connecting to the Power Station
- Locate the Solar Input Port: Identify the solar input port on your Ecoflow power station. It’s typically labeled with a sun icon.
- Connect Solar Cable: Connect the MC4 connector from the solar panel (or parallel connection kit) to the solar input port on the power station. Ensure a firm connection.
- Power On and Monitor: Turn on the Ecoflow power station. The display should show solar input wattage.
- App Monitoring: Open the Ecoflow app and check the solar input data to confirm the panels are generating power.
Phase 3: Mounting the Panels (Optional)
- Secure Mounting Brackets: If mounting the panels, attach the mounting brackets to the chosen surface (roof, ground, or stand) following the manufacturer’s instructions.
- Position Panels: Securely mount the solar panels onto the brackets, ensuring they are angled towards the sun for optimal sunlight capture.
- Cable Routing: Route the solar cables neatly and securely to the power station, avoiding any potential hazards.
Post-Completion Testing and Troubleshooting

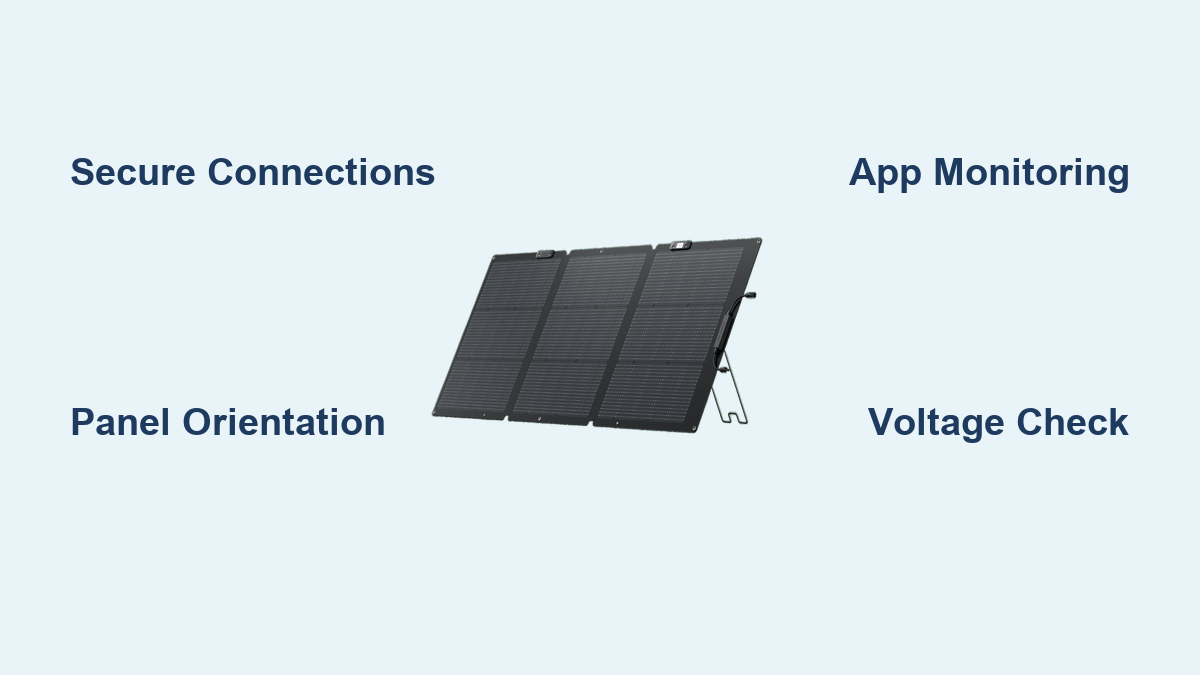
- Voltage Check: Use a multimeter to verify the voltage at the solar input port of the power station. It should be within the acceptable range specified in the Ecoflow manual.
- Wattage Monitoring: Monitor the solar input wattage on the power station display and in the Ecoflow app. It should increase with sunlight intensity.
- Troubleshooting – No Power:
- Check Connections: Ensure all cables and connectors are securely connected.
- Panel Orientation: Verify the panels are facing the sun and are not shaded.
- App Update: Make sure the Ecoflow app is updated to the latest version.
- Power Station Reset: Try resetting the power station.
- Troubleshooting – Low Power:
- Panel Cleaning: Clean the solar panels to remove any dirt or debris.
- Angle Adjustment: Adjust the angle of the panels to maximize sunlight capture.
- Cable Length: Reduce the length of the extension cables if possible, as longer cables can cause voltage drop.
Pro Tips for Optimizing Your Ecoflow Solar Setup

- Panel Angle: Adjust the angle of your solar panels seasonally to maximize sunlight capture.
- Parallel vs. Series: For most Ecoflow power stations, parallel connections are recommended. Never exceed the maximum input voltage.
- Cable Quality: Use high-quality solar cables and connectors to minimize resistance and ensure efficient power transfer.
- Regular Cleaning: Clean the panels regularly to remove dust, dirt, and debris.
- Monitor Performance: Regularly monitor the solar input data in the Ecoflow app to track performance and identify any potential issues.
- Consider a Solar Tracker: For optimal energy capture, consider a solar tracker that automatically adjusts the panel angle throughout the day.
Professional Help Section
- When to Call a Pro: If you are uncomfortable working with electrical connections, or if you encounter persistent issues, it’s best to consult a qualified solar installer.
- Finding a Service Provider: Look for installers who are certified and have experience with Ecoflow products.
- Typical Costs: Professional installation costs vary depending on the complexity of the setup and your location, generally ranging from $200 – $1000+.
- Warranty: Check the warranty terms for your Ecoflow power station and solar panels. Professional installation may be required to maintain warranty coverage.
FAQ Section
Q: What is the maximum input voltage for the Ecoflow Delta 2?
A: The Delta 2 has a maximum input voltage of 80V. Exceeding this voltage can damage the power station.
Q: Can I connect solar panels directly to the Ecoflow River 2 Pro?
A: Yes, you can, but it’s recommended to use the Ecoflow Solar Panel Connector for a secure connection.
Q: How many solar panels can I connect to my Ecoflow power station?
A: The number of panels you can connect depends on the power station’s input capacity and the wattage of the panels. Refer to your Ecoflow manual for specific limits.
Q: What does the “Solar Charging” icon mean on the Ecoflow app?
A: This icon indicates that the power station is currently receiving power from the connected solar panels.
Q: How do I protect my solar panels from theft?
A: Securely mount the panels and consider using security cameras or alarms to deter theft.
Enjoy Your New Ecoflow Solar System
Following this guide, you’ve successfully set up your Ecoflow solar panels and are now ready to harness the power of the sun.
- You’ve learned about the necessary materials.
- You’ve followed a step-by-step installation process.
- You’re equipped with troubleshooting tips.
Don’t hesitate to experiment with panel angles and configurations to maximize your energy harvest.
Share your Ecoflow solar setup experience in the comments below! Let us know what worked best for you and any challenges you encountered to help other users.