

Are you tired of power outages, looking to reduce your carbon footprint, or simply wanting a reliable source of off-grid power? Building a solar generator might be the perfect solution. While it sounds complex, it’s surprisingly achievable with the right knowledge and components. This guide will walk you through the process, starting with a quick overview of the core principles and then diving into a detailed, step-by-step build.
This comprehensive guide will cover everything from selecting the right components to safely assembling and testing your DIY solar generator. We’ll explore different battery options, inverter choices, and charge controller functionalities, providing you with the knowledge to customize your generator to your specific power needs. By the end of this article, you’ll have the confidence and skills to build a functional and reliable solar generator that can power your essential devices.
What You’ll Need for Solar Generator Construction
| Item | Quantity | Specifications | Estimated Cost |
|---|---|---|---|
| Solar Panels | 1-4 | 100W-300W each, 12V | $100 – $600 |
| Deep Cycle Battery | 1-2 | 12V, 50Ah-100Ah (AGM, Gel, or Lithium) | $150 – $500 |
| Charge Controller | 1 | MPPT or PWM, compatible with battery voltage & panel wattage | $50 – $200 |
| Inverter | 1 | Pure Sine Wave, wattage based on your needs (500W – 2000W) | $100 – $400 |
| Battery Cables | Varies | Red & Black, appropriate gauge for current | $20 – $50 |
| Fuses & Fuse Holders | Varies | Inline fuses for battery & panel connections | $10 – $30 |
| Connectors | Varies | MC4 connectors for solar panels, ring terminals for battery | $10 – $20 |
| Enclosure | 1 | Durable, weatherproof box or container | $30 – $100 |
| Voltmeter/Multimeter | 1 | For testing voltage and current | $20 – $50 |
| Wire Strippers/Crimpers | 1 | For preparing and connecting wires | $15 – $30 |
Preparing for Your Solar Generator Build
Safety is paramount when working with electricity and batteries. Always disconnect power sources before making any connections. Wear safety glasses and gloves during the build process. Ensure adequate ventilation, especially when working with lead-acid batteries, as they can produce flammable gases.
Before you begin, determine your power needs. List the devices you want to power and their wattage. This will dictate the size of your battery bank and inverter. Consider future expansion – it’s often easier to build a system slightly larger than your current needs. Finally, choose a suitable location for your solar generator. It should be dry, well-ventilated, and easily accessible.
Step-by-Step Solar Generator Construction Process

Phase 1: Solar Panel Connection
- Connect Panels in Parallel (for increased amperage): If using multiple panels, connect them in parallel. Connect all positive terminals together and all negative terminals together using MC4 connectors and appropriate gauge wire. This increases the current output while maintaining the same voltage.
- Install Inline Fuse: Place an inline fuse holder with a fuse rated slightly higher than the panel’s maximum current output on the positive wire coming from the panel array.
- Connect to Charge Controller: Connect the positive and negative wires from the solar panels to the corresponding terminals on the charge controller, labeled “PV+” and “PV-“.
Phase 2: Battery Connection
- Connect Battery Cables: Attach ring terminals to the ends of the battery cables.
- Install Inline Fuse: Install an inline fuse holder with a fuse rated for the battery’s maximum discharge current on the positive battery cable.
- Connect to Charge Controller: Connect the positive and negative battery cables to the corresponding terminals on the charge controller, labeled “Battery+” and “Battery-“. Important: Double-check the polarity before connecting!
- Connect Battery Monitor (Optional): If using, connect a battery monitor to the battery terminals to track voltage, current, and state of charge.
Phase 3: Inverter Connection
- Connect Inverter to Battery: Connect the positive and negative inverter cables to the corresponding terminals on the battery. Again, double-check polarity!
- Secure Connections: Ensure all connections are tight and secure. Loose connections can cause arcing and potentially damage the system.
Phase 4: Enclosure & Final Assembly
- Mount Components: Securely mount the charge controller, inverter, and battery inside the enclosure.
- Ventilation: Ensure adequate ventilation inside the enclosure, especially if using lead-acid batteries. Drill ventilation holes if necessary.
- Wire Management: Organize the wires neatly to prevent tangling and ensure easy access for maintenance.
- Labeling: Label all connections and components clearly for easy identification.
Post-Completion Testing and Troubleshooting
- Voltage Check: Use a voltmeter to verify the voltage at the battery terminals, charge controller output, and inverter input.
- Charge Test: Expose the solar panels to sunlight and verify that the charge controller is charging the battery.
- Load Test: Connect a small load (e.g., a light bulb) to the inverter and verify that it powers on. Gradually increase the load to test the inverter’s capacity.
- Troubleshooting:
- No Charge: Check panel connections, fuse, and charge controller settings.
- Inverter Not Working: Check battery voltage, inverter fuse, and connections.
- Low Voltage: Check panel output, charge controller settings, and battery health.
Pro Tips for a Successful Build
- Lithium vs. Lead-Acid: Lithium batteries offer higher energy density, longer lifespan, and faster charging, but are more expensive. Lead-acid batteries are more affordable but require more maintenance and have a shorter lifespan.
- MPPT vs. PWM Charge Controllers: MPPT (Maximum Power Point Tracking) controllers are more efficient, especially in cloudy conditions, but are also more expensive. PWM (Pulse Width Modulation) controllers are simpler and cheaper.
- Pure Sine Wave Inverters: Essential for sensitive electronics like laptops and smartphones. Modified sine wave inverters are cheaper but can damage some devices.
- Proper Wire Gauge: Using the correct wire gauge is crucial for safety and efficiency. Consult a wire gauge chart based on the current and distance.
- Grounding: Grounding the system is essential for safety, especially if using a metal enclosure.
Professional Help
If you’re uncomfortable working with electricity, consider consulting a qualified electrician. Signs you need professional help include:
* Difficulty understanding wiring diagrams
* Persistent troubleshooting issues
* Concerns about safety
Typical costs for professional assistance can range from $100 – $300 for consultation and installation help.
FAQ
Q: How long will a solar generator power my devices?
A: This depends on the battery capacity, the wattage of your devices, and how often you use them. Calculate your total energy consumption (watt-hours) and divide by the battery capacity (watt-hours) to estimate runtime.
Q: Can I use a regular car battery?
A: No. Car batteries are designed for short bursts of high current, not deep cycling. Deep cycle batteries are designed to be discharged and recharged repeatedly.
Q: What is the best way to store a solar generator?
A: Store the generator in a cool, dry place. Disconnect the battery if storing for an extended period. Check the battery voltage periodically and recharge as needed.
Alternative Solutions
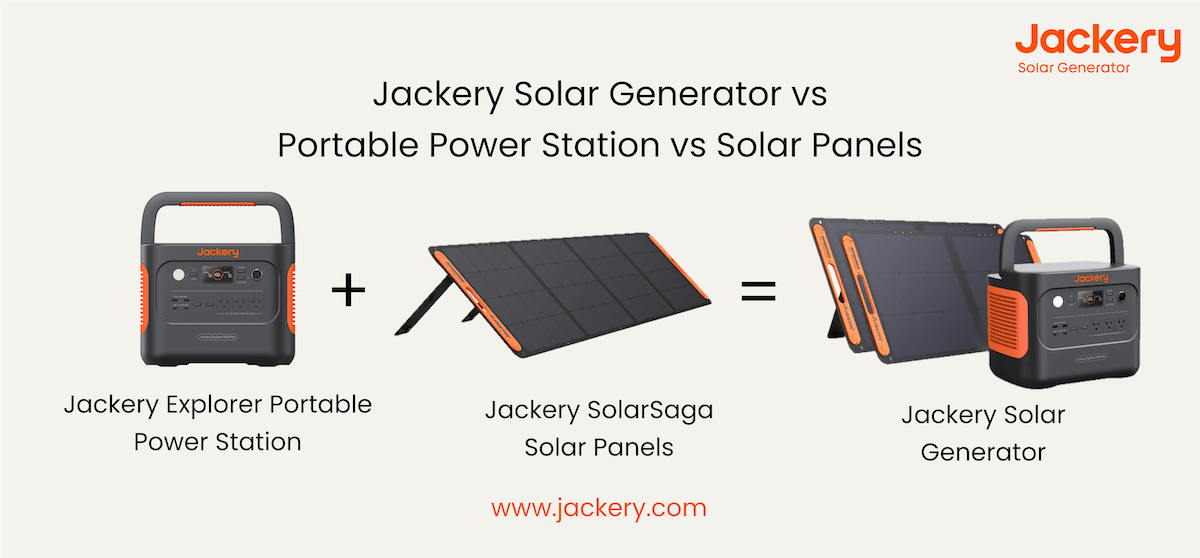
If building a solar generator feels too daunting, consider purchasing a pre-built portable power station.
| Solution | Pros | Cons | Best For |
|---|---|---|---|
| DIY Solar Generator | Cost-effective, Customizable, Learning experience | Time-consuming, Requires technical skills, Potential safety risks | DIY enthusiasts, Off-grid living |
| Portable Power Station | Convenient, Ready-to-use, Safe | More expensive, Limited customization | Emergency backup, Camping, Short-term power outages |
Enjoy Your New Solar Generator
Congratulations! You’ve successfully built your own solar generator. Now you have a reliable source of clean, off-grid power. Remember to regularly inspect your system, maintain the battery, and enjoy the freedom and peace of mind that comes with energy independence.
Following this guide, you now have a functional solar generator, and you can:
– Power essential devices during outages.
– Reduce your reliance on the grid.
– Contribute to a more sustainable lifestyle.
Share your solar generator build experience in the comments below and help other readers! What challenges did you face, and what tips would you offer?