
Are you eager to harness the power of the sun to charge your Jackery power station? It can be frustrating when you’re ready to go off-grid, but unsure how to properly connect your solar panels. The good news is it’s often a straightforward process! A quick fix for many is simply ensuring you’re using the correct adapter and port.
This comprehensive guide will walk you through everything you need to know to connect your solar panels to your Jackery power station, covering compatibility, connection methods, troubleshooting, and best practices. Whether you’re a beginner or have some experience with solar power, this article will equip you with the knowledge to confidently and safely power your adventures with the sun.
Understanding Jackery and Solar Panel Compatibility
Before diving into the connection process, it’s crucial to understand which solar panels are compatible with your Jackery power station. Jackery power stations accept input from various solar panels, but there are key factors to consider:
- Voltage: Jackery power stations typically have a specific voltage range for solar input (often around 12V-24V, but check your model’s specifications). Your solar panel’s output voltage must fall within this range.
- Wattage: The maximum input wattage your Jackery can handle is another critical factor. Exceeding this wattage won’t damage the station, but the excess power won’t be utilized.
- Connector Type: Jackery power stations commonly use Anderson Powerpole (PP) or DC 8.0mm connectors. Solar panels may have different connectors (MC4 being the most common). You’ll likely need an adapter.
- Series vs. Parallel Connection: Depending on your Jackery model and solar panel setup, you might need to connect panels in series (to increase voltage) or parallel (to increase amperage).
Common Jackery Models and Compatibility
- Jackery Explorer Series (240, 300, 500, 700, 1000): Generally compatible with solar panels ranging from 60W to 200W, with input voltages between 12V-24V.
- Jackery Explorer 1000 Pro/2000 Pro: Accepts higher wattage inputs (up to 800W/2400W) and can benefit from larger solar panel arrays.
- Jackery Boulder Series (Solar Panels): Designed specifically for Jackery power stations, offering seamless compatibility.
Connecting Your Solar Panel to Jackery: Step-by-Step Guide
This guide assumes you have a solar panel with MC4 connectors and a Jackery power station with an Anderson Powerpole (PP) input.
Materials You’ll Need
| Item | Quantity | Specifications |
|---|---|---|
| Solar Panel(s) | 1 or more | Wattage and Voltage compatible with Jackery |
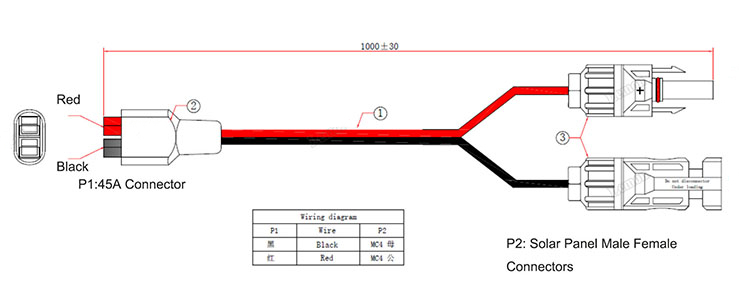
| MC4 to Anderson Powerpole Adapter Cable | 1 | Specifically designed for Jackery |
| Solar Panel Stands | Optional | For optimal sun exposure |
| Extension Cables (MC4) | Optional | If the solar panel is far from the Jackery |
| Voltmeter | Optional | For testing voltage and amperage |
Phase 1: Preparation
- Safety First: Ensure the area is dry and free of obstructions. Avoid working during peak sunlight hours to prevent glare.
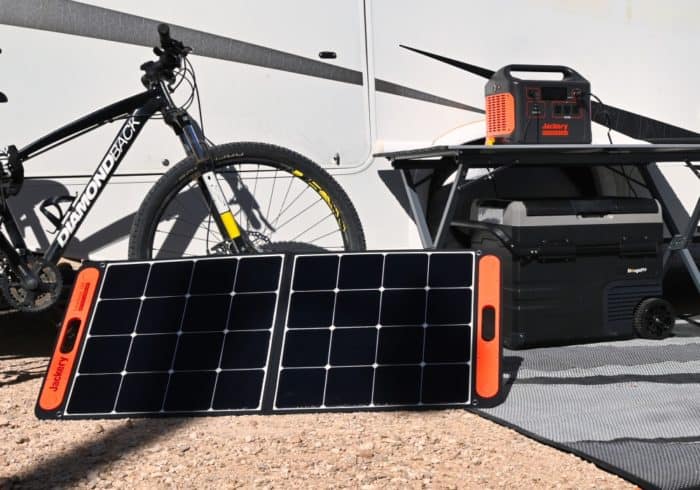
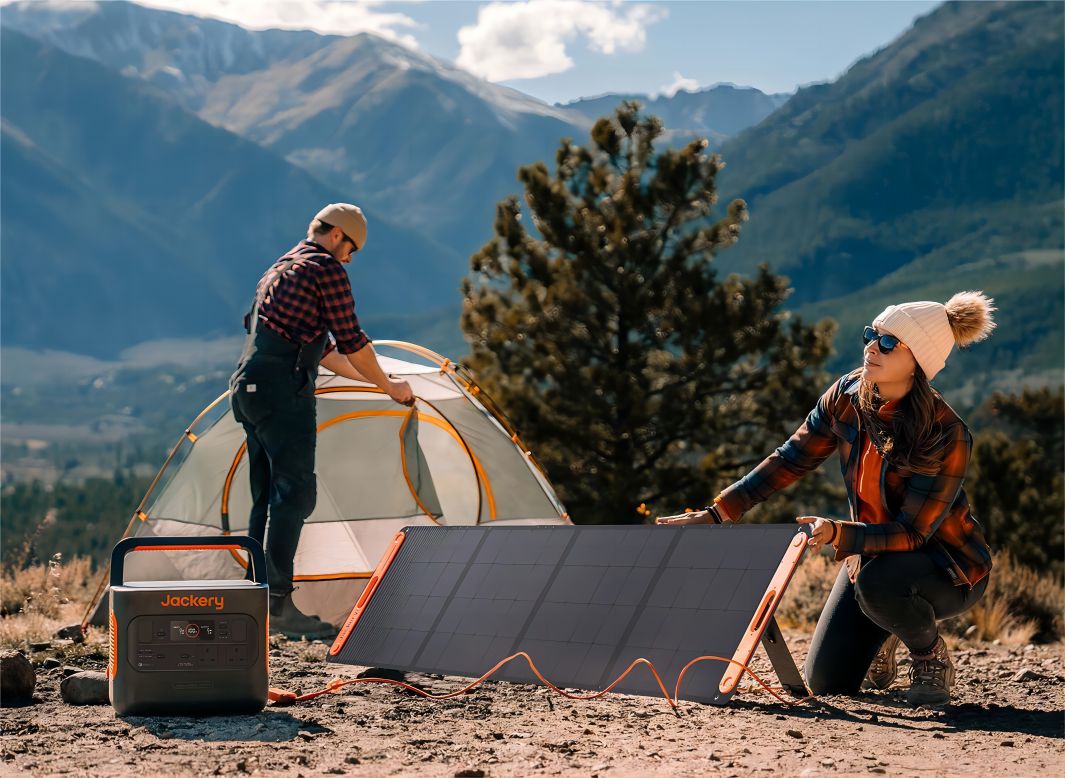
- Panel Placement: Position your solar panel(s) in a location that receives direct sunlight. Adjust the angle for maximum sun exposure based on your location and time of year.
- Cable Inspection: Inspect all cables and connectors for damage. Do not use damaged cables.
- Jackery Power Station: Ensure your Jackery is turned OFF before connecting the solar panel.
Phase 2: Making the Connection
- Connect Adapter: Attach the MC4 to Anderson Powerpole adapter cable to your solar panel’s MC4 connectors. Ensure a secure connection.
- Connect to Jackery: Plug the Anderson Powerpole connector into the solar input port on your Jackery power station.
- Power On: Turn on your Jackery power station.
- Monitor Charging: Observe the display on your Jackery. It should indicate that it is receiving power from the solar panel. The charging icon will illuminate.
Phase 3: Testing and Optimization
- Check Voltage & Amperage (Optional): Use a voltmeter to verify the voltage and amperage coming from the solar panel. This helps ensure optimal performance.
- Adjust Panel Angle: Fine-tune the angle of the solar panel throughout the day to maximize sunlight exposure.
- Monitor Charging Rate: Check the charging rate on your Jackery’s display. This will vary depending on the intensity of sunlight.
Troubleshooting Common Connection Issues
Solar Panel Not Charging
- Incorrect Connection: Double-check all connections. Ensure the MC4 and Anderson Powerpole connectors are securely attached.
- Insufficient Sunlight: Solar panels require direct sunlight to generate power effectively. Check for shadows or cloud cover.
- Voltage Mismatch: Verify that your solar panel’s voltage falls within the acceptable range for your Jackery.
- Adapter Issues: Test with a different adapter cable if possible.
- Jackery Input Port: Inspect the Jackery’s solar input port for damage.
Slow Charging Rate
- Panel Angle: Adjust the angle of the solar panel for optimal sun exposure.
- Panel Wattage: A lower wattage panel will charge slower. Consider using a higher wattage panel or connecting multiple panels.
- Cable Length: Long cables can result in voltage drop. Use shorter cables or thicker gauge wire.
- Partial Shading: Even partial shading can significantly reduce the charging rate.
Pro Tips for Maximizing Solar Charging Efficiency
- Use Jackery Boulder Panels: These panels are specifically designed for Jackery power stations, ensuring optimal compatibility and performance.
- Connect in Series or Parallel: Experiment with series and parallel connections to find the configuration that best suits your Jackery model and solar panel setup. Always consult your Jackery’s manual for safe voltage and wattage limits!
- Keep Panels Clean: Dust, dirt, and debris can reduce solar panel efficiency. Clean your panels regularly with a soft cloth and water.
- Optimize Panel Placement: Adjust the angle of the panels throughout the day to track the sun.
- Use a Charge Controller (If Necessary): For larger solar panel arrays, a charge controller can help regulate the voltage and current, protecting your Jackery.
Professional Help
- When to Seek Professional Assistance: If you are unsure about electrical connections, suspect a faulty Jackery or solar panel, or are experiencing persistent charging issues.
- Finding a Qualified Technician: Look for a solar power installer or electrician with experience in portable power stations.
- Typical Costs: Professional diagnosis and repair can range from $50 to $200, depending on the complexity of the issue.
FAQ
Q: Can I connect multiple solar panels to my Jackery?
A: Yes, you can connect multiple solar panels, but ensure the combined wattage does not exceed your Jackery’s maximum input wattage. You might need to connect them in series or parallel depending on your Jackery’s voltage requirements.
Q: What does it mean if my Jackery is not charging even in direct sunlight?
A: This could indicate a problem with the connection, the adapter cable, the solar panel itself, or the Jackery’s input port. Troubleshoot each component systematically.
Q: Can I leave my solar panel connected to my Jackery overnight?
A: Yes, it’s generally safe to leave the solar panel connected overnight. The Jackery will automatically stop charging when the battery is full.
Alternative Solutions
| Solution | Pros | Cons | Best For |
|---|---|---|---|
| Higher Wattage Solar Panel | Faster charging, less time in the sun | More expensive, potentially bulky | Users needing quick charging, limited sunlight |
| Portable Solar Generator with Built-in Controller | Simpler setup, optimized charging | Can be more expensive than separate components | Users prioritizing convenience |
Enjoy Your Solar-Powered Jackery!
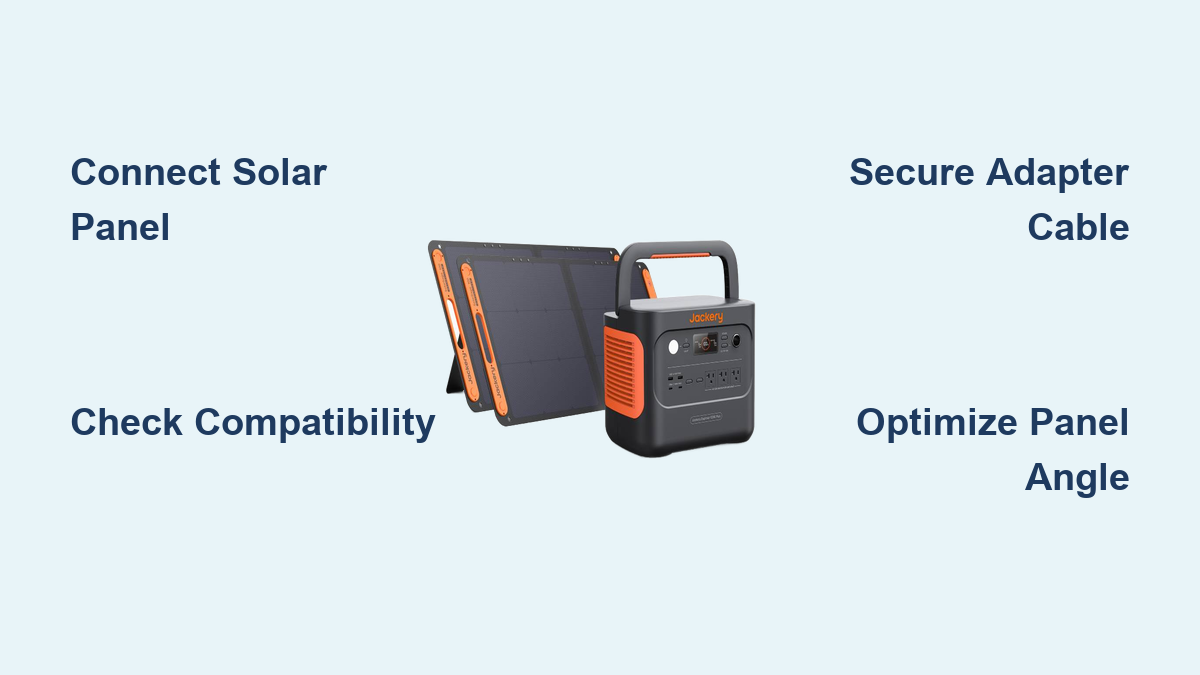
Now that you’ve successfully connected your solar panel to your Jackery power station, you’re ready to enjoy clean, renewable energy wherever you go. Remember these key steps: ensure compatibility, make secure connections, and optimize panel placement for maximum efficiency.
Have you successfully connected your solar panel to your Jackery? Share your experience and any tips in the comments below to help other readers!