

Building your own solar generator can seem daunting, but it’s a rewarding project that provides reliable backup power and reduces your reliance on the grid. If you’re experiencing power outages or simply want a sustainable energy source, a DIY solar generator offers a cost-effective solution. This guide will walk you through the process, from gathering materials to testing your finished product.
Many people find the initial cost of commercially available solar generators prohibitive. Building your own allows for customization to your specific power needs and can significantly reduce expenses. This comprehensive guide will cover everything you need to know to create a functional and efficient solar generator, ensuring you’re prepared for anything from camping trips to emergency situations. We’ll go beyond the basics, offering advanced tips and troubleshooting advice to ensure your project is a success.
What You’ll Need for Solar Generator Construction

| Item | Quantity | Specifications |
|---|---|---|
| Solar Panels | 1-4 | 100W-300W each, 12V or 24V |
| Deep Cycle Battery | 1-4 | 12V 100Ah or larger (LiFePO4 recommended) |
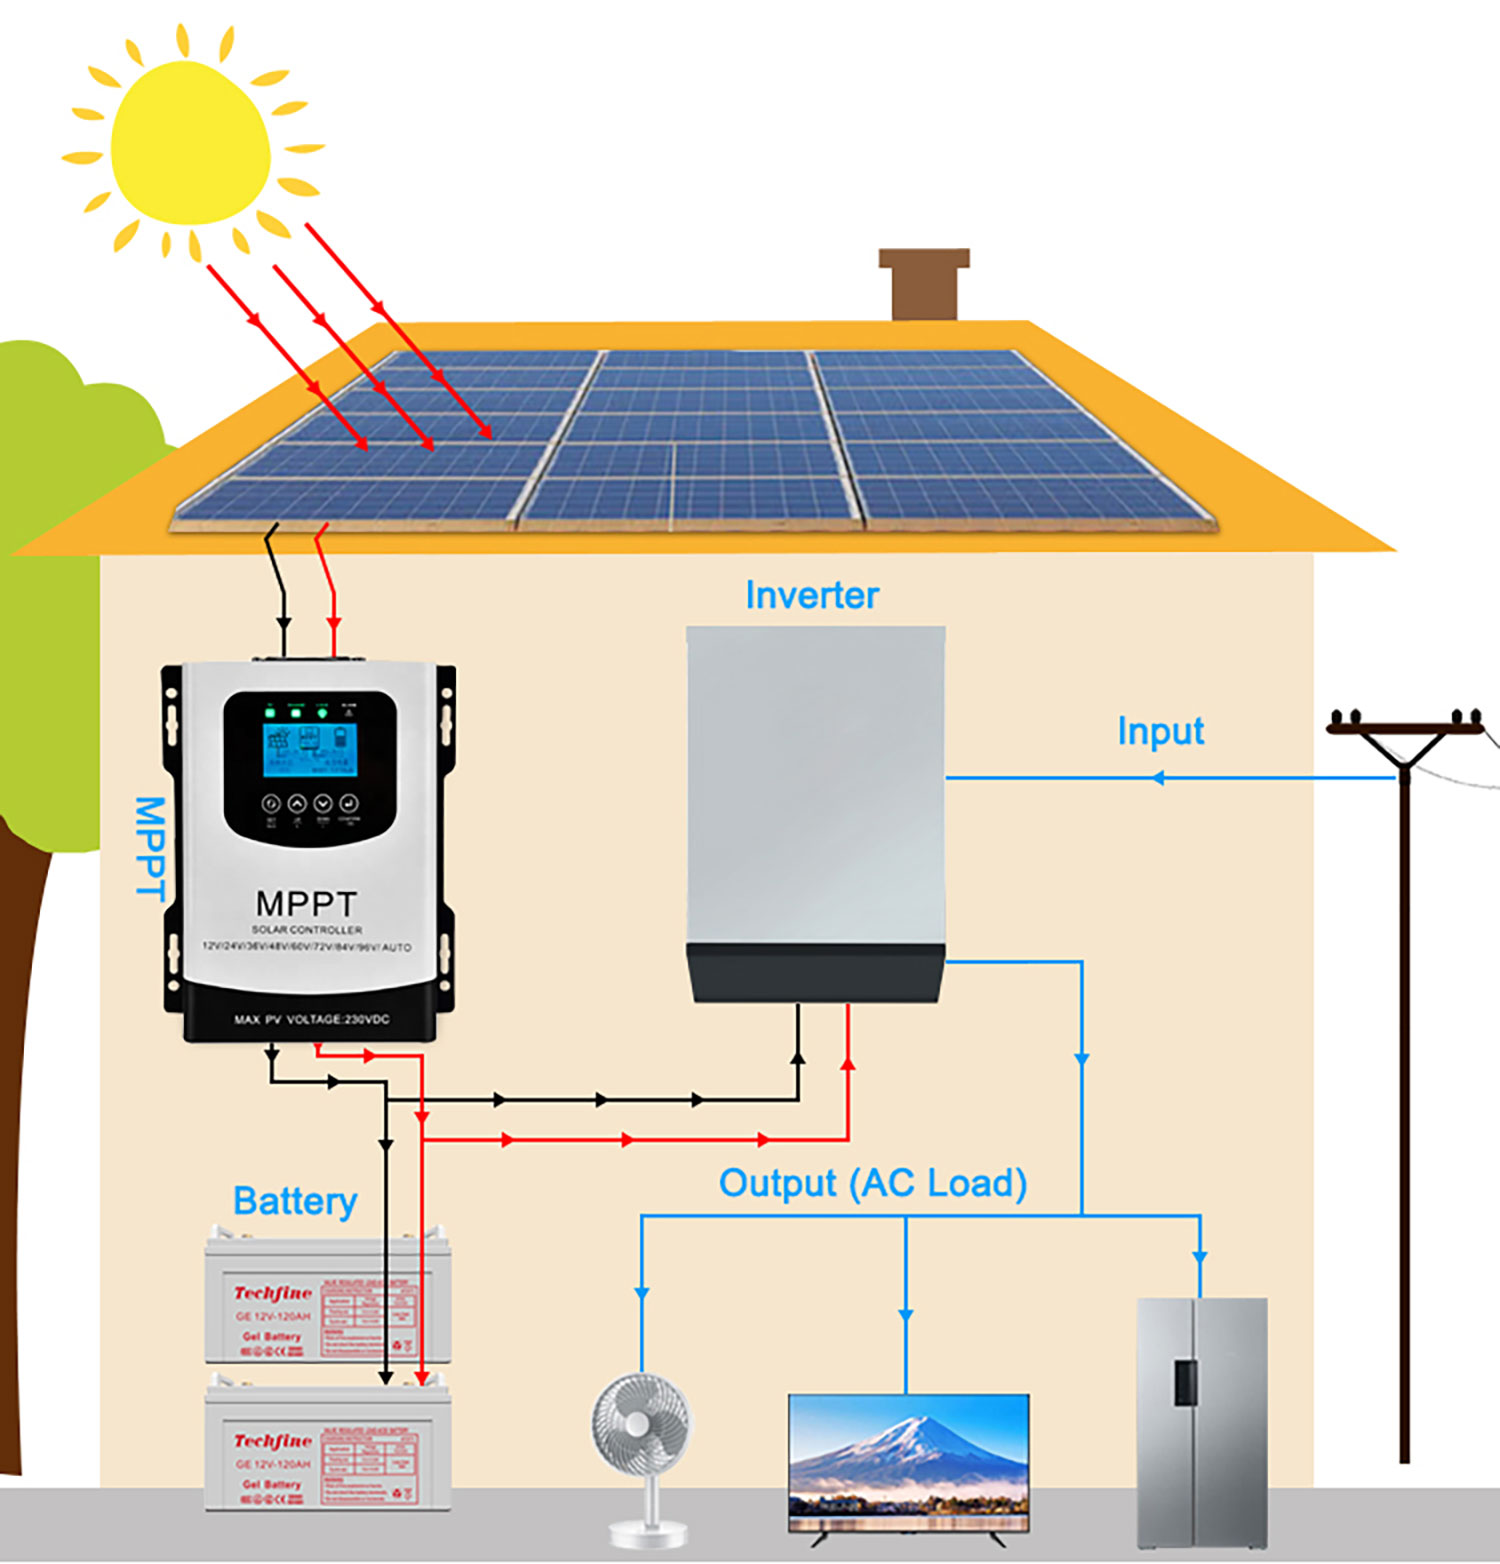
| Charge Controller | 1 | MPPT or PWM, compatible with battery voltage & panel wattage |
| Inverter | 1 | Pure Sine Wave, wattage based on your expected load |
| Battery Box/Enclosure | 1 | Durable, weather-resistant, adequate ventilation |
| Wiring | Various | 10-12 AWG stranded copper wire, red & black |
| Fuses & Fuse Holders | Various | Rated for appropriate amperage, inline fuses |
| Connectors | Various | MC4 connectors, ring terminals, spade connectors |
| Voltmeter/Ammeter | 1 | For monitoring system performance |
| Screwdrivers, Wrenches, Wire Strippers, Crimpers | 1 set | Basic electrical tools |
Preparation Steps and Safety Considerations
Before you begin, safety is paramount. Working with electricity and batteries can be dangerous.
- Disconnect Power: Always disconnect any power sources before working on electrical components.
- Battery Safety: Batteries can release explosive gases. Ensure adequate ventilation and avoid sparks or open flames near batteries. Wear safety glasses and gloves. Lithium batteries require specific chargers and precautions; follow manufacturer’s instructions carefully.
- Wiring: Double-check all wiring connections before applying power. Incorrect wiring can damage components or create a fire hazard.
- Enclosure: Choose a sturdy, weather-resistant enclosure to protect your components. Ensure adequate ventilation to prevent overheating.
- Grounding: Properly ground the system to prevent electrical shock.
Step-by-Step Solar Generator Construction Process
Phase 1: Component Mounting & Wiring
- Mount the Charge Controller: Securely mount the charge controller inside the enclosure. Ensure it has good airflow.
- Connect Solar Panels to Charge Controller: Connect the solar panels to the charge controller using MC4 connectors. Pay attention to polarity (+ and -).
- Connect Battery to Charge Controller: Connect the deep cycle battery to the charge controller, again observing correct polarity. Use appropriately sized wiring and fuses.
- Connect Inverter to Battery: Connect the inverter to the battery using heavy-gauge wiring and a fuse. This is a high-current connection, so ensure it’s secure.
Phase 2: Enclosure Assembly & Cable Management
- Install Battery in Enclosure: Securely mount the battery inside the enclosure. Consider using a battery hold-down strap.
- Route Wiring: Carefully route all wiring inside the enclosure, keeping it neat and organized. Use wire ties or cable clamps to prevent wires from rubbing or getting tangled.
- Install Ventilation: Ensure the enclosure has adequate ventilation holes or a fan to prevent overheating, especially for batteries and inverters.
- Mount Voltmeter/Ammeter: Install a voltmeter/ammeter to monitor the system’s voltage and current.
Phase 3: Final Connections & Testing
- Double-Check Wiring: Thoroughly double-check all wiring connections for accuracy and tightness.
- Install Fuses: Insert fuses into all fuse holders.
- Initial Power-Up: With everything connected, cautiously apply power. Monitor the charge controller and inverter for any error indications.
- Test with a Load: Connect a small load (e.g., a light bulb) to the inverter to test the system’s functionality.
- Monitor Performance: Monitor the system’s performance over several hours to ensure it’s charging and discharging correctly.
Post-Completion Testing and Troubleshooting
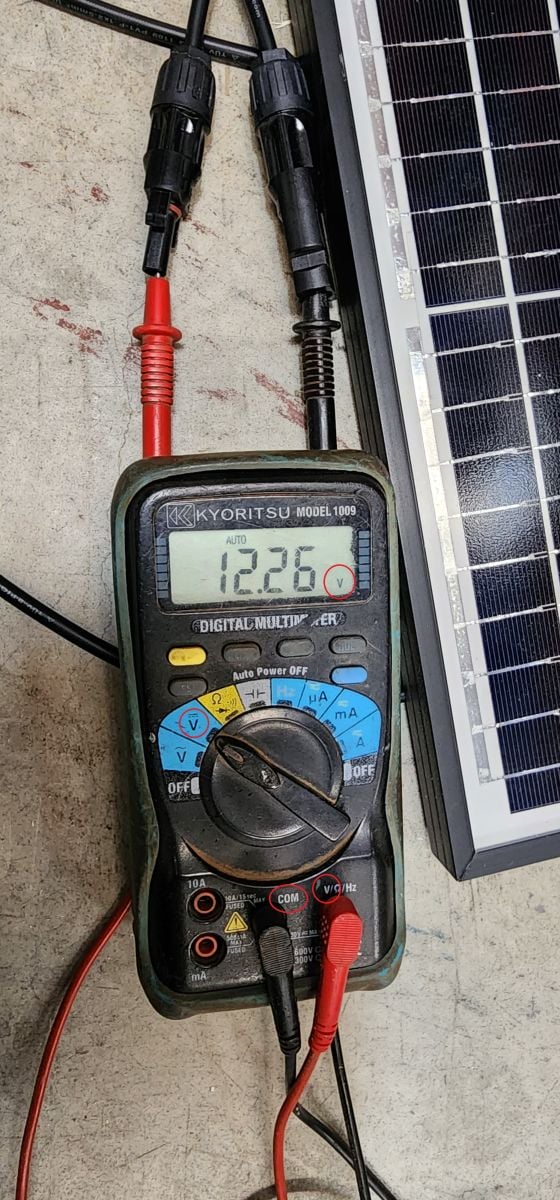
- Voltage and Current Readings: Verify that the voltmeter and ammeter are displaying accurate readings.
- Charging Performance: Observe the charge controller to ensure it’s properly charging the battery when exposed to sunlight.
- Inverter Output: Test the inverter with various loads to ensure it can handle the expected power draw.
- Troubleshooting Common Issues:
- No Charging: Check solar panel connections, charge controller settings, and battery voltage.
- Inverter Not Working: Check battery voltage, inverter fuse, and inverter settings.
- Low Output Voltage: Check wiring connections and battery health.
How Often to Monitor Your Solar Generator
| Frequency | Task |
|---|---|
| Daily | Check battery voltage and charge controller status |
| Weekly | Inspect wiring and connections for damage |
| Monthly | Clean solar panels |
| Annually | Test battery capacity |
Pro Tips for Optimal Performance
- MPPT Charge Controller: Invest in an MPPT (Maximum Power Point Tracking) charge controller for increased efficiency, especially in cloudy conditions.
- LiFePO4 Batteries: Lithium Iron Phosphate (LiFePO4) batteries offer longer lifespan, higher energy density, and better safety compared to lead-acid batteries.
- Proper Ventilation: Adequate ventilation is critical to prevent overheating and extend the lifespan of your components.
- Panel Angle: Adjust the angle of your solar panels seasonally to maximize sunlight capture.
- Wire Gauge: Use appropriately sized wiring to minimize voltage drop and ensure efficient power transfer.
- Regular Cleaning: Keep your solar panels clean to maintain optimal performance.
When to Call a Professional
- Complex Wiring Issues: If you are uncomfortable with electrical wiring, consult a qualified electrician.
- Battery Problems: If you suspect a battery is failing, seek professional advice.
- Inverter Malfunctions: If your inverter is malfunctioning, contact the manufacturer or a qualified technician.
FAQ
Q: What size inverter do I need?
A: Calculate the total wattage of all the devices you plan to run simultaneously. Choose an inverter with a wattage rating that exceeds this amount by at least 20%.
Q: What type of battery is best for a solar generator?
A: LiFePO4 batteries are generally considered the best option due to their longevity, safety, and efficiency. However, they are more expensive than lead-acid batteries.
Q: How do I calculate the charging time for my battery?
A: Charging time depends on the battery capacity, solar panel wattage, and sunlight hours. Use the formula: Charging Time = (Battery Capacity / Solar Panel Wattage) x Sunlight Hours.
Alternative Solutions
| Solution | Pros | Cons | Best For |
|---|---|---|---|
| Pre-built Solar Generator | Convenience, warranty, simplicity | Higher cost, less customization | Users who want a plug-and-play solution |
| Portable Power Station | Compact, lightweight, all-in-one | Limited capacity, can be expensive | Camping, short-term power outages |
Enjoy Your New Solar Generator
Congratulations! You’ve successfully built your own solar generator. You now have a reliable, sustainable power source for emergencies, outdoor adventures, or simply reducing your carbon footprint.
Here’s a recap of what you’ve accomplished:
– Successfully assembled all components
– Properly wired the system for safe and efficient operation
– Tested the system to ensure functionality
Don’t hesitate to experiment with different configurations and loads to optimize your system’s performance.
Share your experience in the comments below and let us know how your DIY solar generator is working for you!