

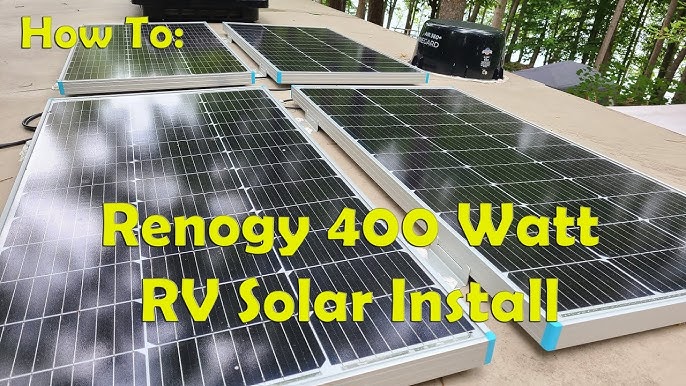
Are you frustrated with complicated solar panel mounting instructions? Do you want to harness the power of the sun but aren’t sure where to start? A secure and properly angled mount is crucial for maximizing your Renogy solar panel’s efficiency, and a quick fix involves ensuring you have the right mounting hardware for your roof type.
This comprehensive guide will walk you through everything you need to know to safely and effectively mount your Renogy solar panels. We’ll cover choosing the correct mounting system, preparing your surface, the step-by-step installation process, and post-installation testing. By the end of this article, you’ll have the confidence to install your solar panels and start enjoying clean, renewable energy.
What You’ll Need for Renogy Solar Panel Installation
| Item | Quantity | Specifications |
|---|---|---|
| Renogy Solar Panel(s) | Varies | Based on your energy needs |
| Mounting System (Z-Brackets, Roof Mounts, Pole Mounts) | Varies | Compatible with your Renogy panels and mounting surface |
| Stainless Steel Hardware (Bolts, Nuts, Washers) | Varies | Size and quantity depend on mounting system |
| Sealant (Self-Leveling, UV Resistant) | 1 Tube | Specifically for roof penetration |
| Wiring Connectors (MC4) | As needed | To connect panels to charge controller |
| Wiring (Solar Cable) | As needed | 10AWG or 12AWG recommended |
| Drill | 1 | With appropriate drill bits for your mounting surface |
| Socket Wrench Set | 1 | To tighten bolts and nuts |
| Measuring Tape | 1 | For accurate measurements |
| Level | 1 | To ensure panels are level |
| Safety Glasses | 1 | For eye protection |
| Gloves | 1 Pair | For hand protection |
| Wire Strippers/Crimpers | 1 | For wiring connections |
| Multimeter | 1 | For testing voltage and current |
Preparing Your Roof for Installation

Before you begin, careful preparation is essential. This ensures a secure and leak-proof installation.
- Assess Roof Structure: Determine the type of roof you have (asphalt shingles, metal, flat, etc.). This dictates the type of mounting system you’ll need. Ensure your roof can support the added weight of the panels and mounting hardware. Consult a structural engineer if you’re unsure.
- Locate Roof Rafters: Identify the location of your roof rafters. Mounting directly to rafters provides the strongest support. Use a stud finder to locate them accurately.
- Plan Panel Layout: Arrange the panels on your roof to maximize sunlight exposure and minimize shading. Consider the orientation (south-facing is generally best in the Northern Hemisphere) and tilt angle (adjust based on your latitude and seasonal energy needs).
- Mark Mounting Points: Carefully mark the locations where you’ll drill holes for the mounting hardware. Double-check your measurements to ensure accuracy.
- Safety First: Always prioritize safety. Use a safety harness and fall protection equipment when working on a roof. Work on a dry, clear day.
Step-by-Step Installation Process
This process will focus on a common Roof Mount installation, adjust as needed for other mount types.
Phase 1: Mounting Bracket Installation
- Drill Pilot Holes: Drill pilot holes at the marked locations, slightly smaller than the diameter of the mounting bolts.
- Apply Sealant: Apply a generous bead of self-leveling, UV-resistant sealant around each pilot hole. This prevents water intrusion.
- Attach Mounting Brackets: Secure the mounting brackets to the roof using the stainless steel bolts, nuts, and washers. Tighten securely, but avoid over-tightening, which could damage the roof.
- Seal Around Brackets: Apply additional sealant around the base of each mounting bracket to create a watertight seal.
Phase 2: Panel Attachment
- Position Panels: Carefully lift and position the Renogy solar panels onto the installed mounting brackets.
- Secure Panels: Attach the panels to the brackets using the appropriate stainless steel hardware. Ensure the panels are securely fastened and cannot move.
- Grounding: Connect the grounding lug on the solar panel frame to a properly grounded point on your electrical system. This is crucial for safety.
Phase 3: Wiring Connections
- Connect MC4 Connectors: Attach MC4 connectors to the positive and negative wires of each solar panel.
- Series or Parallel Configuration: Connect the panels in series or parallel, depending on your charge controller and system voltage requirements. Consult your Renogy system documentation for guidance.
- Run Wiring: Run the solar cables from the panels to your charge controller, ensuring the cables are securely fastened and protected from damage.
- Connect to Charge Controller: Connect the solar cables to the appropriate terminals on your charge controller.
Phase 4: Final Checks
- Inspect Mounting: Visually inspect all mounting hardware to ensure it’s securely fastened and sealed.
- Check Wiring: Verify all wiring connections are tight and properly insulated.
- Test Voltage and Current: Use a multimeter to test the voltage and current output of the solar panels. Ensure they are within the expected range.
- Leak Check: After a rain, inspect the mounting points for any signs of water intrusion. Address any leaks immediately with additional sealant.
How to Prevent Future Mounting Issues
- Regular Inspections: Inspect the mounting hardware and sealant annually for signs of corrosion or damage.
- Tighten Hardware: Periodically tighten the mounting bolts to ensure they remain secure.
- Clean Panels: Keep the solar panels clean to maximize energy production.
- Sealant Maintenance: Reapply sealant as needed to maintain a watertight seal.
- Snow Removal: In areas with heavy snowfall, remove snow accumulation from the panels to prevent excessive weight load.
Pro Tips
- Use a torque wrench to ensure mounting bolts are tightened to the manufacturer’s specifications.
- Consider using a flashing kit around mounting points to further enhance weatherproofing.
- Pre-drill holes slightly larger than the bolt diameter to allow for thermal expansion and contraction.
- Use a cable management system to keep wiring neat and organized.
- For curved roofs, consider using adjustable mounting brackets to ensure proper panel alignment.
- Always consult local building codes and regulations before starting your installation.
- Don’t skimp on the quality of the sealant – a good sealant is vital for a long-lasting, leak-proof installation.
Professional Help Section
- Signs you need a professional: Difficulty accessing the roof safely, uncertainty about roof structure, complex wiring requirements, or concerns about building codes.
- What to look for in a service provider: Licensed and insured solar installer, experience with Renogy products, positive customer reviews.
- Typical cost ranges: $500 – $2,000+, depending on the complexity of the installation and the number of panels.
- Warranty considerations: Ensure the installer provides a warranty on their workmanship.
FAQ Section
Q: Can I mount solar panels on any type of roof?
A: Not all roofs are suitable for solar panel mounting. The roof must be structurally sound and able to support the weight of the panels. The type of roof material will also determine the appropriate mounting system.
Q: What is the best tilt angle for my solar panels?
A: The optimal tilt angle depends on your latitude and seasonal energy needs. Generally, a tilt angle equal to your latitude is a good starting point.
Q: How do I ground my solar panels?
A: Connect the grounding lug on the solar panel frame to a properly grounded point on your electrical system. This is crucial for safety.
Q: What type of sealant should I use?
A: Use a self-leveling, UV-resistant sealant specifically designed for roof penetration.
Q: Is a permit required for solar panel installation?
A: Yes, in most jurisdictions, a permit is required for solar panel installation. Check with your local building department.
Alternative Solutions Section
| Solution | Pros | Cons | Best For |
|---|---|---|---|
| Ground Mount | Easier access for maintenance, adjustable angle, no roof penetration | Requires land space, potential for shading, security concerns | Large properties with ample space |
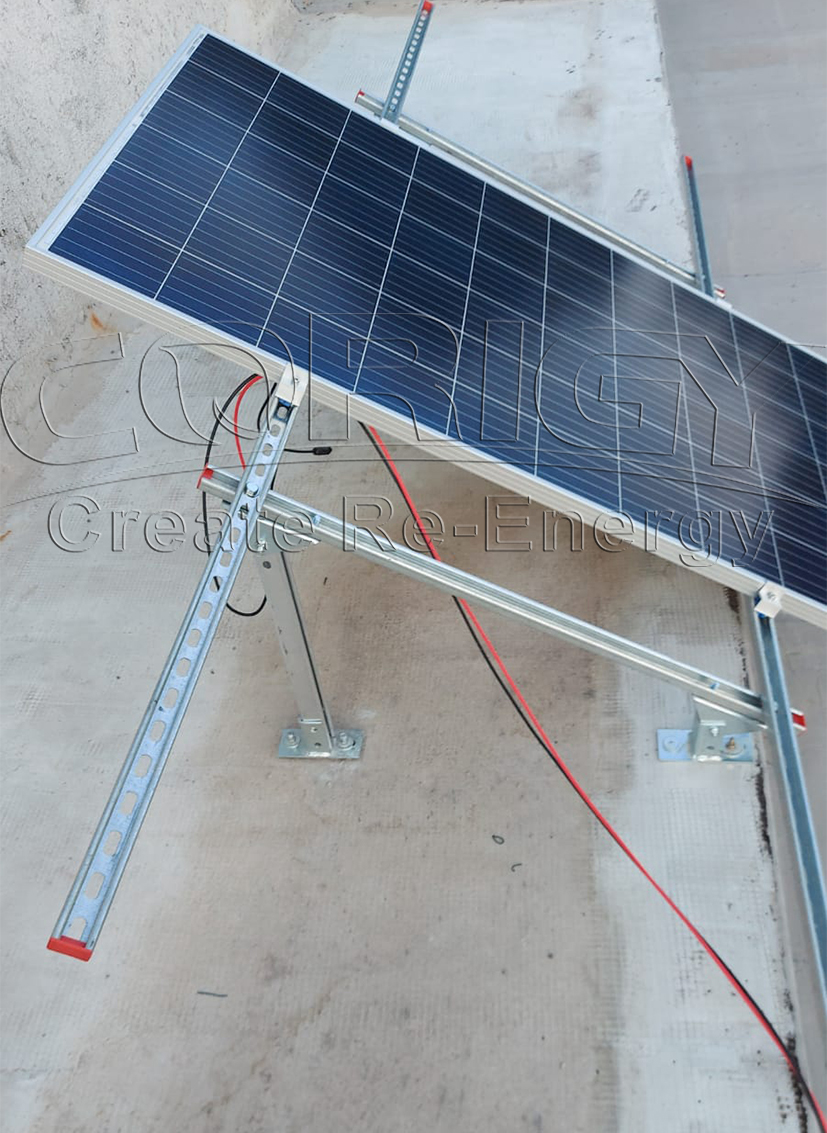
| Pole Mount | Adjustable angle, no roof penetration, good for areas with limited space | Requires strong foundation, potential for wind load, security concerns | Areas with limited roof space or challenging roof angles |
Enjoy Your New Solar Setup
Congratulations! You’ve successfully mounted your Renogy solar panels. By following these steps, you’ve ensured a secure, efficient, and long-lasting installation.
Remember to regularly inspect your system and address any issues promptly. Now, sit back, relax, and enjoy the benefits of clean, renewable energy!
Did this guide help you mount your Renogy solar panels? Share your experience and any tips in the comments below!