
Are you excited about harnessing the power of the sun with your Renogy Solar Suitcase, but feeling overwhelmed by the setup process? It’s common to be unsure where to start, especially when it comes to connecting everything correctly and maximizing energy production. The good news is, getting your Renogy Solar Suitcase up and running doesn’t have to be complicated. A simple connection to your charge controller and battery is all it takes to begin!
This comprehensive guide will walk you through every step of setting up your Renogy Solar Suitcase, from unpacking and understanding the components to connecting it to your power system and optimizing its performance. We’ll cover different setup scenarios, troubleshooting common issues, and provide essential maintenance tips, ensuring you get the most out of your investment and enjoy reliable off-grid power. By the end of this guide, you’ll be confidently powering your adventures with the sun!
Understanding Your Renogy Solar Suitcase
Before diving into the setup, let’s familiarize ourselves with the components of your Renogy Solar Suitcase. These kits typically include:
- Foldable Solar Panels: The core of the system, converting sunlight into DC electricity.
- Charge Controller: Regulates the voltage from the solar panels to safely charge your battery. Often built-in to the suitcase.
- Connectors & Cables: SAE connectors and MC4 connectors are common.
- Carry Bag: For easy transport and protection.
- Kickstand: Offers adjustable positioning for optimal sun exposure.
What You’ll Need for Renogy Solar Suitcase Setup

| Item | Quantity | Specifications |
|---|---|---|
| Renogy Solar Suitcase | 1 | (Specify Wattage – e.g., 100W, 200W) |
| Battery | 1 | (Specify Voltage & Capacity – e.g., 12V 50Ah Deep Cycle) |
| Charge Controller (If not integrated) | 1 | (Compatible with your battery type and solar panel input) |
| Connecting Cables | 1-2 | (Appropriate gauge for your system, typically 10AWG or 12AWG) |
| Ring Terminals | 2-4 | (To connect cables to the battery) |
| Fuse Holder & Fuse | 1 | (For battery protection, sized appropriately for your system) |
| Wire Strippers/Crimpers | 1 | (For preparing cables) |
| Multimeter | 1 | (For testing voltage and current) |
| Wrench Set | 1 | (For tightening connections) |
Step-by-Step Setup Process

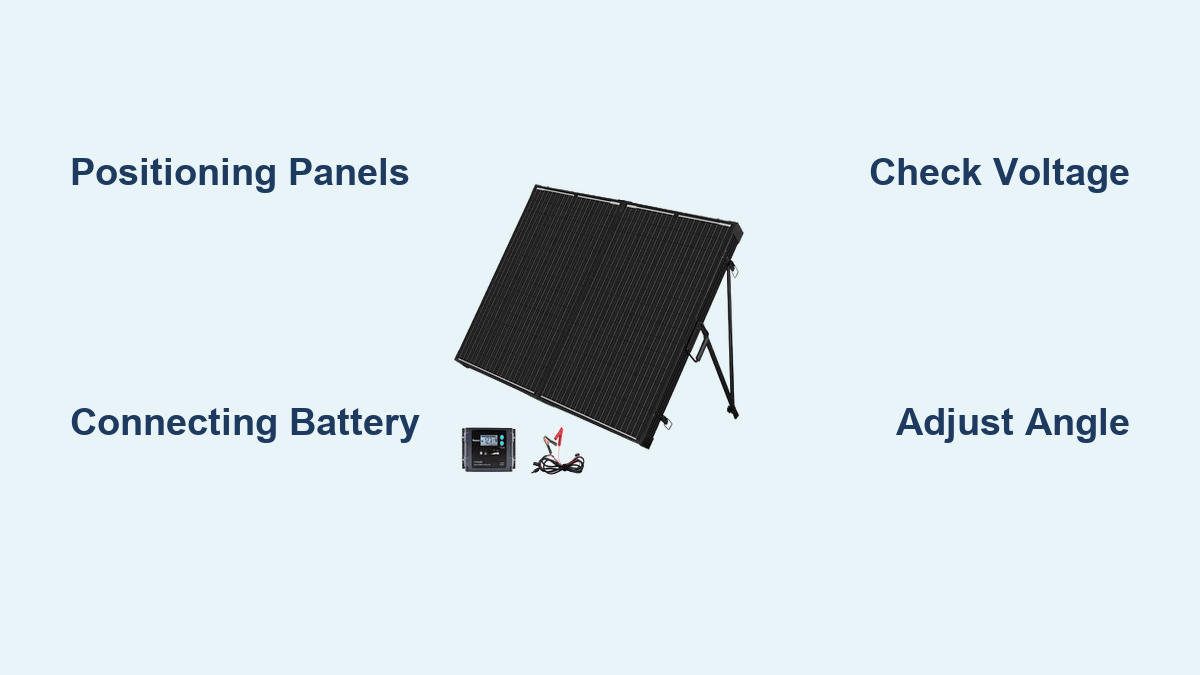
Phase 1: Positioning and Deployment
- Choose a Sunny Location: Select a spot that receives direct sunlight throughout the day, free from shadows caused by trees, buildings, or other obstructions.
- Deploy the Suitcase: Unfold the solar panels and extend the kickstand to the desired angle. The optimal angle depends on your latitude and the time of year. A general rule is to angle the panels towards the sun at your latitude plus 15 degrees in winter and minus 15 degrees in summer.
- Secure the Suitcase: Ensure the suitcase is stable and won’t be blown over by wind. Consider using weights or anchoring it to the ground if necessary.
Phase 2: Connecting to the Charge Controller (Integrated or External)
If your suitcase has an integrated charge controller:
- Battery Connection: Connect the positive (+) and negative (-) cables from the charge controller directly to the corresponding terminals on your battery. Important: Always connect the positive terminal first, then the negative terminal.
- Fuse Installation: Install a fuse holder with the appropriate fuse size (based on your system’s current capacity) on the positive battery cable, as close to the battery as possible.
If your suitcase doesn’t have an integrated charge controller:
- Solar Panel to Charge Controller: Connect the MC4 connectors from the solar suitcase to the input terminals of your external charge controller.
- Charge Controller to Battery: Connect the positive (+) and negative (-) cables from the charge controller to the corresponding terminals on your battery, including a fuse on the positive line.
Phase 3: System Testing & Verification
- Voltage Check: Use a multimeter to verify the voltage at the battery terminals. It should be within the expected range for your battery type (e.g., 12.8V for a fully charged 12V battery).
- Charging Status: Check the charge controller’s display or indicators to confirm that the battery is charging.
- Load Testing: Connect a small load to the battery (e.g., a light bulb or USB charger) to verify that the system is delivering power.
Pro Tips for Optimal Performance

- Panel Angle Adjustment: Regularly adjust the angle of the solar panels throughout the day to maximize sun exposure.
- Panel Cleaning: Keep the solar panels clean from dirt, dust, and debris. Use a soft cloth and water. Avoid abrasive cleaners.
- Cable Management: Organize and secure the cables to prevent tripping hazards and damage.
- Charge Controller Settings: Familiarize yourself with the settings on your charge controller and adjust them according to your battery type and charging needs. (e.g., lead-acid, AGM, Lithium).
- Monitor Battery Health: Regularly check the battery’s state of charge and avoid deep discharging to prolong its lifespan.
- Ventilation: Ensure adequate ventilation around the battery, especially during charging, to prevent the buildup of explosive gases.
Troubleshooting Common Issues
- No Charging: Check all connections, verify the voltage at the solar panel connectors, and ensure the charge controller is functioning correctly.
- Low Voltage: Ensure the solar panels are receiving direct sunlight, and check for any shading or obstructions.
- Charge Controller Errors: Consult the charge controller’s manual for error code definitions and troubleshooting steps.
- Battery Not Holding Charge: The battery may be old or damaged. Consider replacing it.
- Fuse Blowing: Indicates a short circuit in the system. Inspect all wiring and connections for damage.
Professional Help
If you’re experiencing persistent issues or are uncomfortable working with electrical systems, it’s best to consult a qualified solar installer. Signs you need professional help include:
- Repeated blown fuses
- Unexplained system malfunctions
- Suspected wiring damage
- Difficulty understanding the charge controller settings
Typical cost for professional installation can range from $100 – $500 depending on the complexity and your location.
FAQ
Q: Can I connect multiple Renogy Solar Suitcases together?
A: Yes, but you’ll need to ensure your charge controller has the capacity to handle the combined wattage and voltage. Parallel connections are typically preferred to maintain the same voltage.
Q: What type of battery is best for use with a Renogy Solar Suitcase?
A: Deep-cycle batteries (e.g., AGM, Gel, Lithium) are recommended, as they are designed for repeated charging and discharging.
Q: How do I know if my charge controller is compatible with my battery?
A: Check the charge controller’s specifications to ensure it supports your battery type and voltage.
Q: What gauge wire should I use for connecting the solar suitcase to the battery?
A: 10 AWG or 12 AWG wire is generally recommended, but the appropriate gauge depends on the distance between the solar suitcase and the battery and the current capacity of the system.
Enjoy Your New Solar Power System
Following this guide, you’ve successfully set up your Renogy Solar Suitcase and are now ready to harness the power of the sun! Remember to regularly monitor your system, perform routine maintenance, and adjust the panel angle for optimal performance.
Have you successfully set up your Renogy Solar Suitcase? Share your experiences and any helpful tips in the comments below!