
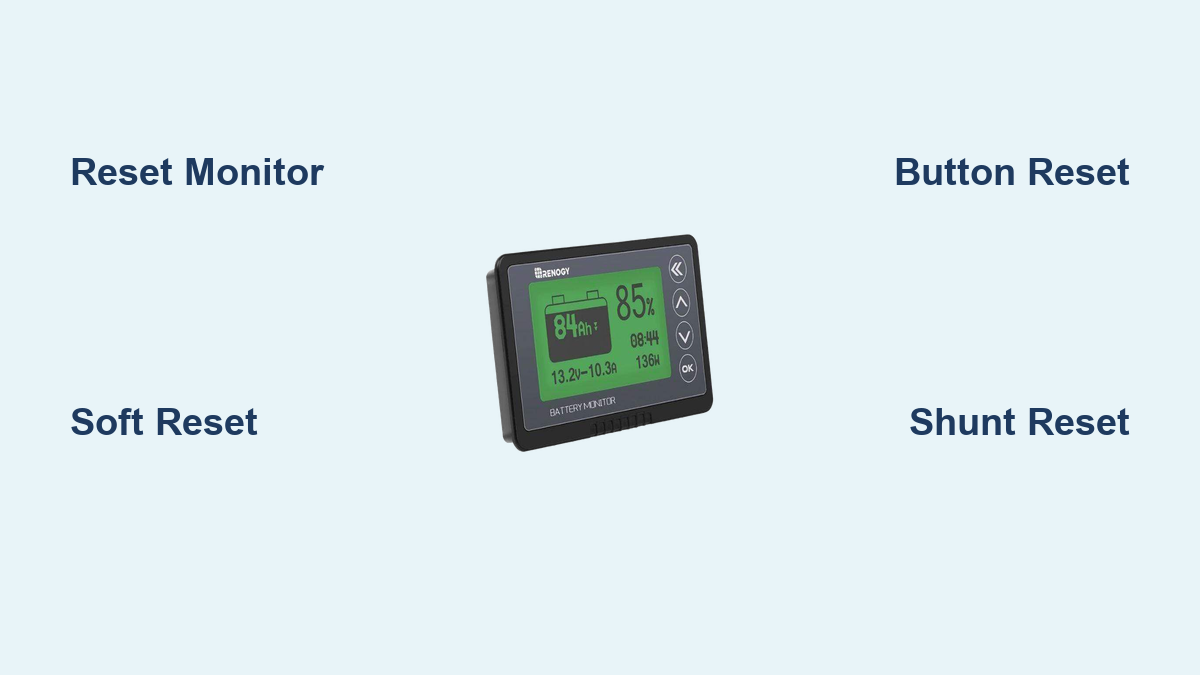
Are you frustrated with inaccurate readings or a frozen display on your Renogy battery monitor? It’s a common issue, and thankfully, a reset is often the quick fix you need to get back to monitoring your battery health effectively. This article will guide you through the process.
This comprehensive guide will walk you through multiple reset methods for your Renogy battery monitor, from simple soft resets to more advanced procedures. We’ll cover different Renogy monitor models, common causes of reset needs, and preventative measures to keep your system running smoothly. By the end of this article, you’ll confidently be able to reset your Renogy battery monitor and ensure accurate data for your solar setup.
Common Causes of Renogy Battery Monitor Reset Needs
Before diving into the reset procedures, understanding why you might need to reset your monitor is helpful.
- Incorrect Readings: The most frequent reason. Accumulated data inaccuracies can lead to misleading battery state of charge (SOC) readings.
- Frozen Display: A frozen screen often indicates a software glitch or communication error.
- Communication Errors: Issues with the connection between the monitor, shunt, and battery can cause errors.
- Power Surges/Fluctuations: Unexpected voltage spikes can disrupt the monitor’s operation.
- New Battery Installation: Resetting ensures the monitor accurately learns the characteristics of a new battery bank.
- Software Updates (Rare): While uncommon, some updates might require a reset.
How to Reset Your Renogy Battery Monitor: Method Overview

The reset process varies slightly depending on your specific Renogy battery monitor model. Here, we’ll cover the most common methods.
Method 1: Soft Reset (Power Cycle)
This is the simplest method and should be your first attempt. It’s akin to restarting a computer.
Diagnosing the Issue: This is suitable for minor glitches, frozen displays, or slightly inaccurate readings.
Fix Steps:
- Disconnect Power: Turn off the power source connected to your Renogy battery monitor. This might involve switching off an inverter, disconnecting a load, or turning off a breaker.
- Wait: Allow the monitor to sit without power for at least 5-10 minutes. This ensures all residual power drains.
- Reconnect Power: Restore power to the system.
- Testing: Observe the monitor. It should restart and display accurate readings. If the issue persists, proceed to Method 2.
Method 2: Resetting via Button Combination (Most Common)
Many Renogy battery monitors have a dedicated reset button or a button combination to initiate a reset.
Diagnosing the Issue: Use this when a soft reset doesn’t resolve the problem, or when you’ve installed a new battery.
Fix Steps:
- Locate the Reset Button: Consult your Renogy battery monitor’s manual to identify the reset button’s location. It’s often a small recessed button requiring a pin or paperclip to press. For models without a dedicated button, look for instructions on a specific button combination (e.g., holding the “Enter” and “Down” buttons simultaneously).
- Press and Hold: Press and hold the reset button (or button combination) for 5-10 seconds.
- Release: Release the button. The monitor should restart.
- Testing: Allow the monitor to recalibrate. This may take several minutes. Verify that the SOC and other readings are accurate.
Method 3: Shunt Reset (For Renogy Smart Battery Monitor with Bluetooth)
This method is specific to Renogy’s smart battery monitors that utilize a shunt for current measurement.
Diagnosing the Issue: Use this method if the current readings are consistently off or if you’ve replaced the shunt.
Fix Steps:
- Disconnect Load & Charge Sources: Ensure no loads are drawing power and no charging sources are connected to the battery bank.
- Access Shunt: Locate the shunt, typically a small metal block connected to the negative battery terminal.
- Briefly Disconnect Shunt: Carefully disconnect the shunt from the negative battery terminal for 10-15 seconds. Important: Ensure all tools are insulated to prevent shorts.
- Reconnect Shunt: Reconnect the shunt securely to the negative battery terminal.
- Power On Monitor: Turn on the Renogy battery monitor.
- Testing: Allow the monitor to recalibrate. Monitor the current readings to ensure they are accurate.
Prevention Tips and Maintenance Advice

Preventing reset needs is better than constantly fixing them. Here’s how:
- Stable Power Source: Use a high-quality, stable power source for your Renogy system.
- Proper Wiring: Ensure all wiring connections are secure and properly sized.
- Regular Inspection: Periodically inspect the monitor, shunt, and wiring for corrosion or damage.
- Software Updates: If available, install any firmware updates released by Renogy.
- Battery Maintenance: Maintain your batteries according to the manufacturer’s recommendations.
- Surge Protection: Use surge protectors to safeguard your system from power spikes.
Pro Tips

- Document Settings: Before resetting, take a picture of your monitor’s settings (e.g., battery type, capacity) to easily restore them after the reset.
- Battery Capacity: After a reset, double-check that the battery capacity setting is correct. Incorrectly set capacity leads to inaccurate SOC readings.
- Shunt Placement: Ensure the shunt is installed correctly and is the correct amperage rating for your system.
- Manual is Key: Always refer to your specific Renogy monitor’s manual for detailed instructions and troubleshooting tips.
- Avoid Frequent Resets: Frequent resets suggest an underlying issue. Investigate the cause instead of repeatedly resetting.
Professional Help
- Signs to Seek Help: If you’ve tried all the reset methods and are still experiencing issues, or if you suspect a hardware malfunction, it’s time to consult a professional solar installer or Renogy support.
- Finding a Service Provider: Look for certified solar technicians with experience in Renogy systems.
- Typical Costs: Professional diagnostics and repair can range from $75 to $200+ depending on the complexity of the issue.
FAQ
Q: My Renogy monitor displays a “Communication Error.” What should I do?
A: First, try the soft reset (Method 1). If that doesn’t work, check the wiring connections between the monitor, shunt, and battery. Ensure the connections are secure and free from corrosion. If the error persists, method 3, shunt reset, might be needed.
Q: How long does it take for the Renogy monitor to recalibrate after a reset?
A: Recalibration time varies depending on the model and battery bank size, but it generally takes between 15 minutes to several hours, especially after a full charge/discharge cycle.
Q: Can I reset the Renogy monitor without disconnecting the batteries?
A: While a soft reset (Method 1) can sometimes be performed without disconnecting the batteries, it’s generally safer to disconnect the load and charging sources, or even the batteries themselves, during a reset to prevent potential damage.
Q: My monitor shows a SOC of 100% even when the batteries are clearly not full.
A: This indicates an inaccurate battery capacity setting. Reset the monitor and then carefully re-enter the correct battery capacity based on the manufacturer’s specifications.
Alternative Solutions
If resetting doesn’t resolve the issue, consider these alternatives:
| Solution | Pros | Cons | Best For |
|---|---|---|---|
| Contact Renogy Support | Direct access to expert assistance | May require waiting for a response | Complex issues, hardware malfunctions |
| Replace the Shunt | Fixes inaccurate current readings | Requires purchasing a new shunt | Shunt is suspected to be faulty |
| Software Update (if available) | May fix bugs and improve performance | Can be risky if interrupted | Minor software glitches |
Get Your Renogy Battery Monitor Working Again
You now have the knowledge to reset your Renogy battery monitor and troubleshoot common issues. Remember to start with the simplest solution – the soft reset – and progress to more advanced methods if needed. Don’t forget to consult your manual and prioritize safety throughout the process.
Have you successfully reset your Renogy battery monitor? Share your experience and any helpful tips in the comments below!