
Are you frustrated that your Jackery solar panel isn’t generating power? It’s a common issue, and often a quick fix can get you back to enjoying off-grid power. The most frequent culprit is a simple connection problem, so let’s start with quickly checking all your cables.
This comprehensive guide will go beyond that initial check, diving into the most common causes of Jackery solar panel malfunctions and providing multiple solutions, from simple troubleshooting to more advanced diagnostics. We’ll cover everything you need to know to get your solar panel working efficiently and reliably, ensuring you can harness the sun’s power whenever and wherever you need it. By the end of this article, you’ll be equipped to diagnose and solve most Jackery solar panel issues yourself.
Common Causes of Jackery Solar Panel Not Working
Several factors can prevent your Jackery solar panel from producing power. Here’s a breakdown of the most common causes:
Shading
Even partial shade can drastically reduce a solar panel’s output. Trees, buildings, clouds, or even accumulated dirt and debris can cast shadows, hindering performance. Jackery panels, like most, are particularly sensitive to even small areas of shade.
Connection Issues
Loose or incorrect connections between the solar panel, the Jackery Explorer power station, and any extension cables are a frequent cause of problems. This includes issues with the MC4 connectors.
Cable Damage
Check the cables for any visible signs of damage, such as cuts, kinks, or exposed wires. Damaged cables can interrupt the flow of electricity.
Incorrect Polarity
Reversing the positive and negative connections can prevent the panel from working and potentially damage your equipment.
Weather Conditions
Overcast skies, rain, or snow will naturally reduce solar panel output. While a panel should still produce some power in less-than-ideal conditions, it won’t reach its peak performance.
Panel Defects
Although rare, manufacturing defects can occur. If you’ve ruled out all other possibilities, a faulty panel might be the issue.
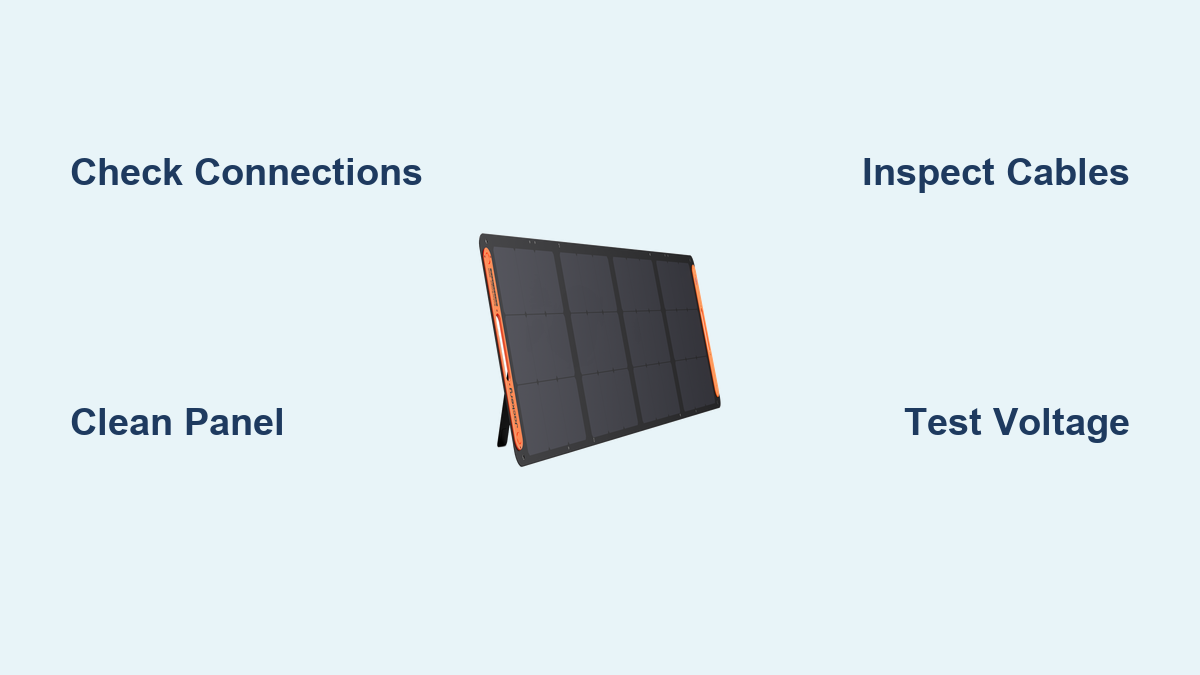
How to Fix Jackery Solar Panel Not Working

Here are several methods to troubleshoot and fix your Jackery solar panel, ranging from simple checks to more involved solutions:
Method 1: Quick Connection Check
This is the fastest and easiest fix, addressing the most common problem.
Diagnosing the Issue
Visually inspect all connections: panel to cable, cable to Explorer, and any intermediary connections. Look for loose connections or dirt buildup.
Fix Steps
- Disconnect all cables: Unplug everything – solar panel from cable, cable from Explorer.
- Inspect MC4 connectors: Ensure they are securely clicked into place. Listen for the click.
- Reconnect securely: Reconnect all cables, ensuring a firm and complete connection at each point.
- Check polarity: Double-check that the positive (+) and negative (-) connectors are correctly matched to the corresponding ports on your Explorer.
Testing
Expose the panel to direct sunlight and observe the charging indicator on your Jackery Explorer.
Method 2: Cleaning the Solar Panel
Dirt, dust, and debris can significantly reduce solar panel efficiency.
Diagnosing the Issue
Visually inspect the panel surface for dirt, bird droppings, leaves, or other obstructions.
Fix Steps
- Disconnect the panel: Ensure the panel is disconnected from any power source.
- Use a soft cloth and water: Gently wipe the panel surface with a soft, damp cloth. Avoid abrasive cleaners or harsh chemicals.
- Dry with a clean cloth: Dry the panel thoroughly with a clean, lint-free cloth.
Testing
Expose the cleaned panel to direct sunlight and observe the charging indicator on your Jackery Explorer.
Method 3: Inspecting Cables for Damage
Damaged cables can interrupt the power flow.
Diagnosing the Issue
Carefully examine the entire length of the solar panel cable for any visible signs of damage, such as cuts, kinks, exposed wires, or melted insulation.
Fix Steps
- Replace damaged cables: If you find any damage, replace the cable immediately. Use only Jackery-approved replacement cables or cables of comparable quality and specifications.
- Ensure proper insulation: If the insulation is damaged but the wire itself is intact, carefully repair the insulation with electrical tape. However, replacement is always the safer option.
Testing
Connect the new or repaired cable to the panel and Explorer, and observe the charging indicator in direct sunlight.
Method 4: Advanced Troubleshooting with a Multimeter
This method requires a multimeter and a basic understanding of electrical testing.
Diagnosing the Issue
Use a multimeter to test the voltage and current output of the solar panel in direct sunlight. Compare the readings to the panel’s specifications (printed on the back of the panel).
Fix Steps
- Set the multimeter: Set the multimeter to DC voltage (VDC) and current (ADC).
- Connect the probes: Connect the red probe to the positive terminal and the black probe to the negative terminal of the panel’s MC4 connectors.
- Measure voltage: Record the voltage reading in direct sunlight. It should be close to the panel’s rated voltage.
- Measure current: Record the current reading in direct sunlight. It should be close to the panel’s rated current.
- Interpret the results:
– Low voltage: Indicates a potential panel defect or shading issue.
– Low current: Indicates a potential panel defect, shading issue, or cable problem.
– No reading: Indicates a broken connection or a significant panel defect.
Testing
If the multimeter readings are significantly lower than the panel’s specifications, the panel may be faulty and require professional repair or replacement.
How to Prevent Future Charging Issues
Preventative maintenance can save you headaches down the road.
- Regular Cleaning: Clean your solar panel regularly (monthly or more frequently in dusty environments) to remove dirt and debris.
- Proper Storage: Store your solar panel in a clean, dry place when not in use.
- Cable Management: Avoid kinking or bending the cables excessively.
- Secure Connections: Ensure all connections are tight and secure.
- Avoid Shading: Position the panel in a location that receives maximum sunlight throughout the day.
Pro Tips
- MC4 Connector Tool: Invest in an MC4 connector crimping tool for secure and reliable connections.
- Extension Cable Quality: Use only high-quality, appropriately sized extension cables. Avoid using cheap or thin cables, as they can cause voltage drop.
- Polarity Labels: Clearly label the positive and negative connectors on your cables to prevent accidental misconnection.
- Panel Angle: Adjust the angle of the solar panel throughout the year to maximize sunlight absorption.
- Avoid Water Intrusion: Ensure the MC4 connectors are properly sealed to prevent water intrusion.
- Regular Visual Checks: Periodically inspect the panel and cables for any signs of damage.
Professional Help
- When to Seek Help: If you’ve tried all the troubleshooting steps and your Jackery solar panel still isn’t working, it’s time to contact Jackery customer support or a qualified solar panel technician.
- What to Expect: A technician can diagnose the problem accurately and perform repairs if necessary.
- Cost: Repair costs can vary depending on the nature of the problem and the technician’s rates. Panel replacement can cost anywhere from $200 – $600 depending on wattage.
- Warranty: Check your Jackery warranty to see if the problem is covered.
FAQ
Q: Why is my Jackery solar panel showing 0 watts?
A: This usually indicates a connection problem, shading, or a faulty panel. Start by checking all connections and ensuring the panel is in direct sunlight. If the issue persists, the panel may need professional inspection.
Q: Can I use an extension cable with my Jackery solar panel?
A: Yes, but use only high-quality, appropriately sized extension cables designed for solar panel use. Avoid long or thin cables, as they can cause voltage drop.
Q: How do I know if my Jackery solar panel is damaged?
A: Look for visible signs of damage, such as cracks, broken glass, or damaged cables. You can also use a multimeter to test the panel’s voltage and current output.
Q: What is the lifespan of a Jackery solar panel?
A: Jackery solar panels are typically designed to last 25 years, but their output will gradually decrease over time.
Alternative Solutions

If your Jackery panel is beyond repair, consider these alternatives:
| Solution | Pros | Cons | Best For |
|---|---|---|---|
| New Jackery Panel | Guaranteed compatibility, reliable performance | Higher cost | Replacing a completely failed panel |
| Compatible Third-Party Panel | Potentially lower cost | Compatibility issues possible, warranty concerns | Budget-conscious users willing to research |
| Portable Power Station Upgrade | Increased capacity, additional features | Significant investment | Users needing more power or functionality |
Get Your Jackery Solar Panel Working Again
You now have a comprehensive toolkit to diagnose and fix most issues with your Jackery solar panel. Remember to start with the simple checks – connections and cleaning – and then progress to more advanced troubleshooting if necessary. Don’t be afraid to seek professional help if you’re unsure about any step.
Have you successfully fixed your Jackery solar panel? Share your experience in the comments below to help other readers!