Are you frustrated with your Renogy Adventurer solar generator not working as expected? Maybe it won’t charge, the AC outlets aren’t powering your devices, or the display is showing errors. It’s incredibly disheartening when your portable power station fails to deliver, especially when you rely on it for camping, emergencies, or off-grid living. A quick fix often involves checking cable connections and ensuring proper sunlight, but there’s much more to explore.
This comprehensive guide will take you through a thorough troubleshooting process for your Renogy Adventurer. We’ll cover common issues, step-by-step solutions ranging from simple resets to more advanced diagnostics, and preventative measures to keep your solar generator running reliably. By the end of this article, you’ll be equipped to diagnose and resolve most problems, ensuring you can enjoy the benefits of portable power whenever and wherever you need it.
Common Causes of Renogy Adventurer Issues
The Renogy Adventurer is a versatile power station, but several factors can cause it to malfunction. Here’s a breakdown of the most frequent culprits:
Overload Protection
The Adventurer has built-in overload protection. Exceeding the maximum output wattage will trigger a shutdown.
Battery Management System (BMS) Errors
The BMS monitors battery health. Errors can occur due to temperature extremes, over-discharge, or internal battery issues.
Incompatible Devices
Some devices draw power in a way that can confuse the inverter, leading to shutdowns or errors.
Charging Issues
Problems with the solar panels, AC adapter, or DC input can prevent the unit from charging.
Software Glitches
Rarely, temporary software bugs can cause the display to freeze or the unit to behave erratically.
How to Fix Renogy Adventurer Problems: Multiple Solutions

Here are several methods to troubleshoot and resolve common issues with your Renogy Adventurer, starting with the simplest and progressing to more complex solutions.
Method 1: Basic Reset & Connection Checks
This is your first line of defense and solves many temporary glitches.
Diagnosing the Issue
Is the unit completely unresponsive? Is the display frozen? Are the outlets not working?
Fix Steps
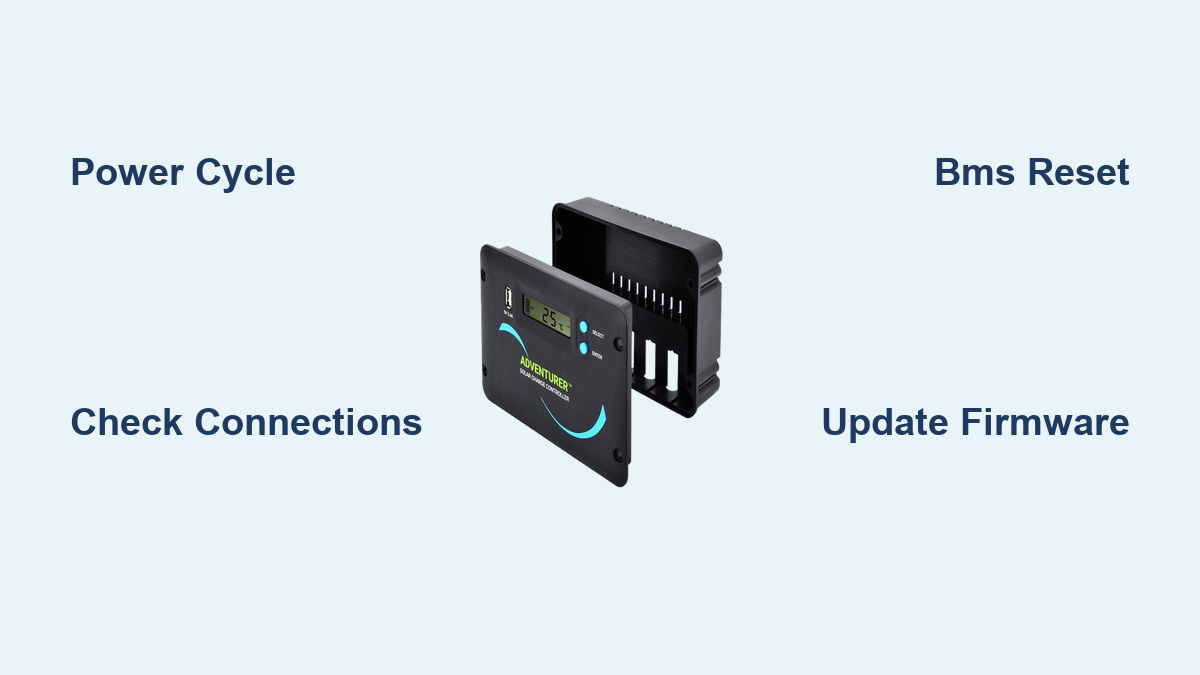
- Power Cycle: Turn the unit off completely. Disconnect all inputs (AC adapter, solar panels, DC input). Wait 60 seconds, then reconnect everything and power it on.
- Check Connections: Ensure all cables are securely plugged in. Inspect for damaged cables or connectors.
- Test Outlets: Plug a known-working device into each AC outlet to verify functionality.
Testing
Power on the unit and attempt to charge it or run a device.
Method 2: Addressing Charging Issues
If your Adventurer isn’t charging, focus on the input sources.
Diagnosing the Issue
Is the unit not charging from the AC adapter, solar panels, or DC input?
Fix Steps
- AC Adapter Check: Verify the AC adapter is functioning correctly. Test it with a multimeter to confirm it’s outputting the correct voltage. Try a different outlet.
- Solar Panel Inspection: Ensure the solar panels are clean, positioned for optimal sunlight, and properly connected to the Adventurer. Check the solar panel voltage with a multimeter.
- DC Input Test: If using a DC input, verify the voltage and amperage are within the Adventurer’s specifications.
Testing
Monitor the charging indicator on the Adventurer’s display to confirm charging is occurring.
Method 3: Resetting the BMS (Battery Management System)
A BMS reset can resolve issues related to battery health and protection. Caution: This should be done as a last resort, as it resets battery data.
Diagnosing the Issue
The unit displays a BMS error code. The battery seems to discharge rapidly.
Fix Steps
- Long Disconnect: Turn off the unit and disconnect all inputs.
- Hold Power Button: Press and hold the power button for 30-60 seconds.
- Reconnect & Test: Reconnect all inputs and power on the unit. Monitor for error codes.
Testing
Observe if the error code is cleared and if the battery charging/discharging behavior improves.
Method 4: Software Update (If Available)

Renogy may release firmware updates to address bugs and improve performance.
Diagnosing the Issue
The unit is behaving erratically or has known software bugs.
Fix Steps
- Check Renogy Website: Visit the Renogy website and check for available firmware updates for your specific Adventurer model.
- Follow Update Instructions: Carefully follow the instructions provided by Renogy to update the firmware. Do not interrupt the update process.
Testing
After the update, test all functions of the Adventurer to ensure the issue is resolved.
Prevention Tips and Maintenance Advice

Preventative maintenance can significantly reduce the likelihood of encountering problems with your Renogy Adventurer.
- Storage: Store the unit in a cool, dry place when not in use. Avoid extreme temperatures.
- Regular Charging: Periodically charge the unit, even when not in use, to maintain battery health.
- Clean Connections: Regularly clean the charging ports and connectors to prevent corrosion.
- Avoid Overloading: Never exceed the maximum output wattage.
- Protect from Moisture: Keep the unit dry and avoid exposure to rain or excessive humidity.
Pro Tips for Renogy Adventurer Users
- Understand Error Codes: Familiarize yourself with the error codes listed in the user manual. This will help you quickly diagnose problems.
- Use Quality Cables: Invest in high-quality charging cables and connectors to ensure reliable connections.
- Optimize Solar Panel Angle: Adjust the angle of your solar panels throughout the day to maximize sunlight capture.
- Monitor Temperature: Avoid operating or charging the unit in extremely hot or cold environments.
- Battery Cycling: Regularly cycle the battery (discharge and recharge) to maintain its capacity.
- Don’t Leave Fully Discharged: Avoid leaving the unit completely discharged for extended periods.
Professional Help Section
Sometimes, troubleshooting isn’t enough.
Signs you need professional help:
* Internal battery failure (swelling, leaking).
* Persistent BMS errors that cannot be resolved.
* Unit won’t power on despite all troubleshooting attempts.
What to look for in a service provider:
* Experience with Renogy products.
* Qualified technicians.
* Positive customer reviews.
Typical cost ranges: Repair costs can vary widely depending on the issue, but expect to pay between $50-$200 for common repairs. Warranty considerations are important – check your warranty status before seeking service.
FAQ Section
Q: My Renogy Adventurer won’t turn on at all. What should I do?
A: First, ensure the unit isn’t completely discharged. Connect it to the AC adapter and let it charge for at least 30 minutes before attempting to power it on. If it still doesn’t turn on, try the BMS reset procedure.
Q: The AC outlets are not working, but the unit is powered on. What could be the problem?
A: This could be an overload issue. Disconnect all devices and try powering on one at a time. Also, check if the AC output is enabled in the unit’s settings.
Q: Can I use a solar panel with a higher wattage than the Adventurer’s maximum input?
A: While the panel can have a higher wattage, the Adventurer will only draw up to its maximum input wattage. It won’t damage the unit, but you won’t get the full benefit of the higher-wattage panel.
Q: My Renogy Adventurer is displaying an “E1” error code. What does that mean?
A: “E1” typically indicates an inverter fault. Try resetting the unit and if the error persists, contact Renogy support.
Get Your Renogy Adventurer Working Again
By following the steps outlined in this guide, you’ve gained the knowledge to tackle most common issues with your Renogy Adventurer. Remember to start with the simple solutions and work your way up to the more advanced ones. Don’t hesitate to consult the user manual or contact Renogy support if you’re still experiencing problems.
Have you successfully fixed your Renogy Adventurer? Share your experience in the comments below to help other readers! What specific issue did you encounter and which solution worked for you?

