
Are you frustrated because your Renogy battery monitor isn’t displaying the charge level of your batteries? It’s incredibly unsettling to not know how much power you have available, especially when relying on your solar setup for off-grid living or emergency backup. A quick fix often involves checking the connections and ensuring proper settings, and we’ll cover that right away.
This comprehensive guide will walk you through everything you need to know to diagnose and resolve issues with your Renogy battery monitor. We’ll cover common causes, multiple troubleshooting steps – from simple checks to more advanced configurations – and preventative measures to keep your system running smoothly. By the end of this article, you’ll be confident in understanding your battery status and maximizing your Renogy system’s performance.
Common Causes of Renogy Battery Monitor Not Showing Charge
Several factors can prevent your Renogy battery monitor from displaying accurate charge information. Here’s a breakdown of the most frequent culprits:
- Loose Connections: This is the most common issue. Wires can become loose over time due to vibrations or temperature changes.
- Incorrect Wiring: If the monitor wasn’t wired correctly during installation, it won’t receive the proper signals. Specifically, incorrect polarity or wiring to the wrong terminals.
- Incorrect Battery Type Setting: The monitor needs to be configured with the correct battery type (Lead Acid, AGM, Gel, Lithium) for accurate readings.
- Low System Voltage: If the battery voltage is too low, the monitor might not be able to register a charge. This can happen with deeply discharged batteries.
- Faulty Monitor: Though less common, the monitor itself could be defective.
- Shunt Issues: The shunt, a critical component for measuring current, can become damaged, corroded, or improperly installed.
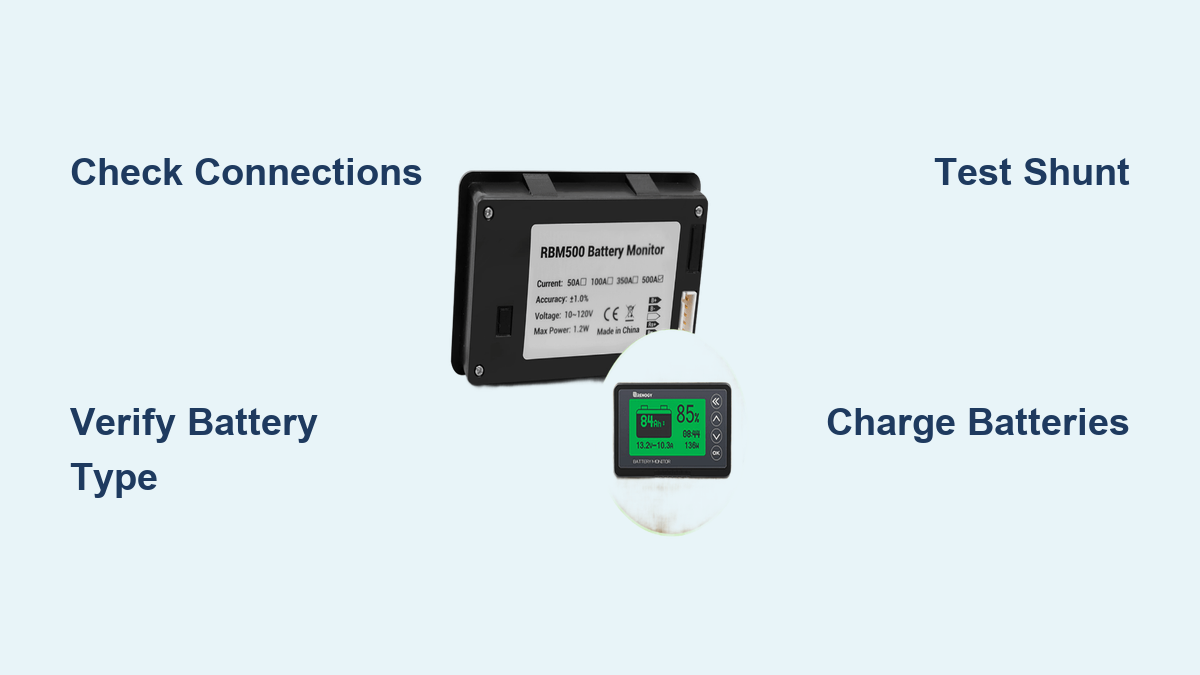
How to Fix Renogy Battery Monitor Not Showing Charge
Here are several methods to troubleshoot and fix your Renogy battery monitor, starting with the simplest and progressing to more complex solutions:
Method 1: Quick Connection Check
This is the first and easiest step. A loose connection is often the root cause.
Diagnosing the Issue
Visually inspect all wiring connections to the battery monitor, shunt, and batteries. Gently tug on each wire to ensure it’s securely fastened.
Fix Steps
- Power Down: Turn off all loads connected to the battery bank.
- Disconnect & Reconnect: Disconnect and reconnect all wires at the battery monitor, shunt, and battery terminals. Ensure a tight, secure connection.
- Check Polarity: Double-check that the positive (+) and negative (-) wires are connected to the correct terminals.
- Power Up: Turn the system back on and observe the monitor.
Testing
Monitor the display to see if the charge level now appears. If not, proceed to the next method.
Method 2: Verify Battery Type Setting
Incorrect settings can lead to inaccurate readings.
Diagnosing the Issue
Determine the exact type of batteries you are using (Lead Acid, AGM, Gel, or Lithium). Refer to your battery’s documentation if you are unsure.
Fix Steps
- Access Settings: Consult your Renogy battery monitor’s manual to learn how to access the settings menu. This usually involves pressing and holding a specific button.
- Navigate to Battery Type: Find the setting for “Battery Type” or “Battery Chemistry.”
- Select Correct Type: Select the battery type that matches your battery bank.
- Save Changes: Save the new settings and exit the menu.
Testing
Observe the monitor to see if the charge level reading changes and appears more accurate.
Method 3: Inspect and Test the Shunt
The shunt is crucial for accurate current measurement.
Diagnosing the Issue
Visually inspect the shunt for any signs of corrosion or damage. Ensure it’s securely mounted and all connections are tight.
Fix Steps
- Disconnect Shunt: Carefully disconnect the shunt from the battery bank. Important: Disconnect the negative terminal first.
- Clean Connections: Clean the shunt terminals and wire connections with a wire brush or sandpaper to remove any corrosion.
- Reconnect Shunt: Reconnect the shunt, ensuring the negative battery cable passes through the shunt before connecting to the battery. Reconnect the negative terminal last.
- Voltage Test: Use a multimeter to measure the voltage drop across the shunt when a load is applied. A healthy shunt will show a small voltage drop.
Testing
Monitor the display to see if the charge level and current readings are now accurate.
Method 4: Check System Voltage and Charge State
A deeply discharged battery might not register on the monitor.
Diagnosing the Issue
Use a multimeter to measure the voltage of your battery bank. A fully charged 12V battery should read around 12.7V or higher. A significantly lower voltage indicates a deeply discharged battery.
Fix Steps
- Charge Batteries: If the voltage is low, charge the batteries using a compatible charger.
- Monitor Charge Progress: Observe the battery monitor as the batteries charge. It should begin to display the charge level as the voltage increases.
Testing
After charging, verify that the monitor displays the correct charge level.
Prevention Tips and Maintenance Advice

Preventative maintenance can save you a lot of headaches down the road.
- Regularly Inspect Connections: Check all wiring connections at least every six months, or more frequently in harsh environments.
- Clean Terminals: Clean battery terminals and wiring connections with a wire brush to prevent corrosion.
- Protect Wiring: Protect wiring from abrasion and damage. Use conduit or cable ties to secure wires.
- Monitor Battery Health: Regularly check the health of your batteries using a hydrometer (for flooded lead-acid batteries) or a battery tester.
- Update Firmware: Check the Renogy website for firmware updates for your battery monitor.
Pro Tips
- Document Your Wiring: Keep a detailed diagram of your Renogy system’s wiring for future troubleshooting.
- Use Quality Wiring: Invest in high-quality wiring and connectors to ensure reliable connections.
- Avoid Over-Discharging Batteries: Over-discharging can damage batteries and affect the accuracy of the monitor.
- Consider a Remote Display: If your monitor is difficult to access, consider adding a remote display for easier monitoring.
- Check for Interference: Ensure the monitor is not near sources of electromagnetic interference, which can cause inaccurate readings.
Professional Help
Sometimes, the issue is beyond DIY repair.
- Signs to Call a Professional: If you’ve tried all the troubleshooting steps and the monitor still isn’t working, or if you suspect a faulty component, it’s time to call a qualified solar installer or electrician.
- What to Look For: Choose a professional with experience in Renogy systems and battery monitoring.
- Typical Costs: Diagnostic fees can range from $75 – $150 per hour. Repair costs will vary depending on the issue.
FAQ
Q: My Renogy monitor shows a negative charge. What does that mean?
A: A negative charge usually indicates incorrect wiring of the shunt. Ensure the negative battery cable is correctly passing through the shunt before connecting to the battery.
Q: Can I use a Renogy battery monitor with batteries from another brand?
A: Yes, Renogy battery monitors are generally compatible with various battery brands, but ensure the monitor is configured with the correct battery type.
Q: How often should I replace the shunt?
A: The shunt should last for many years with proper care. However, if you suspect it’s damaged or corroded, it should be replaced.
Q: Why is my battery monitor showing a different charge level than my inverter?
A: Different devices may have slight variations in their measurement accuracy. Focus on the readings from the battery monitor for the most precise battery status.
Get Your Renogy Battery Monitor Working Again
By following the steps outlined in this guide, you should be well-equipped to diagnose and resolve issues with your Renogy battery monitor. Remember to start with the simplest solutions – checking connections and verifying settings – and work your way up to more complex troubleshooting.
Don’t let a malfunctioning monitor leave you in the dark about your battery’s state of charge. Take action today and ensure your Renogy system is performing at its best.
Have you successfully fixed your Renogy battery monitor? Share your experience and any helpful tips in the comments below to help other readers!