

Are you frustrated that your Renogy charge controller isn’t charging your battery, leaving you without power when you need it most? It’s a common issue, and often a quick reset or simple check can get things back on track. This guide will walk you through the most likely causes and provide solutions to get your batteries charging again.
This comprehensive guide goes beyond just a quick fix. We’ll cover everything from basic troubleshooting steps to advanced diagnostics, covering wiring errors, controller settings, battery health, and even potential component failures. By the end of this article, you’ll be equipped to diagnose and resolve the most common reasons why your Renogy charge controller isn’t charging your battery, ensuring a reliable power system for your off-grid adventures.
Common Causes of Renogy Charge Controller Not Charging Battery
Several factors can prevent your Renogy charge controller from effectively charging your batteries. Here’s a breakdown of the most frequent culprits:
Wiring Issues
Incorrect or loose wiring is the most common cause. Check for:
* Polarity Reversal: Connecting positive to negative and vice versa is a critical error.
* Loose Connections: Vibrations or corrosion can loosen connections at the solar panels, controller, and battery.
* Undersized Wire: Using wires that are too thin for the current can cause voltage drop and inefficient charging.
* Corroded Terminals: Corrosion creates resistance, hindering current flow.
Controller Settings
Incorrect settings on the charge controller can prevent charging. Common issues include:
* Incorrect Battery Type: The controller needs to be set to match your battery chemistry (Lead Acid, AGM, Gel, Lithium).
* Low Voltage Cut-Off: A voltage setting too low can prematurely stop charging.
* Absorption/Float Voltage Settings: Incorrect voltage settings can affect charging efficiency.
Battery Problems
The battery itself may be the issue. Consider these:
* Dead or Sulfated Battery: Old or neglected batteries may not accept a charge.
* Battery Voltage Too Low: If the battery is deeply discharged, the controller might not recognize it.
* Battery Capacity Mismatch: Using a battery bank with insufficient capacity for your load.
Solar Panel Issues
Problems with your solar panels can also be to blame:
* Shading: Even partial shading on a panel can significantly reduce output.
* Dirty Panels: Dust, dirt, and debris reduce sunlight absorption.
* Panel Failure: A damaged or faulty solar panel won’t produce sufficient power.
How to Fix Renogy Charge Controller Not Charging Battery

Let’s dive into practical solutions, starting with the simplest and progressing to more complex fixes.
Method 1: Basic Troubleshooting & Reset (Quick Fix)
This method addresses common, easily rectifiable problems.
Diagnosing the Issue
- Visual Inspection: Examine all wiring for loose connections, corrosion, or damage.
- Voltage Check: Use a multimeter to check the voltage at the solar panel terminals, the controller input, and the battery terminals.
Fix Steps
- Power Cycle: Disconnect both the solar panels and the battery from the charge controller. Wait 30 seconds, then reconnect everything. This often resets the controller.
- Check Fuses: Inspect the fuses on the charge controller and in-line fuse holders (if any). Replace any blown fuses with the correct amperage rating.
- Tighten Connections: Ensure all wire connections are secure and free of corrosion. Clean corroded terminals with a wire brush or sandpaper.
Testing
After performing these steps, monitor the controller display to see if charging has resumed.
Method 2: Verify Controller Settings
Incorrect settings are a frequent cause of charging problems.
Diagnosing the Issue
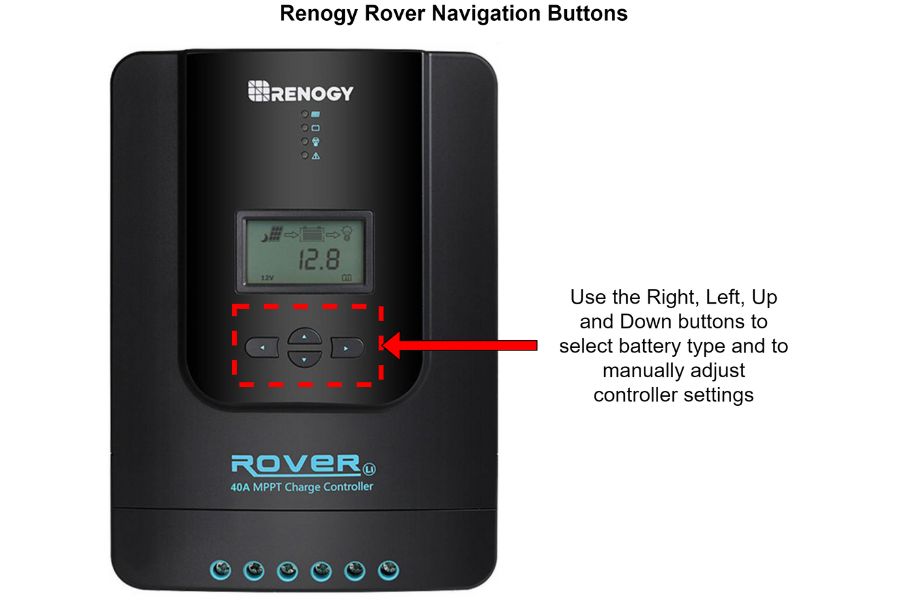
Access the Renogy charge controller’s menu (refer to your controller’s manual for specific instructions). Review the current settings.
Fix Steps
- Battery Type: Confirm the controller is set to the correct battery type (Lead Acid, AGM, Gel, Lithium).
- Voltage Settings: Verify the absorption and float voltage settings are appropriate for your battery. Consult your battery manufacturer’s specifications. Typical values:
- Lead Acid: Absorption 14.4V-14.8V, Float 13.2V-13.6V
- AGM: Absorption 14.6V-14.8V, Float 13.4V-13.6V
- Lithium: Absorption 14.6V-14.8V, Float 13.3V-13.5V (check your BMS settings!)
- Low Voltage Disconnect (LVD): Ensure the LVD setting isn’t set too low, preventing the controller from fully charging the battery.
Testing
After adjusting settings, observe the controller’s charging behavior. Monitor battery voltage to confirm it’s increasing.
Method 3: Inspect Wiring & Connections Thoroughly
A more in-depth wiring check can reveal hidden issues.
Diagnosing the Issue
- Continuity Test: Use a multimeter to test the continuity of each wire run, from the solar panel to the controller and from the controller to the battery.
- Voltage Drop Test: Under load, measure the voltage drop across each wire run. Excessive voltage drop indicates undersized wiring.
Fix Steps
- Replace Damaged Wire: Replace any damaged or corroded wires.
- Upgrade Wire Gauge: If voltage drop is excessive, upgrade to a thicker wire gauge. Consult a wire sizing chart for appropriate gauge based on current and distance.
- Secure Connections: Ensure all connections are tight and protected from the elements. Use weatherproof connectors where appropriate.
Testing
After wiring repairs, monitor the charging process.
How to Prevent Future Charging Issues
Preventative maintenance can minimize the risk of future problems.
Regular Inspection
- Monthly: Visually inspect wiring, connections, and the controller for any signs of damage or corrosion.
- Semi-Annually: Clean solar panels to maximize sunlight absorption.
- Annually: Test battery health and perform a full system check.
Proper Maintenance
- Battery Maintenance: Follow the battery manufacturer’s recommendations for maintenance, such as equalization charging for lead-acid batteries.
- Connection Cleaning: Regularly clean battery terminals and wire connections.
- Software Updates: If available, update the charge controller’s firmware to the latest version.
Pro Tips
- Use a Battery Monitor: A battery monitor provides detailed information about battery voltage, current, state of charge, and health.
- Avoid Partial Shading: Even slight shading can drastically reduce panel output. Optimize panel placement.
- Consider a Remote Monitoring System: Allows you to monitor your system remotely via a smartphone or computer.
- Keep Records: Maintain a log of battery maintenance and any issues encountered.
- Proper Wire Sizing: Undersized wiring is a common mistake. Consult a wire sizing chart.
Professional Help
Sometimes, the problem is beyond DIY repair.
Signs you need professional help:
* Controller is damaged or malfunctioning.
* You suspect a major electrical fault.
* You’re uncomfortable working with electrical systems.
What to look for in a service provider:
* Certified solar installer with experience with Renogy products.
* Positive customer reviews.
* Clear pricing and warranty information.
Typical cost ranges: (Varies depending on location and complexity)
* Diagnostic fee: $75 – $150
* Repair cost: $100 – $500+ (depending on the issue)
FAQ
Q: My Renogy charge controller shows “Fault.” What does this mean?
A: A “Fault” message indicates a problem detected by the controller. Consult your controller’s manual for a specific error code interpretation. Common causes include overvoltage, undervoltage, reverse polarity, or a short circuit.
Q: Can I use different types of batteries in the same bank?
A: No. Mixing battery types can lead to uneven charging and reduced battery life.
Q: How do I determine the correct fuse size for my system?
A: The fuse size should be slightly higher than the maximum current your system will draw. Consult a fuse sizing chart or your controller’s manual.
Q: Why is my battery not reaching 100% charge?
A: This could be due to undersized wiring, incorrect controller settings, a failing battery, or insufficient solar panel input.
Get Your Renogy Charge Controller Working Again
By following this guide, you’ve learned how to diagnose and fix the most common reasons why your Renogy charge controller isn’t charging your battery. Remember to start with the simplest solutions and work your way towards more complex troubleshooting.
Don’t let a faulty charging system disrupt your power supply. Implement the preventative measures discussed, and you’ll enjoy a reliable off-grid experience for years to come!
Have you successfully fixed your Renogy charge controller? Share your experience and any helpful tips in the comments below!