
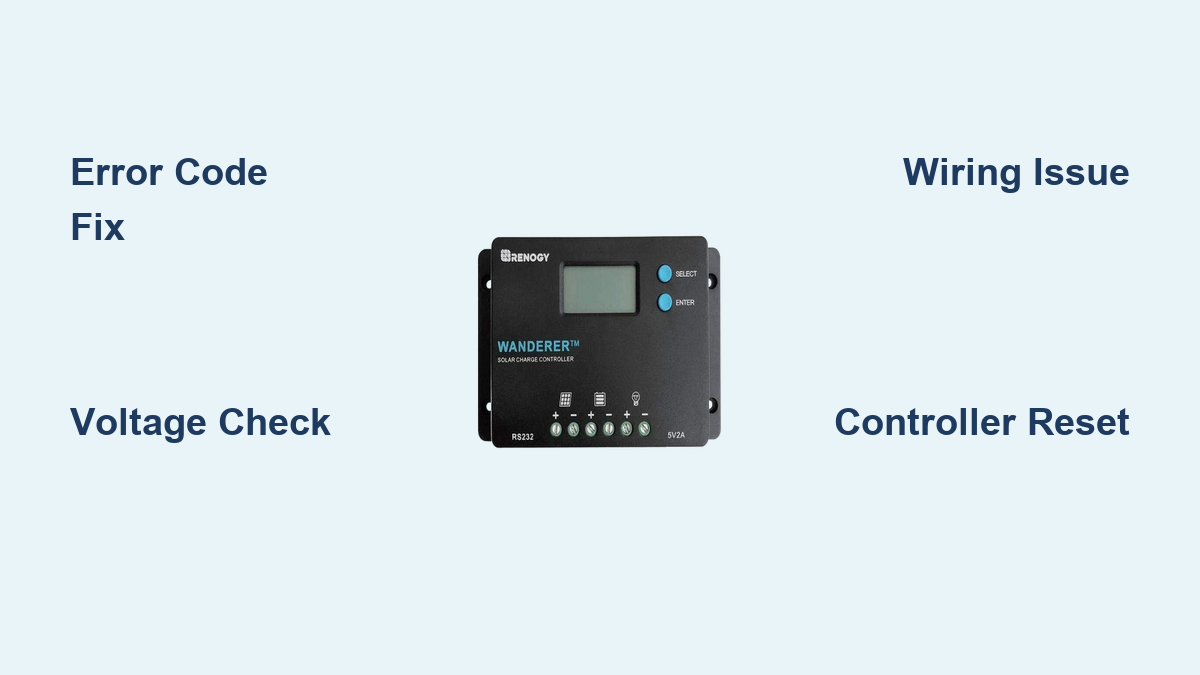
Are you frustrated with a Renogy charge controller that isn’t working as expected? A malfunctioning charge controller can halt your entire off-grid solar system, leaving you without power. Often, a simple reset or a quick check of connections can get things back up and running. This guide will walk you through the most common issues and provide solutions to get your Renogy charge controller functioning optimally.
This comprehensive guide goes beyond a quick fix. We’ll cover common causes of Renogy charge controller problems, detailed troubleshooting steps for various error codes, preventative maintenance tips, and when it’s time to call in a professional. By the end of this article, you’ll be equipped to diagnose and resolve the majority of issues you encounter with your Renogy charge controller, ensuring a reliable power supply for your solar setup.
Common Causes of Renogy Charge Controller Issues
Several factors can contribute to problems with your Renogy charge controller. Understanding these potential causes is the first step toward effective troubleshooting.
Wiring Errors
Incorrect wiring is the most frequent cause of issues. This includes reversed polarity (positive and negative wires swapped), loose connections, and undersized wiring. Even a seemingly minor wiring mistake can prevent the controller from operating correctly or cause damage.
Battery Problems
A failing or improperly sized battery bank can also trigger issues. Low battery voltage, sulfation, or a battery nearing the end of its lifespan can all cause the charge controller to behave erratically.
Overload or Short Circuit
Drawing excessive power from your system or a short circuit in the connected loads will overload the charge controller, potentially tripping its protection mechanisms.
Environmental Factors
Extreme temperatures, moisture, and dust can negatively impact the controller’s performance and lifespan.
Software/Firmware Issues
Although less common, bugs in the controller’s firmware or corrupted settings can sometimes cause problems.
How to Fix Renogy Charge Controller Problems: Multiple Solutions

Here are several methods to diagnose and fix common Renogy charge controller issues, ranging from simple checks to more advanced troubleshooting.
Method 1: Basic Troubleshooting & Reset
This is the first step for most issues. A simple reset can often resolve minor glitches.
Diagnosing the Issue
Before diving into a reset, visually inspect the controller for any obvious damage, loose wires, or corrosion.
Fix Steps
- Power Cycle: Disconnect the solar panels and battery. Wait 60 seconds, then reconnect the battery first, followed by the solar panels.
- Check Connections: Ensure all wiring connections are secure and properly tightened.
- Review Manual: Consult your Renogy charge controller manual for specific reset instructions for your model. Some models have a dedicated reset button.
Testing
Monitor the controller’s display after the reset to see if the error has been cleared.
Method 2: Voltage and Wiring Verification
Ensure proper voltage levels and correct wiring configuration.
Diagnosing the Issue
Use a multimeter to check the voltage at the solar panel terminals, battery terminals, and the charge controller’s input/output.
Fix Steps
- Solar Panel Voltage: Verify that the solar panel voltage is within the charge controller’s operating range.
- Battery Voltage: Ensure the battery voltage is appropriate for the charge controller and battery type.
- Polarity Check: Double-check that the positive and negative wires are connected correctly at both the solar panels, battery, and charge controller. Incorrect polarity can severely damage the controller!
- Wire Gauge: Confirm the wire gauge is adequate for the current and distance to minimize voltage drop.
Testing
Monitor the controller’s display after correcting any wiring or voltage issues.
Method 3: Error Code Interpretation & Resolution

Renogy charge controllers display error codes that indicate specific problems.
Diagnosing the Issue
Refer to your Renogy charge controller manual to identify the meaning of the displayed error code.
Fix Steps
Based on the error code, take the following actions (examples):
* E1 (Battery Overvoltage): Reduce charging voltage settings or disconnect the solar panels if the battery is fully charged.
* E2 (Battery Undervoltage): Check battery connections, ensure the battery is not deeply discharged, and consider replacing the battery if it’s failing.
* E3 (Overload): Disconnect some loads or reduce the overall power consumption.
* E4 (Short Circuit): Identify and eliminate the short circuit in the connected loads.
* E5 (Reverse Polarity): Immediately disconnect the system and correct the wiring connections. This is a critical error – do not operate the system with reversed polarity!
Testing
After addressing the error, reset the controller and monitor its operation.
Method 4: Firmware Update (If Applicable)
Updating the firmware can resolve software-related bugs.
Diagnosing the Issue
Check the Renogy website for available firmware updates for your specific charge controller model.
Fix Steps
- Download Firmware: Download the latest firmware file from the Renogy website.
- Follow Instructions: Carefully follow the instructions provided by Renogy for updating the firmware. Incorrect firmware updates can brick your controller!
- Backup Settings: Before updating, back up your existing controller settings if possible.
Testing
After the update, restore your settings and monitor the controller’s performance.
Prevention Tips and Maintenance Advice

Proactive maintenance can prevent many Renogy charge controller issues.
- Regular Inspection: Inspect wiring connections and terminals for corrosion or looseness every 3-6 months.
- Cleanliness: Keep the charge controller clean and free of dust and debris.
- Proper Ventilation: Ensure adequate ventilation around the controller to prevent overheating.
- Battery Maintenance: Regularly check and maintain your battery bank, including equalizing charges and ensuring proper electrolyte levels (for flooded lead-acid batteries).
Pro Tips
- Use a Fuse: Install a fuse between the battery and the charge controller for added protection.
- Grounding: Ensure proper grounding of the solar system for safety and performance.
- Logging: Keep a log of your system’s performance, including voltage readings, error codes, and maintenance activities.
- Documentation: Always keep your Renogy charge controller manual readily available.
- Avoid Overloading: Calculate and stay within the charge controller’s maximum current and voltage ratings.
Professional Help
Sometimes, issues are beyond DIY repair. Seek professional assistance if:
- You are uncomfortable working with electrical systems.
- You suspect internal damage to the charge controller.
- You cannot identify the cause of the problem after troubleshooting.
- The controller is still under warranty.
What to look for in a service provider:
– Experience with solar power systems.
– Certification and licensing.
– Positive reviews and references.
Typical Cost Ranges:
Service call fees can range from $75-$150 per hour. Controller replacement costs vary depending on the model and features, from $100 to $500+.
FAQ
Q: Why is my Renogy charge controller displaying a low voltage warning?
A: This usually indicates that your battery is deeply discharged or that the solar panels are not producing enough power to charge the battery. Check the battery connections, ensure the panels are receiving adequate sunlight, and consider upgrading your solar panel array if necessary.
Q: Can I use a Renogy charge controller with any type of battery?
A: No. Renogy charge controllers are designed for specific battery types (lead-acid, AGM, gel, lithium). Using the wrong settings or a controller incompatible with your battery type can damage the battery and the controller.
Q: What does it mean when my Renogy charge controller shows “no load”?
A: This typically means there is a break in the circuit between the charge controller and the battery or load. Check all wiring connections and fuses.
Q: How do I know if my Renogy charge controller is faulty?
A: If you have exhausted all troubleshooting steps and the controller still doesn’t function correctly, it’s likely faulty and needs to be replaced.
Get Your Renogy Charge Controller Working Again
You now have a solid understanding of how to diagnose and fix common Renogy charge controller problems. Remember to start with basic troubleshooting, verify wiring and voltage levels, interpret error codes, and consider firmware updates. Don’t hesitate to seek professional help if needed.
Following these steps will help you keep your solar power system running smoothly and reliably for years to come.
Have you successfully fixed your Renogy charge controller? Share your experience and any additional tips in the comments below to help other readers!