

Are you frustrated with your Renogy charge controller displaying a persistent “Not Ready” message? It’s incredibly common for solar enthusiasts to encounter this issue, preventing their systems from charging batteries. A quick fix often involves checking basic connections, but the problem can stem from several sources.
This comprehensive guide will walk you through everything you need to know to diagnose and resolve the “Charge Controller Not Ready” issue. We’ll cover common causes, multiple troubleshooting steps – from simple checks to more advanced solutions – and preventative maintenance to keep your Renogy system running smoothly. By the end of this article, you’ll have the knowledge and confidence to get your solar power back online.
Common Causes of Renogy Charge Controller Not Ready
The “Not Ready” message signifies that the charge controller isn’t detecting the correct voltage or conditions to begin charging. Here are some of the most frequent culprits:
- Low Battery Voltage: The most common cause. If the battery bank voltage is too low (typically below 10.5-11V for a 12V system), the controller won’t start charging to prevent battery damage.
- Incorrect Wiring: Reversed polarity, loose connections, or incorrect wiring gauge can prevent proper operation.
- Insufficient Solar Panel Voltage: If the solar panels aren’t receiving enough sunlight or the panel voltage is too low, the controller won’t recognize a viable energy source.
- Overvoltage Protection: The controller might be in overvoltage protection mode, triggered by excessively high voltage from the solar panels.
- Faulty Charge Controller: In rare cases, the charge controller itself may be defective.
- Temperature Sensor Issues: Some controllers use temperature sensors; a faulty sensor can trigger the “Not Ready” state.
How to Fix Renogy Charge Controller Not Ready

Here are several methods to fix the issue, starting with the easiest and progressing to more advanced troubleshooting.
Method 1: Basic Connection Check (Quick Fix)
This is the first step and often resolves the issue.
Diagnosing the Issue
Visually inspect all connections from the solar panels to the charge controller, and from the charge controller to the battery bank. Look for loose wires, corrosion, or incorrect polarity.
Fix Steps
- Power Off: Disconnect the solar panels and battery bank from the charge controller. Important: Always disconnect the battery first.
- Inspect Wires: Check all wiring for damage or fraying.
- Tighten Connections: Ensure all connections are tight and secure.
- Verify Polarity: Double-check that positive (+) and negative (-) terminals are connected correctly at both the solar panels, charge controller, and battery.
- Reconnect: Reconnect the battery (first) and then the solar panels.
- Observe: Check if the “Not Ready” message disappears.
Testing
Monitor the charge controller display. If the message is gone and charging begins, you’ve solved the problem.
Method 2: Battery Voltage Verification & Boost Charge
If connections are solid, the battery may be too deeply discharged.
Diagnosing the Issue
Use a multimeter to measure the battery voltage. If it’s below the minimum required voltage for your charge controller (refer to the Renogy manual), the controller won’t initiate charging.
Fix Steps
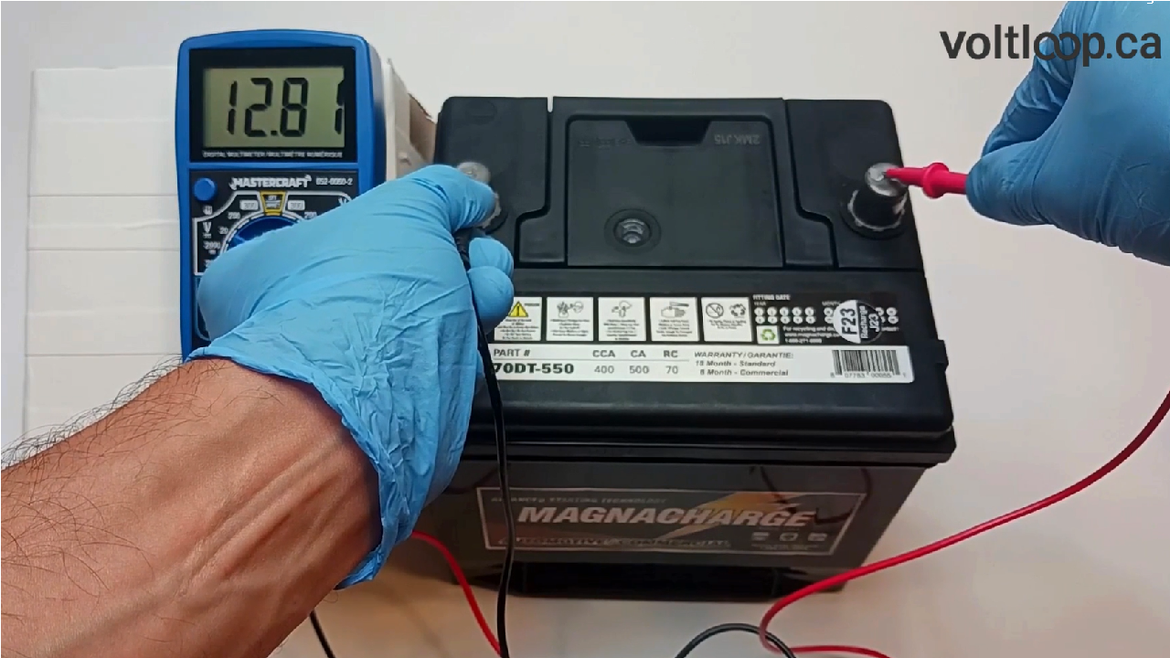
- Measure Voltage: Use a multimeter to accurately measure the battery bank voltage.
- Boost Charge (If Necessary): If the voltage is too low, use a separate battery charger to bring the battery voltage up to a safe level (around 12.8V for a 12V system). Do not attempt to charge a frozen battery.
- Reconnect: Once the battery is sufficiently charged, reconnect it to the charge controller.
Testing
Check the charge controller display. If the voltage is now within the acceptable range, the “Not Ready” message should be gone.
Method 3: Solar Panel Voltage & Sunlight Check
Ensure your panels are producing enough voltage.
Diagnosing the Issue
Use a multimeter to measure the open-circuit voltage (Voc) of the solar panels in full sunlight. Compare this reading to the panel’s specifications.
Fix Steps
- Measure Voc: Disconnect the panels from the charge controller. Use a multimeter to measure the voltage across the positive and negative terminals of the panels in direct sunlight.
- Check Sunlight: Ensure the panels are not shaded by trees, buildings, or other obstructions.
- Verify Voltage: The Voc should be within the range specified by the panel manufacturer. If it’s significantly lower, there might be a panel issue.
Testing
Reconnect the panels to the charge controller and observe the display.
Method 4: Resetting the Charge Controller
Sometimes a simple reset can clear errors.
Diagnosing the Issue
The controller may have entered a fault state due to a temporary glitch.
Fix Steps
- Disconnect: Disconnect both the solar panels and the battery bank.
- Wait: Wait for at least 30 minutes.
- Reconnect: Reconnect the battery (first) and then the solar panels.
Testing
Monitor the display to see if the “Not Ready” message has disappeared.
How to Prevent Future “Not Ready” Issues
Preventative maintenance is key to a reliable solar system.
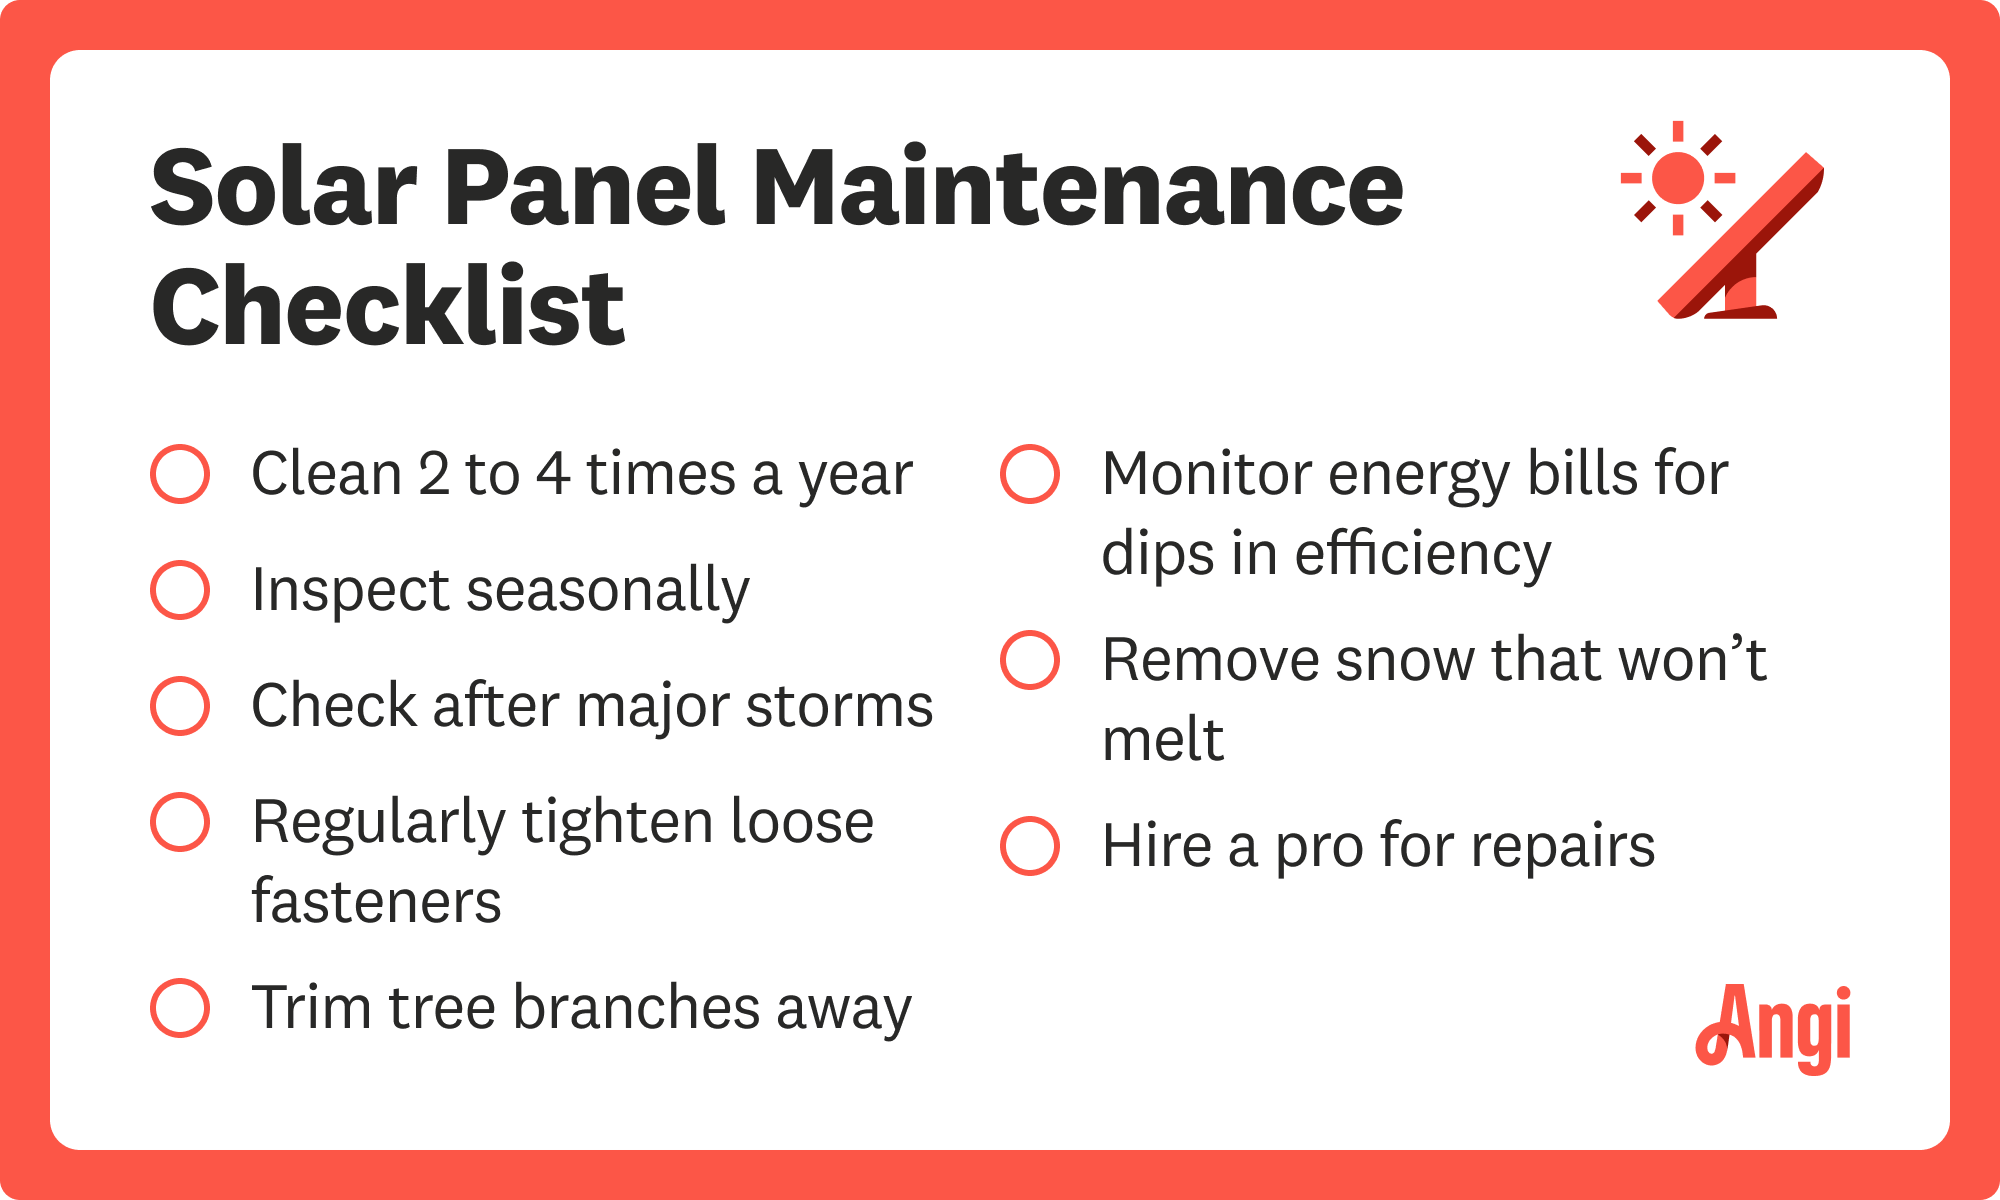
- Regularly Inspect Connections: Check wiring and connections at least every six months.
- Keep Panels Clean: Dirt and debris can reduce panel output. Clean panels regularly with water and a soft brush.
- Monitor Battery Health: Regularly check the battery voltage and specific gravity (if applicable). Replace batteries when they reach the end of their lifespan.
- Use Proper Wiring Gauge: Ensure the wiring gauge is appropriate for the current and distance to minimize voltage drop.
- Protect from the Elements: Shield the charge controller and batteries from excessive moisture and extreme temperatures.
Pro Tips
- Renogy Assistant App: Utilize the Renogy Assistant app (if your controller is compatible) for remote monitoring and troubleshooting.
- Check the Manual: Always refer to your specific Renogy charge controller manual for detailed troubleshooting steps and specifications.
- Avoid Overloading: Do not exceed the maximum input voltage or current ratings of the charge controller.
- Wiring Distance: Keep the distance between the solar panels, charge controller, and battery bank as short as possible to minimize voltage drop.
- Grounding: Ensure proper grounding of the entire system for safety and optimal performance.
Professional Help
If you’ve tried all the troubleshooting steps and the “Not Ready” message persists, it might indicate a faulty charge controller or a more complex issue.
- Signs to Seek Professional Help: Persistent “Not Ready” message, burning smells, visible damage to the controller, or unexplained system behavior.
- Finding a Qualified Technician: Look for a certified solar installer or electrician with experience in off-grid systems.
- Typical Costs: Diagnostic fees can range from $75-$200. Repair or replacement costs will vary depending on the issue and the components involved.
- Warranty: Check your Renogy charge controller warranty for potential coverage.
FAQ
Q: What does “Not Ready” mean on a Renogy charge controller?
A: It indicates the controller isn’t detecting the correct voltage or conditions to begin charging. This could be due to low battery voltage, insufficient solar panel voltage, incorrect wiring, or a faulty controller.
Q: Can a low battery voltage cause the “Not Ready” message?
A: Yes, it’s the most common cause. If the battery voltage is too low, the controller won’t start charging to prevent damage.
Q: How do I know if my solar panels are producing enough voltage?
A: Use a multimeter to measure the open-circuit voltage (Voc) of the panels in full sunlight. Compare this reading to the panel’s specifications.
Q: What should I do if I suspect a faulty charge controller?
A: Contact Renogy support or a qualified solar technician for assistance.
Get Your Renogy System Working Again
You now have a comprehensive understanding of the causes behind the “Renogy Charge Controller Not Ready” message and a variety of solutions to get your system back up and running. Remember to start with the basic checks, work your way through the troubleshooting steps, and prioritize safety.
Have you successfully fixed your Renogy charge controller? Share your experience and any tips you’ve learned in the comments below to help other solar enthusiasts!