
Are you frustrated because your Renogy inverter won’t power up, leaving you without essential off-grid power? It’s a common issue, and often a simple fix can get you back up and running. A quick check of your DC input voltage and connections frequently solves the problem.
This comprehensive guide will take you beyond that initial check, exploring a wide range of potential causes and providing multiple solutions, from basic troubleshooting to more advanced diagnostics. By the end of this article, you’ll have the knowledge and confidence to diagnose and resolve the issue, ensuring your Renogy inverter provides reliable power when you need it most.
Common Causes of Renogy Inverter Not Turning On
Several factors can prevent your Renogy inverter from powering on. Here’s a breakdown of the most frequent culprits:
Low DC Input Voltage
The most common reason an inverter won’t turn on is insufficient DC voltage from your battery bank. Inverters require a specific voltage range to operate. If the voltage dips below this threshold, the inverter will shut down or refuse to start.
Loose or Corroded Connections
Poor connections between the battery, inverter, and any intermediate components (like fuses or breakers) can interrupt the flow of power. Corrosion on terminals adds resistance, further hindering power delivery.
Overload Protection
Renogy inverters have built-in overload protection. If the connected load exceeds the inverter’s capacity, it will shut down to prevent damage.
Blown Fuse(s)
Both the inverter itself and the battery circuit may have fuses. A blown fuse indicates a short circuit or overcurrent situation.
Low Battery Charge
Even with a good voltage reading, a deeply discharged battery might not have enough amperage to start the inverter.
Faulty Grounding
Improper grounding can cause erratic behavior or prevent the inverter from operating correctly.
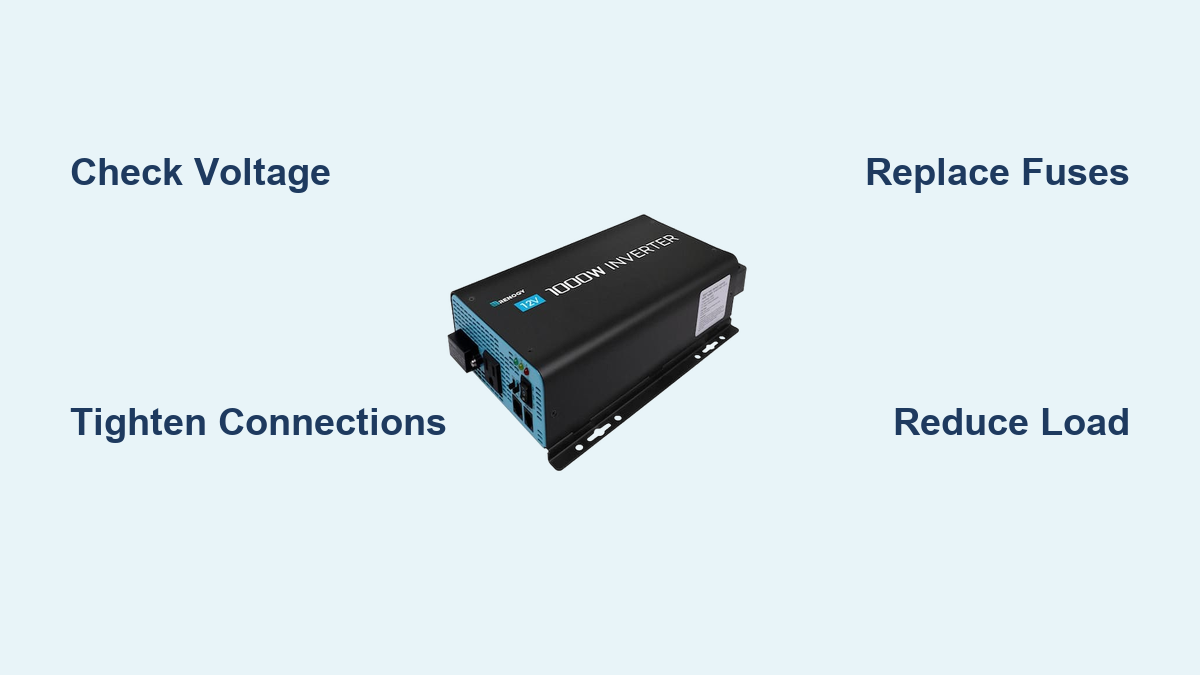
How to Fix Renogy Inverter Not Turning On
Let’s dive into several methods to get your Renogy inverter back online, starting with the simplest and progressing to more complex solutions.
Method 1: Verify DC Input Voltage
Diagnosing the Issue: Use a multimeter to measure the DC voltage at the inverter’s input terminals. Compare the reading to the inverter’s specified operating voltage range (refer to your Renogy inverter’s manual).
Fix Steps:
1. Ensure your battery bank is fully charged.
2. Check the battery voltage under load (while the inverter is attempting to start). Significant voltage drop indicates a weak battery.
3. If the voltage is low, recharge the batteries using a compatible charger.
Testing: After recharging, re-attempt to turn on the inverter.
Method 2: Inspect and Tighten Connections
Diagnosing the Issue: Visually inspect all DC connections, from the battery terminals to the inverter. Look for loose connections, corrosion, or damaged wiring.
Fix Steps:
1. Disconnect the inverter from the battery (negative first).
2. Clean any corrosion on terminals with a wire brush or terminal cleaner.
3. Tighten all connections securely.
4. Inspect the wiring for damage (frayed wires, cracks in insulation). Replace damaged wiring.
Testing: Reconnect the inverter (negative first) and attempt to power it on.
Method 3: Check and Replace Fuses

Diagnosing the Issue: Locate the fuses on the inverter and in the battery circuit. Use a multimeter to test the continuity of each fuse. A blown fuse will show no continuity.
Fix Steps:
1. Disconnect the inverter from the battery (negative first).
2. Remove the blown fuse.
3. Replace it with a fuse of the exact same amperage and type. Never use a higher amperage fuse.
4. Investigate the cause of the blown fuse (short circuit, overload) before replacing it.
Testing: Reconnect the inverter (negative first) and attempt to power it on. If the fuse blows again, a more serious issue exists.
Method 4: Reduce the Load and Test

Diagnosing the Issue: The inverter might be shutting down due to an overloaded circuit.
Fix Steps:
1. Disconnect all loads from the inverter.
2. Attempt to turn on the inverter.
3. If the inverter powers on, gradually reconnect loads one at a time, observing the inverter’s behavior.
4. Identify the load that causes the shutdown.
Testing: Ensure the total wattage of connected loads never exceeds the inverter’s rated capacity.
How to Prevent Future Issues & Maintenance Advice
Preventative maintenance can significantly reduce the likelihood of your Renogy inverter failing to turn on.
- Regularly inspect connections: Check for corrosion and tightness every 6 months.
- Maintain proper battery health: Fully charge batteries regularly and avoid deep discharges.
- Avoid overloading the inverter: Calculate the total wattage of your intended loads and ensure it remains within the inverter’s capacity.
- Keep the inverter clean and dry: Dust and moisture can cause corrosion and short circuits.
- Check grounding: Ensure the inverter is properly grounded according to the manufacturer’s instructions.
Pro Tips
- Use high-quality cables: Invest in heavy-gauge, low-resistance cables for the DC input.
- Consider a battery monitor: A battery monitor provides accurate voltage and state-of-charge information, helping you avoid deep discharges.
- Avoid long cable runs: Longer cable runs increase voltage drop. If long runs are necessary, use thicker cables.
- Check for voltage drop: Measure the voltage at the battery terminals and at the inverter terminals while the inverter is running. A significant difference indicates voltage drop.
- Review the error codes: Some Renogy inverters display error codes that can help pinpoint the problem. Consult your manual for a list of error codes and their meanings.
- Update firmware: If your inverter supports firmware updates, check the Renogy website for the latest version.
Professional Help

If you’ve tried all the above steps and your Renogy inverter still won’t turn on, it may indicate a more serious internal fault.
Signs you need professional help:
* Blown fuses that repeatedly blow.
* Visible damage to the inverter’s internal components.
* Unusual noises or smells coming from the inverter.
* Error codes that you can’t decipher.
What to look for in a service provider:
* Experience with Renogy inverters specifically.
* Proper certifications and licenses.
* Positive customer reviews.
Typical cost ranges: Repair costs can vary widely depending on the extent of the damage. Expect to pay anywhere from $50 to $300 for a repair, or potentially more if major components need to be replaced.
FAQ
Q: Why does my Renogy inverter beep when I turn it on?
A: Beeping typically indicates a fault condition, such as low voltage, overload, or a short circuit. Consult your inverter’s manual for the specific meaning of the beep code.
Q: Can I use an extension cord with my Renogy inverter?
A: Yes, but use a heavy-gauge extension cord designed for the power requirements of your loads. Avoid long, thin extension cords, as they can cause voltage drop.
Q: What does “pure sine wave” mean, and why is it important?
A: Pure sine wave inverters produce a cleaner, more stable AC waveform than modified sine wave inverters. This is important for sensitive electronics, such as computers and medical devices.
Q: How do I reset my Renogy inverter?
A: The reset procedure varies depending on the model. Consult your inverter’s manual for specific instructions. Typically, it involves disconnecting the inverter from the battery and waiting a few minutes before reconnecting.
Get Your Renogy Inverter Working Again
You’ve now explored a comprehensive set of solutions to diagnose and fix a Renogy inverter that won’t turn on. Remember to start with the simplest checks – voltage and connections – and work your way through the more advanced troubleshooting steps.
Don’t give up! By following this guide, you’ll significantly increase your chances of restoring power to your off-grid system.
Have you successfully revived your Renogy inverter? Share your experience and any helpful tips in the comments below to assist other users!