
Are you frustrated with a Renogy inverter that won’t power your appliances? It’s a common issue, and often a quick reset or simple fix can get you back up and running. Many users experience issues with their Renogy inverters, and often a simple power cycle can resolve the problem.
This comprehensive guide will walk you through the most common problems with Renogy inverters, from basic troubleshooting steps to more advanced diagnostic procedures. We’ll cover everything from error codes and battery issues to wiring problems and overload protection. By the end of this article, you’ll have the knowledge and confidence to diagnose and resolve most issues with your Renogy inverter, getting your off-grid system back to optimal performance.
Common Causes of Renogy Inverter Problems
Renogy inverters, while generally reliable, can experience issues stemming from several sources. Understanding these causes is the first step toward effective troubleshooting.
Low Battery Voltage
This is the most frequent culprit. Inverters require a sufficient voltage from the battery bank to operate. If the voltage drops too low, the inverter will either shut down or display an error.
Overload Protection
Renogy inverters have built-in overload protection. If you attempt to draw more power than the inverter’s capacity, it will shut down to protect itself.
Wiring Issues
Loose connections, corroded wires, or incorrect wiring can all prevent the inverter from functioning correctly.
Internal Faults
Although less common, internal component failures within the inverter can cause it to malfunction.
Cooling Issues
Inverters generate heat. If the cooling fan isn’t working or the inverter is in a poorly ventilated space, it can overheat and shut down.
How to Fix Renogy Inverter Issues

Here are several methods to tackle common Renogy inverter problems, progressing from simple checks to more involved solutions.
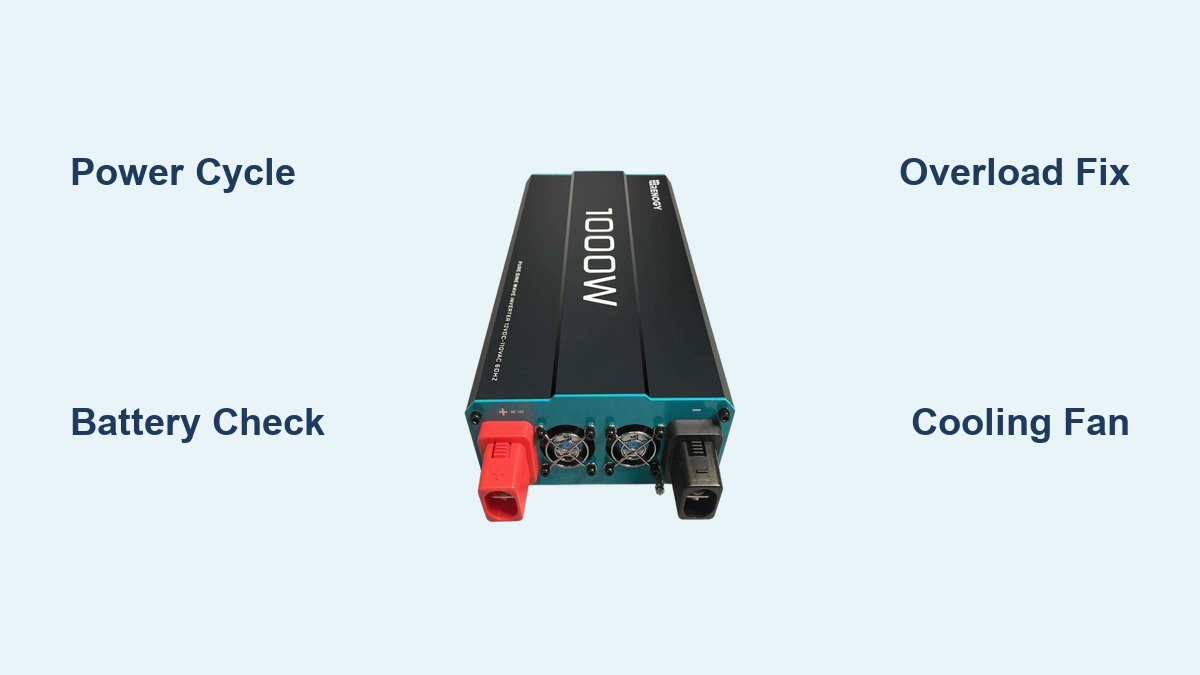
Method 1: Basic Power Cycle (Quick Fix)
This often resolves temporary glitches.
Diagnosing the Issue
A power cycle can resolve issues caused by software errors or temporary voltage fluctuations.
Fix Steps
- Disconnect AC Loads: Turn off or unplug all appliances connected to the inverter.
- Turn Off Inverter: Switch the inverter’s power switch to the “Off” position.
- Disconnect Battery: Disconnect the DC input from the battery bank.
- Wait: Allow the inverter to sit disconnected for at least 30 seconds.
- Reconnect Battery: Reconnect the DC input to the battery bank.
- Turn On Inverter: Switch the inverter’s power switch to the “On” position.
- Reconnect AC Loads: Gradually reconnect your appliances.
Testing
Check if the inverter powers on and operates normally with the AC loads connected.
Method 2: Check Battery Voltage and Connections

Ensuring a healthy battery and solid connections is crucial.
Diagnosing the Issue
A weak or improperly connected battery is a prime suspect.
Fix Steps
- Measure Battery Voltage: Use a multimeter to check the DC voltage of your battery bank. Ensure it’s within the inverter’s acceptable input voltage range (typically 12V, 24V, or 48V).
- Inspect Battery Terminals: Check for corrosion or loose connections on the battery terminals. Clean corroded terminals with a wire brush and tighten loose connections.
- Inspect Wiring: Examine the wiring between the battery and the inverter for damage, fraying, or loose connections. Replace any damaged wiring.
Testing
Retest the inverter after verifying battery voltage and connections.
Method 3: Address Overload Protection
Preventing overload is essential for inverter longevity.
Diagnosing the Issue
The inverter may be shutting down due to exceeding its power capacity.
Fix Steps
- Calculate Total Wattage: Add up the wattage requirements of all appliances connected to the inverter.
- Compare to Inverter Capacity: Ensure the total wattage is less than the inverter’s continuous power rating. Surge wattage should also be considered for appliances with motors.
- Reduce Load: If the total wattage exceeds the inverter’s capacity, disconnect some appliances.
Testing
Reconnect appliances one at a time, monitoring the inverter for signs of overload.
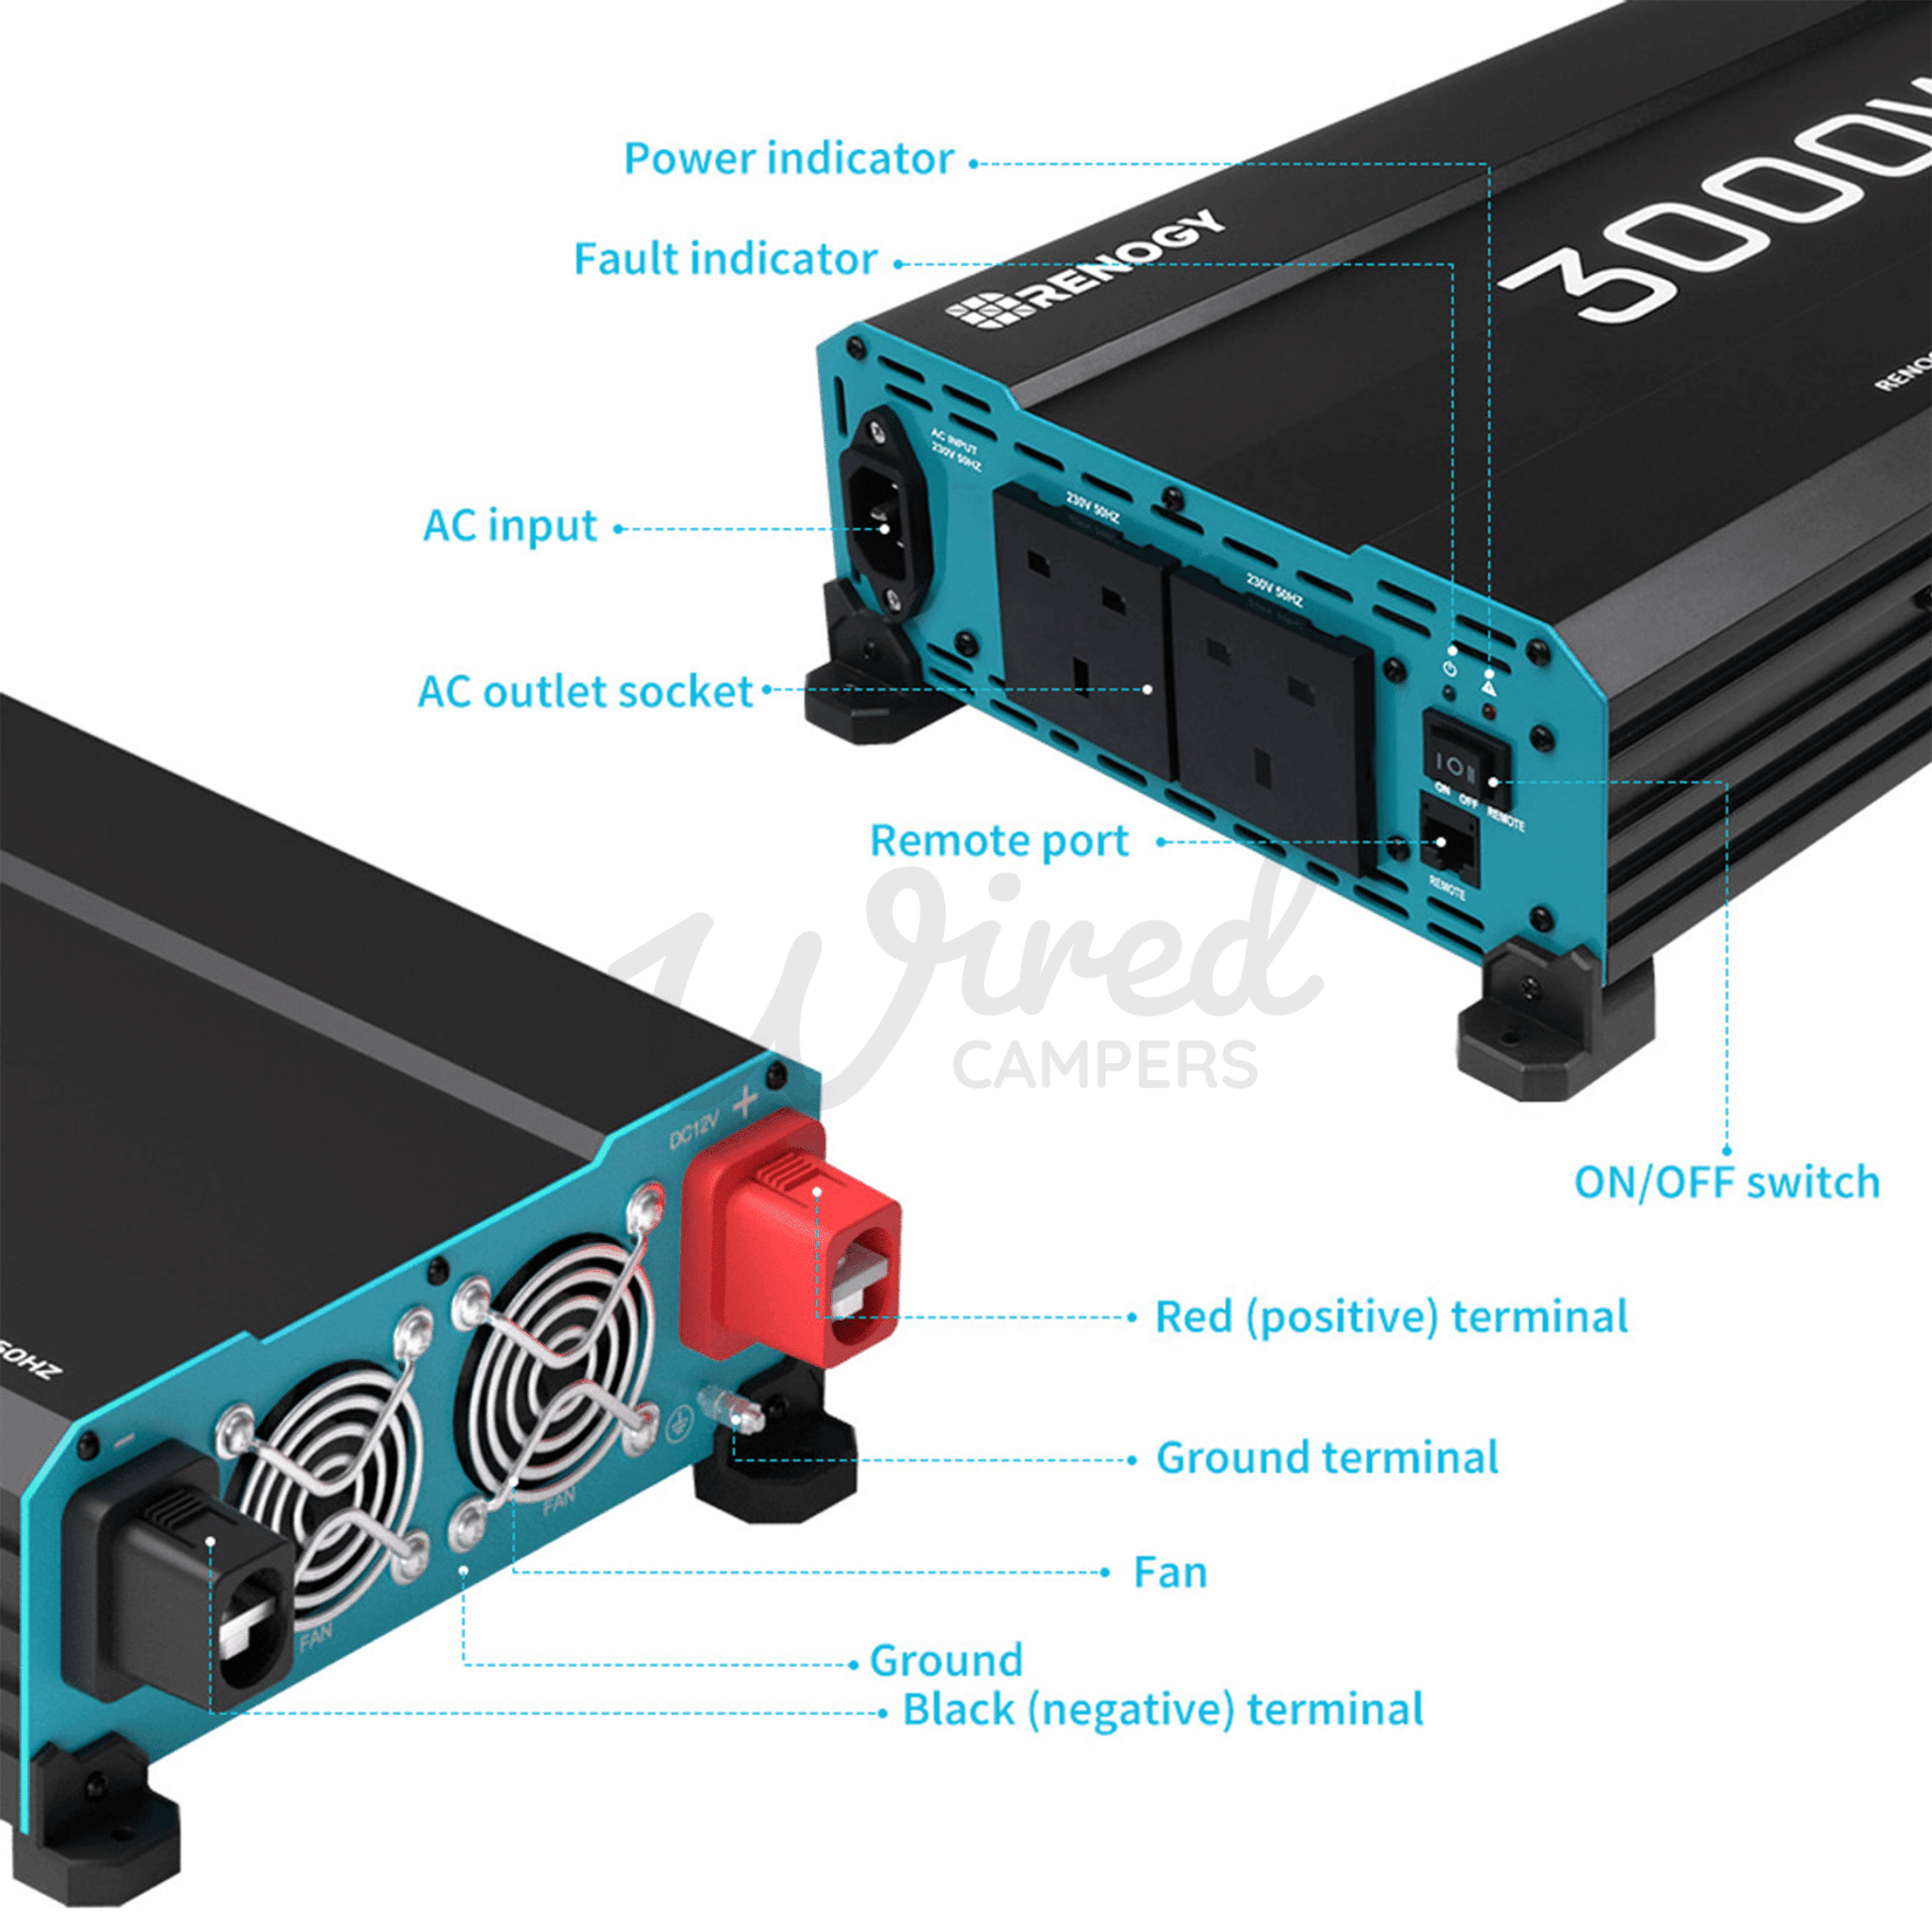
Method 4: Inspect and Clean Cooling Fan
Overheating can trigger shutdown.
Diagnosing the Issue
A malfunctioning fan can lead to overheating.
Fix Steps
- Inspect Fan Operation: Ensure the cooling fan is running when the inverter is on.
- Clean Fan: If the fan is running but dusty, clean it with compressed air.
- Check Ventilation: Ensure the inverter has adequate ventilation. Remove any obstructions blocking airflow.
Testing
Monitor the inverter’s temperature and operation after cleaning the fan and ensuring proper ventilation.
Prevention Tips and Maintenance Advice
Preventative maintenance can drastically reduce the likelihood of inverter problems.
- Regular Battery Maintenance: Keep your batteries charged and properly maintained.
- Clean Connections: Periodically inspect and clean battery terminals and wiring connections.
- Adequate Ventilation: Ensure the inverter is installed in a well-ventilated area.
- Avoid Overloading: Always stay within the inverter’s power capacity.
- Monitor Voltage: Regularly check battery voltage to ensure it remains within the acceptable range.
Pro Tips
- Use High-Quality Wiring: Invest in appropriately sized, high-quality wiring for the DC input to minimize voltage drop.
- Grounding: Ensure proper grounding of the inverter chassis for safety.
- Surge Protection: Consider using a surge protector on the AC output to protect sensitive electronics.
- Error Code Lookup: Consult the Renogy inverter’s manual for a list of error codes and their meanings.
- Don’t Ignore Warning Signs: Pay attention to any unusual noises, smells, or error messages.
Professional Help
Sometimes, the problem is beyond DIY repair.
Signs You Need a Professional:
- Internal component failure (e.g., blown fuse, damaged circuit board).
- Inverter continues to malfunction after attempting all troubleshooting steps.
- You are uncomfortable working with electrical systems.
What to Look For in a Service Provider:
- Experience with Renogy inverters and off-grid systems.
- Proper licensing and insurance.
- Positive customer reviews.
Typical Cost Ranges:
Repair costs can vary widely depending on the nature of the problem and the service provider’s rates. Expect to pay anywhere from $50 to $300+ for repairs. Replacement may be more cost-effective for severely damaged inverters.
FAQ
Q: My Renogy inverter keeps shutting off even when not overloaded. What could be the issue?
A: This could indicate a low battery voltage, a faulty internal component, or overheating. Check the battery voltage first, then inspect the cooling fan. If the problem persists, contact a professional.
Q: How do I reset my Renogy inverter?
A: A basic reset involves turning the inverter off, disconnecting the battery, waiting 30 seconds, reconnecting the battery, and turning the inverter back on (as described in Method 1).
Q: What does the error code “Low DC Voltage” mean?
A: This indicates that the battery voltage is too low for the inverter to operate. Charge the batteries or add more batteries to the bank to increase the voltage.
Q: Can I use any type of battery with my Renogy inverter?
A: No. Your battery type must be compatible with the inverter. Most Renogy inverters are designed for lead-acid, AGM, or lithium batteries. Check the inverter’s specifications for compatibility.
Alternative Solutions
If you’ve tried all the above steps and your inverter still isn’t working, consider these alternatives
| Solution | Pros | Cons | Best For |
|---|---|---|---|
| Warranty Claim | Free repair/replacement | Requires proof of purchase, can be time-consuming | Inverters under warranty |
| Upgrade to a Larger Inverter | Handles higher loads, more future-proof | More expensive | Growing power needs |
| Replace the Inverter | Quickest solution | Significant cost | Severely damaged or old inverters |
Get Your Renogy Inverter Working Again
You’ve now gained a comprehensive understanding of common Renogy inverter issues and how to resolve them. Remember to start with the simplest solutions—a power cycle and battery check—and progress to more advanced troubleshooting as needed.
Don’t let a malfunctioning inverter disrupt your off-grid lifestyle. By following these steps, you’ll be well-equipped to keep your system running smoothly.
Have you successfully fixed your Renogy inverter? Share your experience in the comments below to help other readers!