

Are you frustrated with your Renogy solar panel system not producing the power you expect? It’s incredibly disheartening to invest in solar energy and then encounter issues that prevent you from harnessing the sun’s power. A common quick fix is often simply checking all connections and ensuring no shading is present. But if that doesn’t resolve the problem, don’t worry!
This comprehensive guide will walk you through a wide range of troubleshooting steps for your Renogy solar panels, from identifying common issues to implementing practical solutions. We’ll cover everything from basic checks to more advanced diagnostics, ensuring you can get your system back up and running efficiently. By the end of this article, you’ll be equipped with the knowledge to confidently diagnose and resolve most Renogy solar panel problems, maximizing your energy independence.
Common Causes of Renogy Solar Panel Issues
Before diving into solutions, understanding the common culprits behind solar panel malfunctions is crucial.
Shading
Even partial shading on a solar panel can significantly reduce its output. Trees, buildings, dirt, snow, or even bird droppings can cast shadows that impact performance.
Loose Connections
Corrosion or simply vibration can cause connections between panels, the charge controller, batteries, and inverter to loosen, interrupting the flow of electricity.
Wiring Issues
Damaged wiring – frayed, cracked, or chewed by rodents – can create resistance and reduce efficiency, or even cause a complete system shutdown.
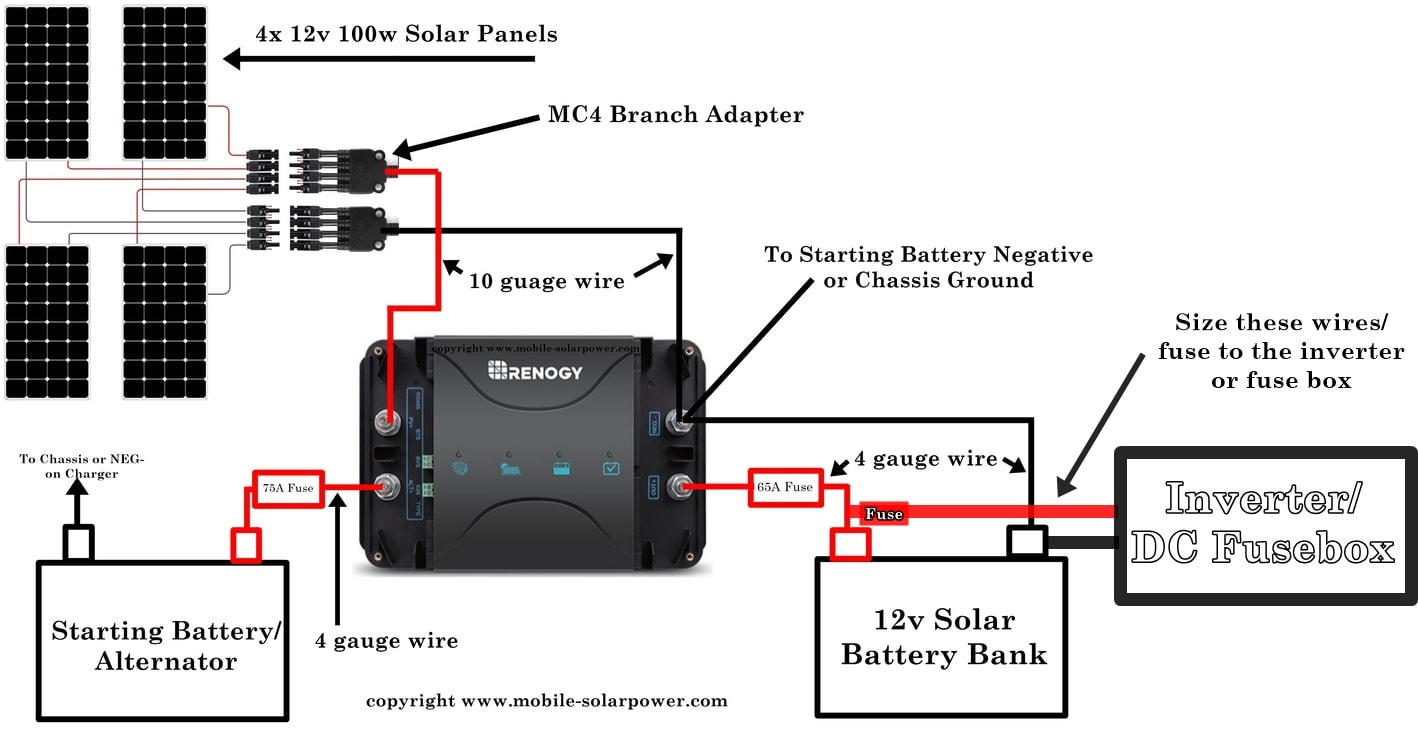
Charge Controller Problems
The charge controller regulates the power from the solar panels to the batteries. A faulty charge controller can prevent proper charging or cause damage to the batteries.
Battery Issues
Problems with the batteries themselves, such as sulfation or age-related degradation, can limit the system’s ability to store and deliver power.
Panel Degradation
Over time, solar panels naturally degrade, losing some of their original efficiency. This is a gradual process, but it can become noticeable after several years.
How to Fix Renogy Solar Panel Problems: Multiple Solutions
Here are several methods to tackle Renogy solar panel issues, ranging from simple checks to more advanced repairs.
Method 1: Visual Inspection & Basic Checks
This is the first line of defense and often resolves the issue quickly.
Diagnosing the Issue
- Check for Shading: Carefully observe your panels throughout the day to identify any sources of shading.
- Inspect Wiring: Look for visible damage to all wiring, including connectors and insulation.
- Examine Connections: Check all connections for tightness and corrosion.
Fix Steps
- Remove Shading: Trim trees, relocate panels, or clean off any obstructions.
- Tighten Connections: Secure any loose connections with appropriate tools.
- Clean Panels: Gently clean the panels with a soft cloth and water (avoid harsh chemicals).
Testing
Use a multimeter to measure the voltage and current output of each panel in direct sunlight. Compare the readings to the panel’s specifications (found on the panel’s label).
Method 2: Charge Controller Troubleshooting
If the panels seem to be producing power, the problem might lie with the charge controller.
Diagnosing the Issue
- Check Charge Controller Display: Look for error codes or unusual readings.
- Verify Battery Voltage: Ensure the charge controller is receiving and regulating the correct battery voltage.
- Inspect Controller Terminals: Check for corrosion or loose connections at the battery terminals.
Fix Steps
- Reset the Charge Controller: Consult your Renogy charge controller’s manual for reset instructions.
- Update Firmware: If applicable, check for and install any available firmware updates.
- Replace the Charge Controller: If the controller is faulty and cannot be reset or repaired, it may need to be replaced.
Testing
Use a multimeter to measure the voltage at the charge controller’s output terminals to confirm it’s delivering the correct voltage to the batteries.
Method 3: Wiring and Connection Repair

Faulty wiring can be a hidden source of problems.
Diagnosing the Issue
- Continuity Test: Use a multimeter to perform a continuity test on each wire to identify breaks or shorts.
- Voltage Drop Test: Measure the voltage drop across longer wire runs to identify excessive resistance.
Fix Steps
- Repair Damaged Wiring: Replace any damaged wires with appropriately sized, outdoor-rated cable.
- Replace Connectors: Replace any corroded or damaged connectors.
- Ensure Proper Wire Gauge: Verify that the wire gauge is sufficient for the current and distance.
Testing
After repairs, re-check the voltage and current output of the system.
How to Prevent Future Renogy Solar Panel Issues & Maintenance Advice
Proactive maintenance can significantly reduce the likelihood of future problems.
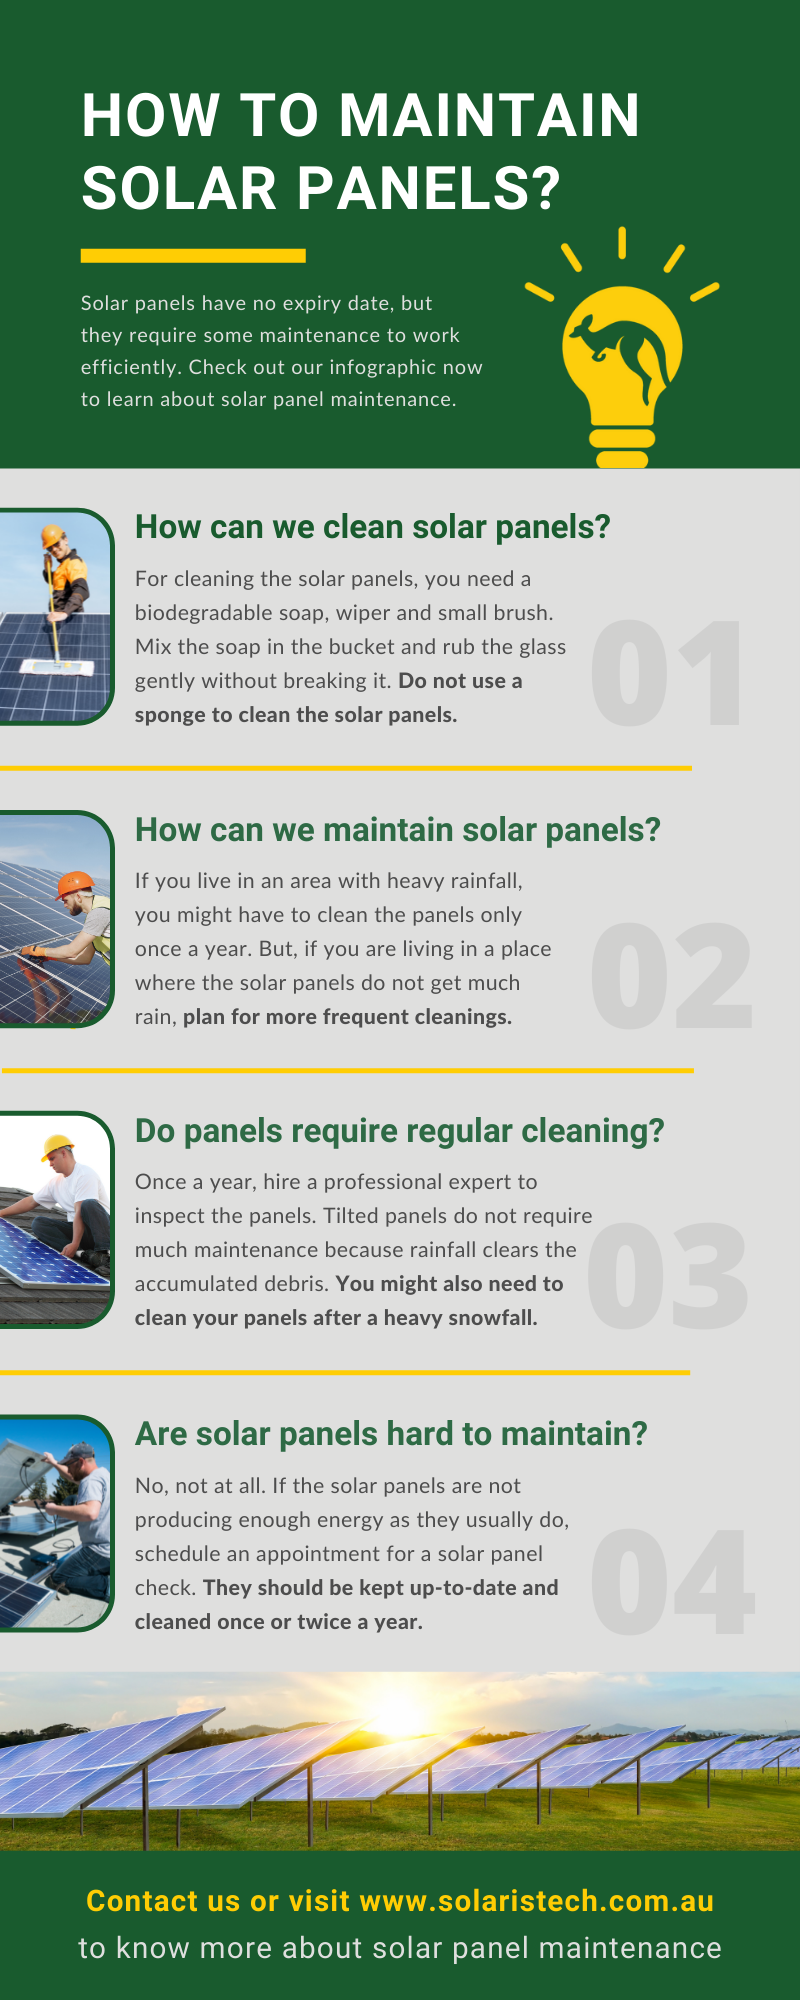
- Regular Cleaning: Clean your panels every 6-12 months, or more frequently in dusty environments.
- Connection Checks: Inspect all connections at least twice a year and tighten as needed.
- Wiring Inspections: Periodically inspect wiring for damage.
- Battery Maintenance: Follow the manufacturer’s recommendations for battery maintenance (e.g., equalization charging).
- Monitor System Performance: Regularly monitor your system’s output to identify any performance drops.
Pro Tips for Renogy Solar Panel Systems
- Use a Blocking Diode: Install a blocking diode between the solar panel and charge controller to prevent reverse current flow at night.
- Proper Ventilation: Ensure adequate ventilation around the charge controller and batteries to prevent overheating.
- Grounding: Properly ground your solar panel system to protect against electrical shock and lightning strikes.
- Use a Surge Protector: Install a surge protector to protect your equipment from voltage spikes.
- Document Your System: Keep a detailed record of your system configuration, including panel specifications, wiring diagrams, and maintenance history.
- Consider a Remote Monitoring System: Invest in a remote monitoring system to track your system’s performance and receive alerts for potential problems.
- Avoid Mixing Panel Types: Using panels with different voltages or currents can negatively impact performance.
Professional Help
Sometimes, a problem is beyond DIY repair.
Signs You Need a Pro:
- Extensive wiring damage
- Suspected issues with the inverter
- Complex charge controller malfunctions
- Safety concerns
What to Look For in a Service Provider:
- NABCEP certification (North American Board of Certified Energy Practitioners)
- Experience with Renogy systems
- Positive customer reviews
- Proper insurance and licensing
Typical Cost Ranges:
- Diagnostic fee: $75 – $200
- Hourly rate for repairs: $80 – $150
FAQ
Q: Why is my Renogy solar panel voltage lower than expected?
A: This could be due to shading, dirty panels, loose connections, or panel degradation. Perform a visual inspection and check all connections.
Q: How do I know if my charge controller is bad?
A: Look for error codes on the display, unusual readings, or the inability to charge the batteries.
Q: Can I use an extension cord with my solar panels?
A: It’s not recommended. Use appropriately sized, outdoor-rated cable specifically designed for solar applications.
Q: What does it mean when my inverter keeps shutting down?
A: This could be due to low battery voltage, overheating, or a fault within the inverter itself.
Alternative Solutions
If you’ve tried these solutions and are still having trouble, consider:
| Solution | Pros | Cons | Best For |
|---|---|---|---|
| Professional System Assessment | Accurate diagnosis, expert repairs | Costly | Complex issues, safety concerns |
| Renogy Support | Direct assistance from the manufacturer | May require detailed system information | Warranty claims, specific product questions |
| Online Solar Forums | Peer support, shared experiences | Information may not be verified | Seeking advice from other users |
Get Your Renogy System Working Again
You’ve now been equipped with a comprehensive toolkit to troubleshoot your Renogy solar panel system. Remember to start with the simplest checks – shading and connections – and work your way through the more advanced diagnostics.
Following this guide, you now have multiple solutions to fix your system:
– Basic visual inspections
– Charge controller troubleshooting
– Wiring repair techniques
Don’t let a malfunctioning system dim your enthusiasm for renewable energy. Implement these solutions with confidence, and you’ll be back to harnessing the power of the sun in no time!
Have you successfully resolved your Renogy solar panel issue? Share your experience and any helpful tips in the comments below to assist other readers!