
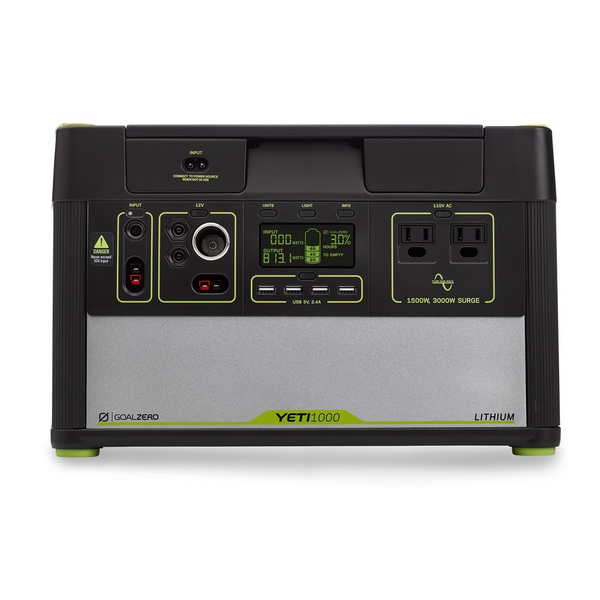
Are you frustrated that your Goal Zero Yeti 1000 isn’t charging? It’s incredibly common for portable power stations to experience charging issues, and it can be a real headache when you rely on them for camping, emergencies, or off-grid adventures. A quick fix often involves checking your cables and power source, but sometimes the problem is deeper.
This comprehensive guide will walk you through everything you need to know to diagnose and fix your Goal Zero Yeti 1000 charging problems. We’ll cover common causes, multiple troubleshooting methods ranging from simple resets to more advanced checks, and preventative maintenance tips to keep your Yeti 1000 powered up and ready to go. By the end of this article, you’ll have the confidence to resolve your charging issue and get back to enjoying reliable power wherever you are.
Common Causes of Goal Zero Yeti 1000 Not Charging
Understanding why your Yeti 1000 isn’t charging is the first step to fixing it. Here are some of the most common culprits:
- Faulty Cables: The most frequent issue. Damaged or low-quality cables can interrupt the power flow.
- Incorrect Power Source: Using an incompatible or underpowered wall charger or solar panel.
- Overload Protection: The Yeti 1000 might be shutting down charging to protect itself from being overloaded.
- Low/High Temperature: Extreme temperatures can trigger safety mechanisms that prevent charging.
- Internal Fault: Less common, but a failing battery or internal component could be the cause.
- Dirty Charging Port: Dust or debris inside the charging ports could obstruct a good connection.
How to Fix Goal Zero Yeti 1000 Not Charging
Here are several methods to troubleshoot a Yeti 1000 that won’t charge, starting with the simplest and moving towards more complex solutions.
Method 1: Basic Checks & Reset (Quick Fix)
This is the first thing to try, and it solves a surprising number of charging problems.
Diagnosing the Issue
Verify the obvious: Is the Yeti plugged in correctly? Is the wall outlet working? Test the outlet with another device.
Fix Steps
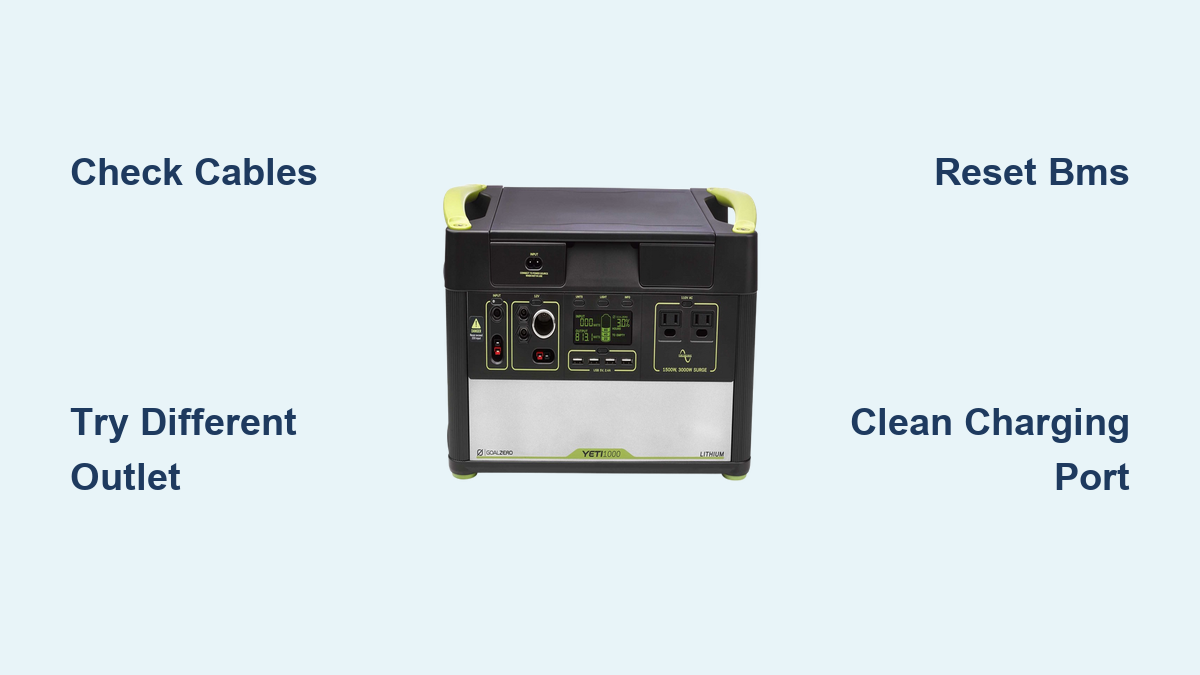
- Inspect the Cable: Look for any visible damage (frays, bends, exposed wires). Try a different, known-good cable.
- Try a Different Outlet: Rule out a faulty wall outlet.
- Power Cycle: Turn off the Yeti 1000 completely (press and hold the power button for several seconds). Unplug it from the wall, wait 30 seconds, plug it back in, and turn it on.
- Reset the BMS: (Battery Management System) This is a soft reset. Turn off the Yeti, unplug it, hold the power button for 30 seconds, then plug it back in and turn it on.
Testing
Plug in the Yeti and observe if it begins charging. Check the display for charging indicators.
Method 2: Solar Panel Troubleshooting
If you’re trying to charge with solar panels, the issue might be with the panels or the connection.
Diagnosing the Issue
Confirm your solar panels are producing power. Use a multimeter to check the voltage and amperage output. Ensure the panels are positioned correctly in direct sunlight.
Fix Steps
- Check Panel Connections: Ensure the solar panel cables are securely connected to the Yeti 1000.
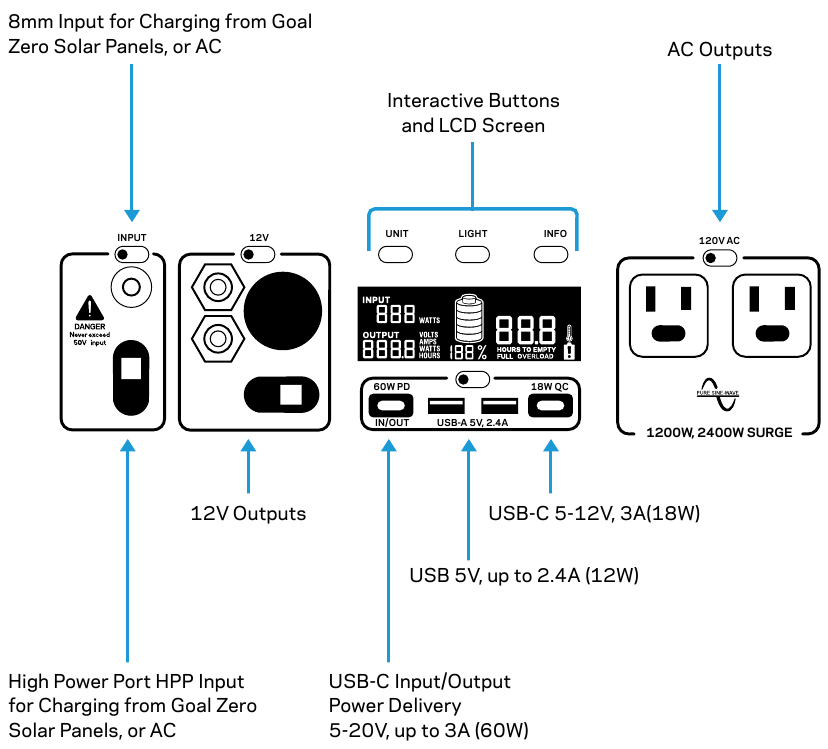
- Use the Correct Port: The Yeti 1000 has different ports for different solar panel configurations. Use the 8mm port for standard panels and the Anderson Powerpole port (with adapter if necessary) for larger systems.
- Panel Compatibility: Verify your solar panel’s voltage is within the Yeti 1000’s input range (14V-48V).
- Clean the Panels: Dust and debris can significantly reduce solar panel output.
Testing
Monitor the Yeti’s display to see if it registers solar input and begins charging.
Method 3: Advanced Troubleshooting – Checking Input & Output
This involves checking the Yeti’s internal systems for errors.
Diagnosing the Issue
If the Yeti powers devices but won’t charge, the issue might be with the charging circuitry.
Fix Steps
- Check Input Voltage: Use a multimeter to check the voltage at the Yeti’s charging port. It should match the output of your wall charger or solar panel.
- Inspect Charging Port: Carefully inspect the charging port for any bent pins or debris. Use compressed air to clean it gently. Do not insert anything metallic into the port.
- Monitor Temperature: Ensure the Yeti isn’t overheating or in a very cold environment. Move it to a moderate temperature location.
- Check for Error Codes: The Yeti 1000 display may show error codes. Consult the Goal Zero documentation to decipher the code and find potential solutions.
Testing
Attempt to charge the Yeti using different power sources and observe if the issue persists.
Prevention Tips and Maintenance Advice
Preventative maintenance can significantly reduce the chances of encountering charging problems.
- Proper Storage: Store the Yeti 1000 in a cool, dry place, away from direct sunlight and extreme temperatures.
- Regular Charging/Discharging: Avoid letting the Yeti sit fully discharged for extended periods. Charge it to around 60-80% for long-term storage.
- Cable Management: Avoid kinking or bending the charging cables excessively.
- Clean Ports: Regularly inspect and clean the charging ports to prevent debris buildup.
- Software Updates: Check the Goal Zero website for firmware updates that might improve performance and address known issues.
Pro Tips
- Use a Quality Charger: Investing in a high-quality wall charger specifically designed for power stations can improve charging efficiency and lifespan.
- Avoid Overloading: Don’t exceed the Yeti 1000’s maximum output capacity.
- Monitor Battery Health: Pay attention to the battery health indicator on the Yeti’s display.
- Solar Panel Angle: Adjust the angle of your solar panels throughout the day to maximize sunlight exposure.
- BMS Learning Cycle: After a deep discharge, the BMS might need a full charge/discharge cycle to recalibrate.
Professional Help
- Signs You Need a Pro: If you’ve tried all the troubleshooting steps and the Yeti still won’t charge, if you suspect internal damage, or if you see unusual error codes.
- Finding a Service Provider: Contact Goal Zero customer support for authorized service centers in your area.
- Typical Costs: Repair costs can vary depending on the issue. Expect to pay for diagnostics, parts, and labor.
- Warranty: Check your Yeti 1000’s warranty status. Many issues are covered under warranty.
FAQ
Q: Why is my Yeti 1000 charging so slowly?
A: Slow charging can be caused by using an underpowered charger, a damaged cable, or low temperatures. Ensure you’re using the recommended charger and that the environment is within the optimal temperature range.
Q: Can I use a different solar panel with my Yeti 1000?
A: Yes, as long as the panel’s voltage is within the Yeti 1000’s input range (14V-48V) and it has the compatible connector (8mm or Anderson Powerpole).
Q: What does the error code “E8” mean?
A: Error code E8 indicates a battery fault. Contact Goal Zero support for further assistance.
Q: How long does it take to fully charge a Yeti 1000?
A: Charging time varies depending on the power source. With a wall charger, it typically takes around 5-7 hours. With solar panels, it depends on sunlight intensity and panel wattage.
Get Your Goal Zero Yeti 1000 Working Again
You now have a comprehensive set of solutions to get your Goal Zero Yeti 1000 charging again. Start with the basic checks and work your way through the more advanced troubleshooting steps. Remember to prioritize safety and consult the Goal Zero documentation for specific error codes.
Have you successfully fixed your Yeti 1000? Share your experience in the comments below to help other readers! What other Goal Zero questions would you like us to address?